Showing posts with label Colette Patterns. Show all posts

Monday, 4 August 2014

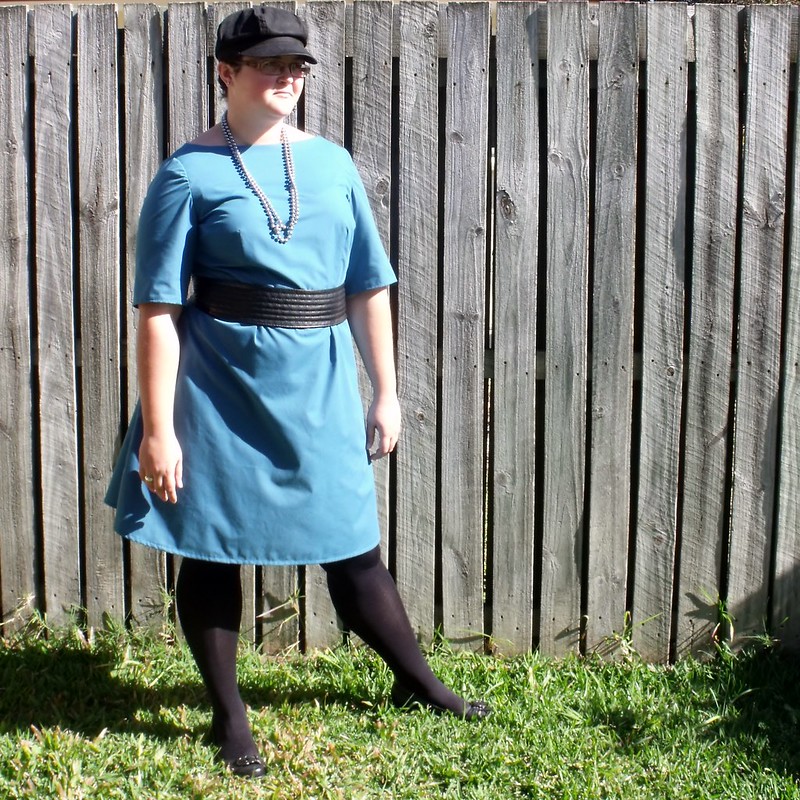
::Sewing::FO::Teal Peony for the Lady?

I wore this dress out for the first time over the weekend and someone asked if I made the dress and whether I had posted it on my blog. It wasn't until I got home that I realised that I haven't posted about this make here. Wha!?
So here she is on le blog.

I did make this dress over a month ago and posted about it on The Monthly Stitch.
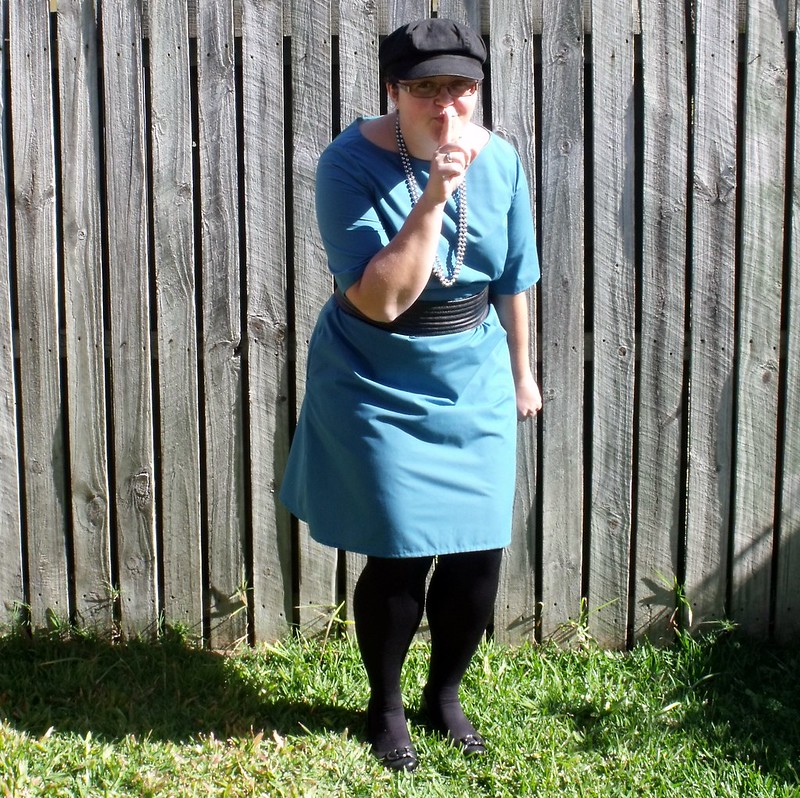


 But, I've got a little secret. The dress wasn't completely finished when I posted it on TMS. I still had to hem the sleeves and skirt and hand stitch the bodice lining to the waist seam. Shhh!
I finished it not too long after posting it, so it's not that big a deal :P


My hair is at the at weird length where it looks like there is a koala attached to my head, but I can't really do much with it. So, I popped on a hat for these photos.
Note to self: Sort out the hair situation.

~Inspiration~
I've been wanting to make this dress for ages.
I've had the pattern printed, pasted and ready to go for awhile now, so when The Monthly Stitch announced that the first challenge for their Indie Pattern Month would be dresses I knew exactly what I was going to make. Thanks TMS for giving me the boot :)
There were quite a few adjustments made to this dress, but I'm pretty pleased with the way it turned out in the end.
I was sewing like women possessed trying to get this puppy sewn up before we headed off for a long-weekend vacation. I took the pictures just as the light was fading over the horizon.

~Pattern Adjustments~
Full Bust Adjustment  C cup to D cup (3/8" spread) - I can never remember whether Colette Patterns are drafted for a C cup or D cup, but I've come up with a way to remember C for Colette Patterns!
When I did the FBA the darts ended up a bit wonky
Moved waist bust dart point and reduced the dart intake by 1/2"
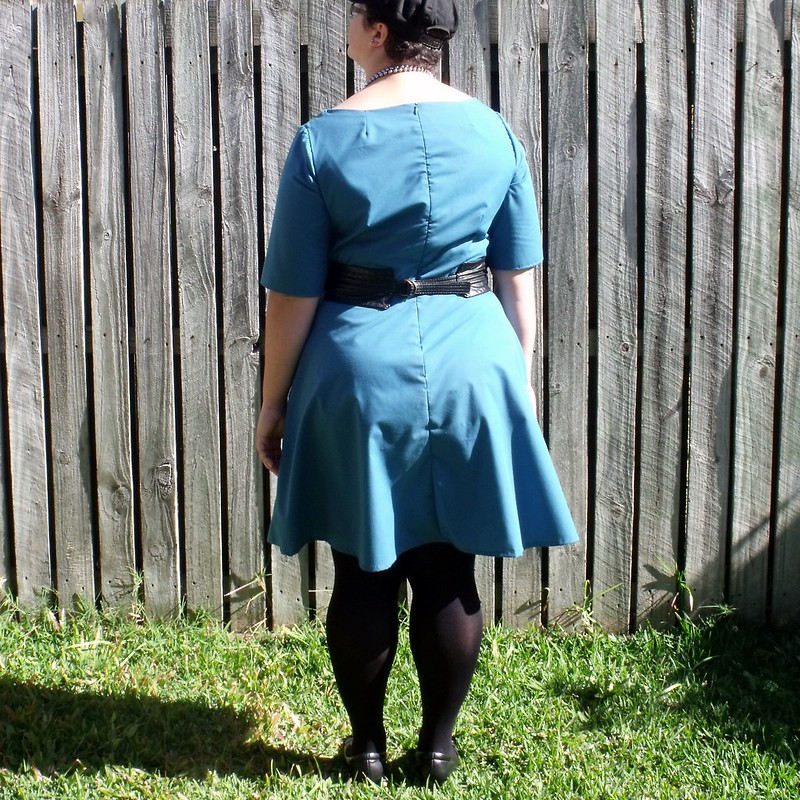
Big Butt Adjustment-cut & pivot at the waistline total of  2 inches spread over to vertical cuts
Lengthened skirt 1 inch all over and an extra 1 inch at the back to compensate for Big Butt Adjustment
Shortened sleeves by 6.5 inches


~Construction~
I  didn't follow the instructions on this one. I don't like facings so I lined the bodice with the main fabric.
So because I went  'off piste' here is a quick summary of my construction steps.
-Sewed darts, in the bodice and bodice lining and joined bodice and lining at the shoulders. Clipped, pressed and finished seams on the overlocker.
- Sewed the bodice and lining together at the neckline pressed clipped and turned
- Sewed the side seams of the bodice and lining - separately, pressed
- Basted the armholes of the bodice and lining together so they wouldn't shift when inserting the sleeve
- Sewed bias tape to the sleeve cap to ease it into the arm hole
- Sewed the sleeve seam
- Inserted the sleeve
- Finished the edges of the pocket pieces on the overlocker & attached them to the skirt pieces. Pressed. Finished the skirt side seams on the overlocker.
- Sewed the skirt pieces together at the side seams, sewing around the pockets
- Gathered sections on the front skirt
- Attached the skirt to the bodice
- Inserted the zipper
- Sewed the lining to the zipper and bodice-skirt seam
- Hemmed the sleeves and skirt.
Pheew!

I have come to the conclusion that I am not a big fan of setting in sleeves. This time I used the "bias tape" trick where instead of gathering the sleeve cap with basting stitches you sew a strip of bias tape to the sleeve cap while keeping it pulled taut. I think it worked pretty well here.
 ~Pattern~
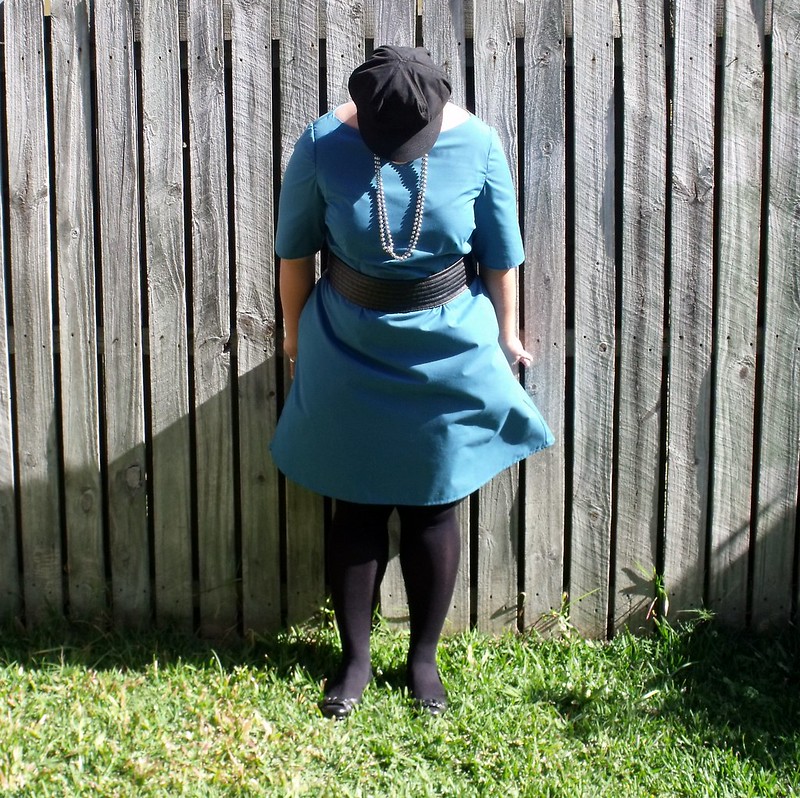
Colette Patterns 1017 (Peony) Version 1 with shortened sleeves and no belt.

~Materials~
Teal poly cotton fabric I've had in my stash for ages.
22" invisible zipper

~Changes I made this time~
Heaps! See the pattern adjustments above!

~What I Like~
- I wasn't sure about the colour initially, but now I quite like it. - When I wore the dress out I got a few compliments on the colour. So that's a definite winner.
- I'm pretty pleased about the success of my Big Butt Adjustment
- I like that the waist seam matches at the zipper
- Pockets!

~What I Don't Like~
- The zipper puckering
- The invisible zipper peaking out
- The fabric - after making my Navy S2444 and this dress I've come to the conclusion that I need to move away from this poly cotton. Too bad I've still got some in my stash :(

~Changes for Next Time~
- Definitely different fabric.
- There are a heap more fitting adjustments I want to do on this dress. I think a big one is to raise the lower armscye on the bodice. I'm thinking that will help a bunch with arm movement. Or maybe I'll have to sew in a gusset. Hmmm.
- I also want to lower the centre and shorten the width of the neckline.
- I also want to re-adjust the waist bust dart on the bodice - change it so that the dart centre is vertical and not at an angle.

~Numbers~
Pattern
Colette Patterns 1017 (Peony) view
$14.00
FabricTeal Poly cotton x 4m - had in stash can't remember cost$-
Notions -Thread - had in stash
-Bias Tape (for sleeve easing) - had in stash
-22" Invisible Zipper
$-
$-
$5.00
Time2 hours pattern adjustments
11 hours sewing
13 hours (* $16-ish Australian minimum wage)
$208.00
Total
$227.00

This is the first time that I've used the Peony pattern so I've included it in the tally.
Also, because it is the first time I've used the pattern there was a lot of time spent making pattern adjustments.

A lot of the sewing time included the muslin making process, so lots of sewing, seam ripping, re-cutting fabric and sewing again.  I also experimented with techniques for setting in the sleeves so that took some time too.

In future I want to break down my sewing time a bit more. While I was making this project I was using a time tracker app on my phone. I think a project based time tracker would be a better option in future because the time tracker app only really broke time down by description and category - although thinking about that now. I guess I could make each project a category. Hmmm, something to ponder.

~Final Comment~
I'm fairly pleased with this make. I did rush it a bit because of the looming deadline and running out of time because we are going away, but I think this will be a good dress for 'everyday' wear. I have to go back and reinsert the zipper again I think….maybe  ;)
Spoiler: I didn't reinsert the zipper :P

You can pop over to the post I did on The Monthly Stitch to see some more (unfinished dress) pics :)


Question Time:
Do you follow instructions when you make something?
What are some the 'standard' things you change when you make something?
Do you ever go back and 'fix' things when you make something? I rarely do.
What are your tips for inserting sleeves?


Until next time,


Let's connect

Wednesday, 16 April 2014

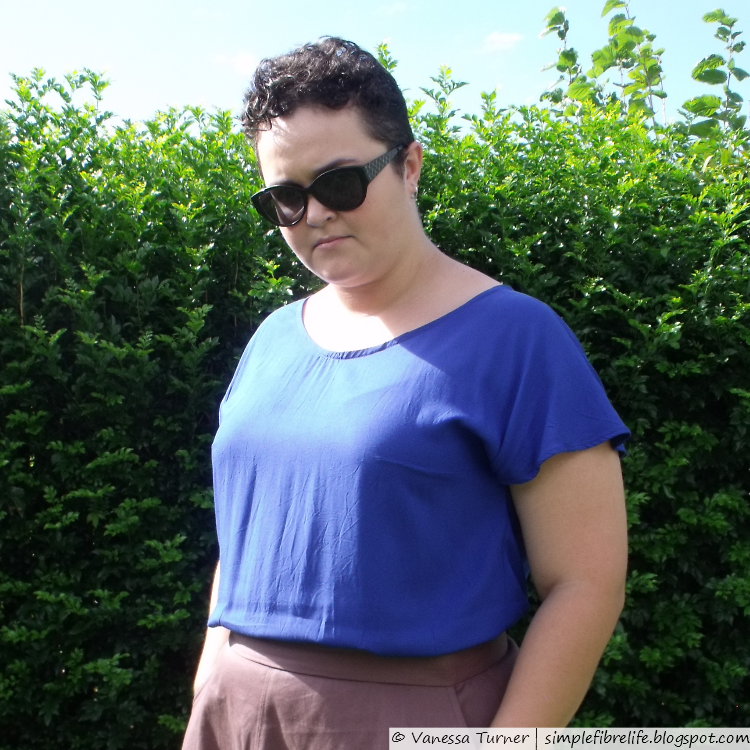
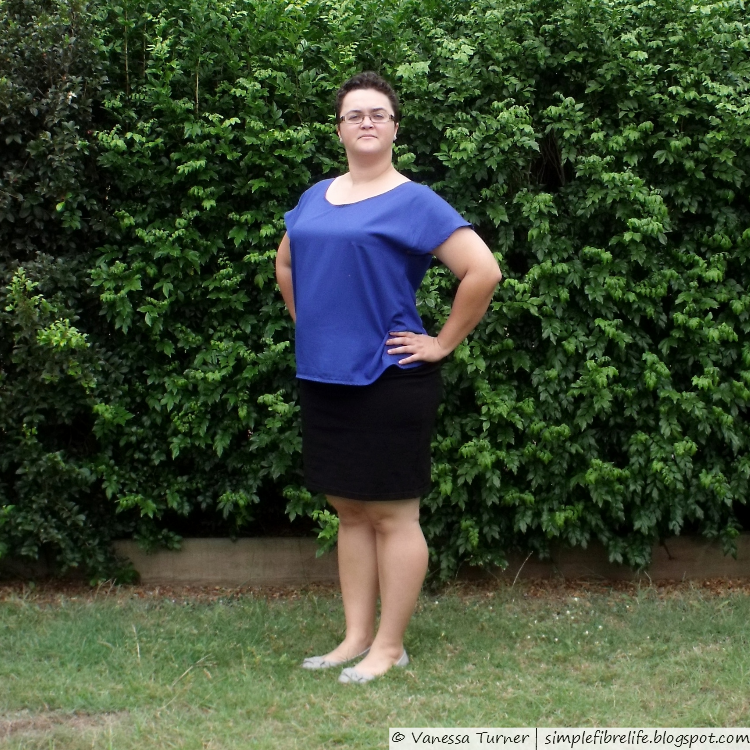
::Sewing::FO:: Kimo-No Sorbetto Cobalt Rayon Top


I don't know what is happening with my face here.
Please excuse the 'bitchy face'
This blue rayon has been calling to me since I bought in September last year. I've been a little afraid to play with it because it felt slippery and slinky and I thought I would be a bugger to sew.
Last week I was playing with my fabric (please tell me I'm not the only one who takes fabric out of my stash; pets it; admires it and folds it all back into the stash) and inspiration struck. I think this fabric would work fabulously in a kimono tee. I looked to Miss P's amazing pashmina refashions for inspiration.

Took out my Colette Sorbetto pattern and traced out the size 18, added 2 inches in length, raised the back neckline by 2 inches and drafted on some kimono sleeves. I took photos of my process because I was going to share how I added my kimono sleeves with you, but I won't because I stuffed that up a bit.

A little trick I thought up as I was added length was to trace the pattern, mark the added length at the bottom then slide the pattern down to the marking and trace the new hem. This trip probably wouldn't work in all cases (like adding length to a circle skirt) but it worked fine here.


I cut out the fabric using a rotary cutter and cutting mat which I thought would be safer than scissors with this slinky slippery fabric. A few hours later I had a 'ding' moment and thought I may have drafted kimono too narrow. My suspicions were confirmed when I basted the top together. The sleeves where far too snug and distorted the neckline.

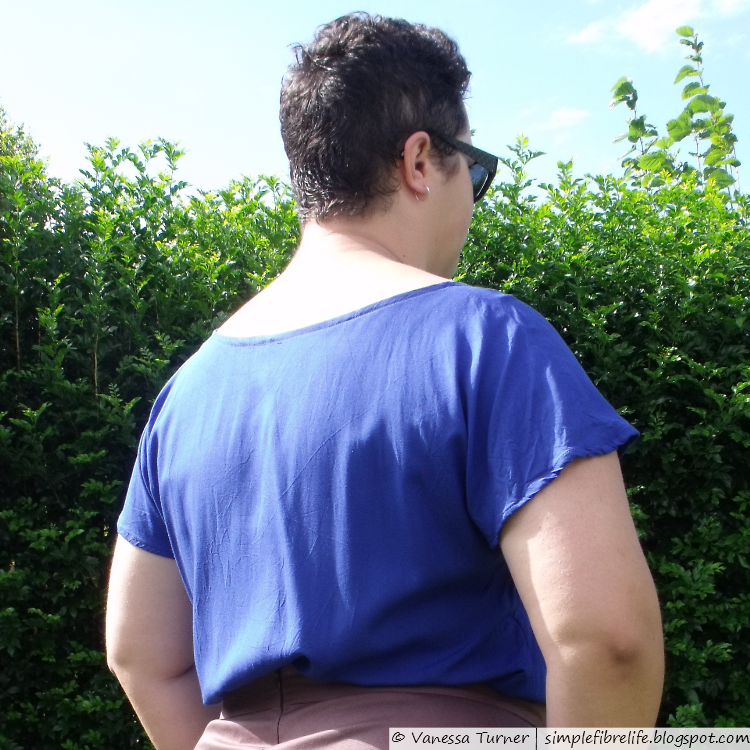
I unpicked the side seams. I resigned to the fact that this wasn't going to be a kimono tee and made it a cap sleeve top by cutting from the outer edge of the shoulder seam to the underarm (just above the bust dart on the front) removing the lower portion of the sleeve. Thinking about it now I should have cut the sleeves with a curve so the cap sleeve was less pointy at the shoulder seam.

Construction wise this top had a bit of back and forth about it.
The first bit of sewing I did was to stay stich the neckline.
I sewed the bust darts and then sewed and overlocked (serged) the shoulder seams.
After baste fitting the side seams; ripping them out and removing the lower portion of the kimono sleeves I overlocked  all along the side and sleeve edges.
The side seams where then sewn.
I did a double turn hem for the sleeves.
I overlocked the hem, then unpicked it because I didn't want bulk in the hem.
The neckline and hem where faced with bias tape.


I've avoided rayon because it's a bit slippery and I thought it was synthetic. But as it turns out it’s a natural fibre that has very intense processing (which I learnt from Steph C). In the end it wasn't that hard to tame the rayon.

I'm surprised with how much I like the sleeves on this top. It's a happy accident. I like the fit although I could probably be a bit snugger. The neckline is wider than what I'm used to and find myself fussing with it to make sure I keep my modesty and my bra straps covered. Thinking about it now, maybe bra strap carriers are the answer.

~Pattern~
Colette Patterns Sorbetto - Hacked

~Changes I made this time~
  • Back neckline raised
  • Added length
  • Added kimono sleeves, which I then had to adjust into a cap sleeve
~What I Like~
  • The fabric colour and drape
  • I like the length
  • The cap sleeves turned out better than I thought they would
~What I Don't Like~
  • The neckline is a bit wide and the front neckline sometimes droops a little too low for comfort
  • The sleeve hems are a bit bulky and alter the drape
  • The top has a lot of ease
~Changes for Next Time~
  • Try tracing a size 14 next time and from under the grading out to a size 18 from the waist to hip
  • Make the neckline narrower (although if I trace a size 14 at the top it might not need it)
  • Finish all openings with bias tape as facing
  • If I'm going to have another go at making a kimono top I must remember to shift the lower part of the sleeve down a 2 inches and rotate the bust dart into a French dart so it doesn't get messed up in the kimono sleeve.
STATS
PatternColette Patterns - Sorbetto (FREE)$0.00
Fabric 1.5m cobalt blue rayon (spotlight) $6.29/m$9.45
Notions
  • Thread
  • Bias Tape
$2.00
$1.50
Time6 hours (* $16-ish Australian minimum wage) $96.00
Total
$108.95

Kind of expensive for a basic top, however, the materials were cheap, considering the lessons I learnt and the fact there was a lot of unpicking I'm totally cool with that.

~Final Comment~
I really like this top and I can see myself wearing it a lot. Like, A LOT.


Have you been able to 'save' a project that was going a bit wrong? What was it?
I'd live to hear about it, leave me a comment. :)


Until next time,


Lets connect

Saturday, 15 February 2014

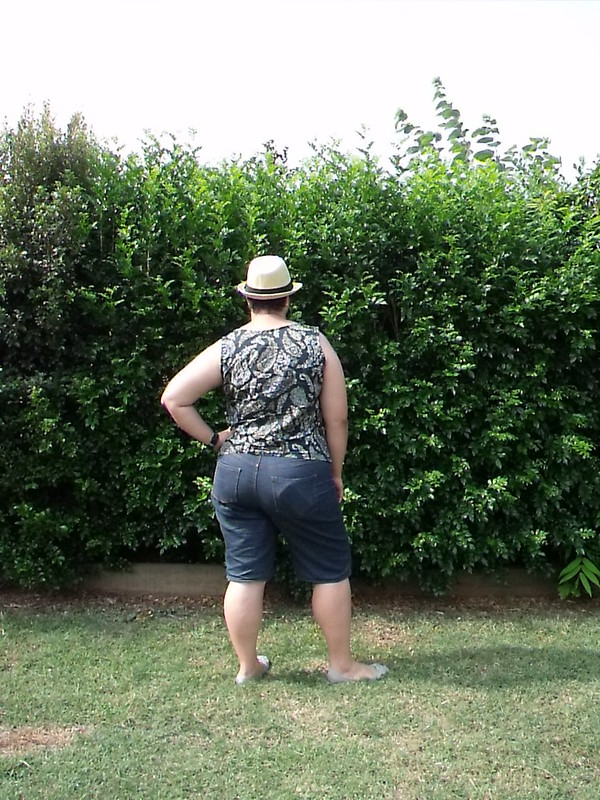
::Sewing::FO:: Navy Paisley Sorbetto

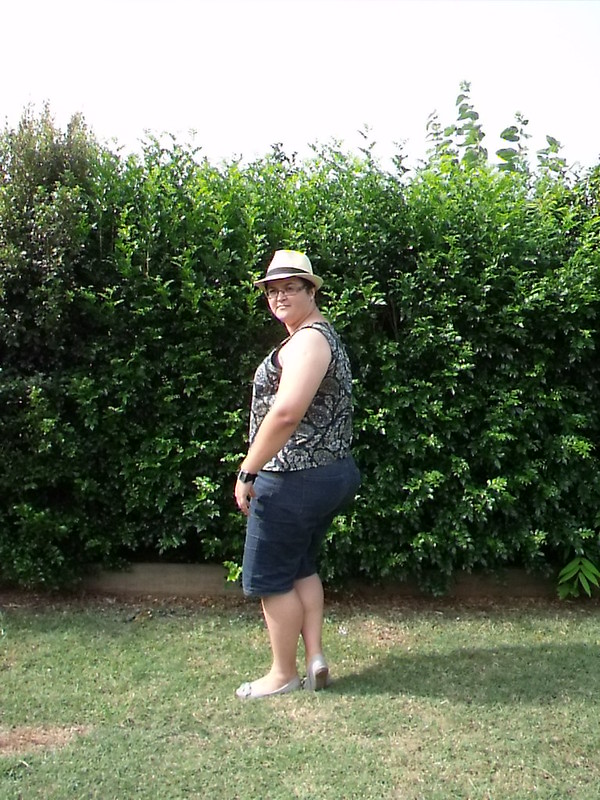
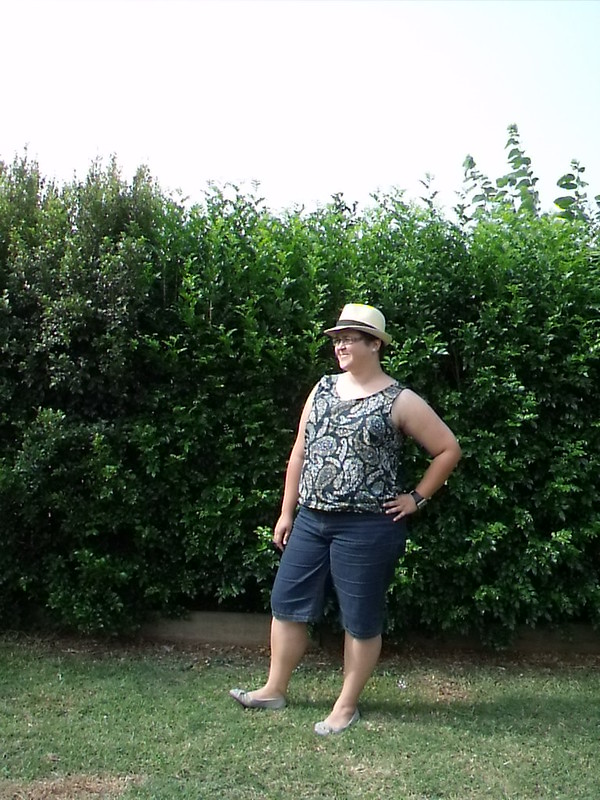
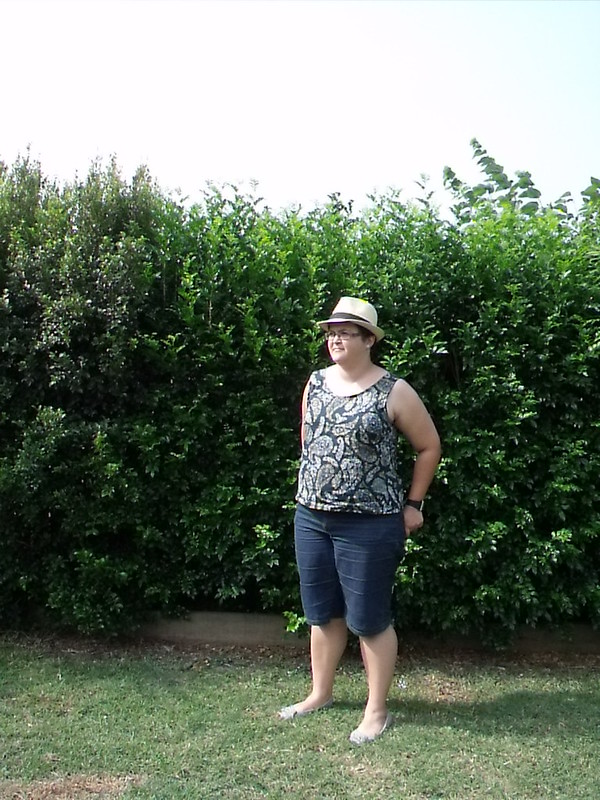
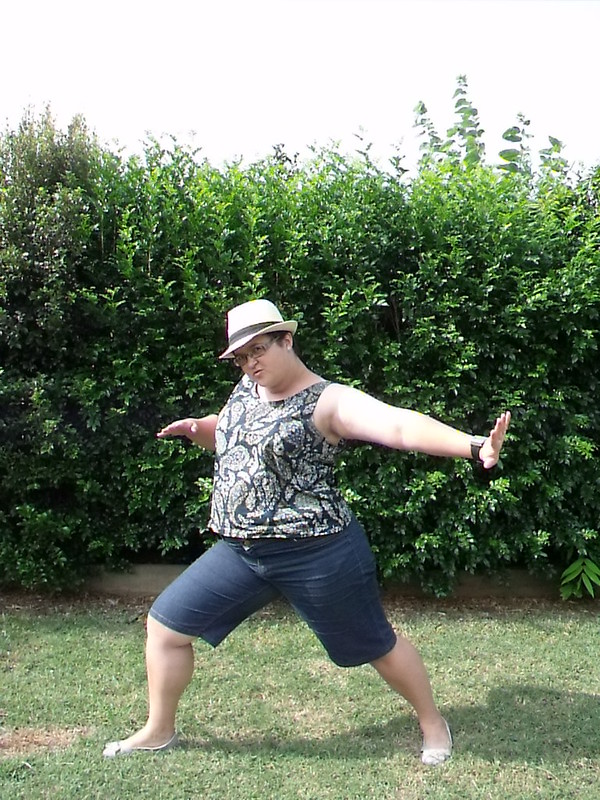
"You're a pretty hedge......"
"Oh hey!"
"No, I wasn't just talking to the hedge. I'm just standing..."
"Well, this is awkward"
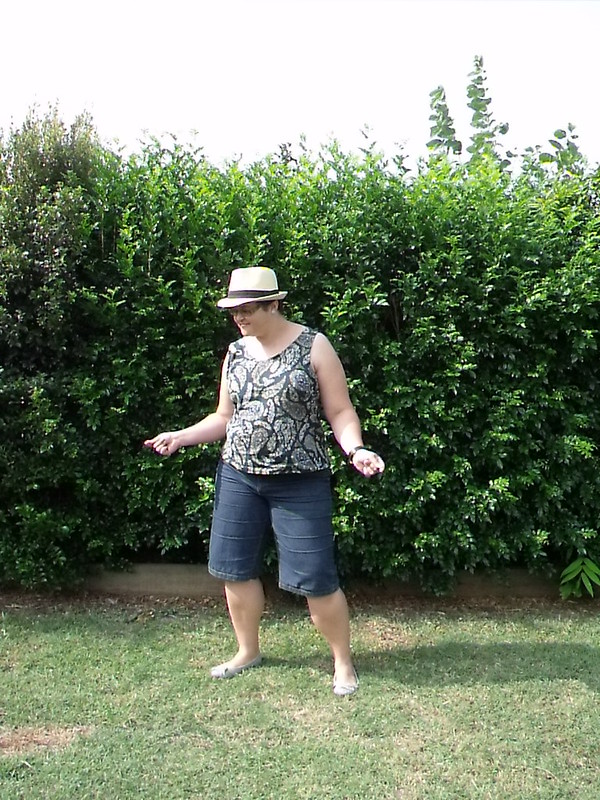
"Hey, let's dance!"
"You're not dancing..."
"Alright, I'll make you dance with my kung fu moves!"
"Why am I wearing a hat? I'll give you a clue.
It starts with B and ends with ad-hair-day"
I've worn my tawny Sorbetto (mentioned in this post) nearly to death. So it's about time that I make another Sorbetto to put into my wardrobe rotation (I never wear this one).

I cut the fabric for this out in front of the TV as a break when I was making my Navy S2444 dress. I've had the fabric in my stash for over 12 months (I know because I showed to you here). It's a cotton Japanese Tana Lawn.

I sewed this over the past week in 3 x 2 hour-ish sessions. The part that took the longest was binding the armholes and neckline.

As this top is a navy bluey colour I'm going to count it as a Sewcialists Blue February make. Oh Yeah!

~Changes I made this time~

  • I raised the back neckline. I found the shoulders on the tawny one I made slip and slide all over the place so I thought raising the back neckline would fix that.


~What I Like~

  • I really like the colour and print of this fabric. The main navy colour is part of my colour palette.
  • I like that its a light and airy fabric. Something really important for warm Brisbane weather.
  • I like the raised back neckline, as it does stop the shoulders slipping around.

~What I Don't Like~

  • The armholes gape a bit so my bra peaks out sometimes.
  • The front neckline gapes a bit too, but that's probably got something to do with the quick and dirty neckline binding I did - Progress not perfection ;)
  • It's a bit shorter than the tops I tend to be wearing these days, but looking at the pics it looks ok.
  • I prefer sleeves to cover up my "cuddly" and pastey white upper arms.

~Changes for Next Time~

  • I think some of the armhole and neckline gaping is because the top halve of the garment is too big. To overcome this I should make it in a smaller size and do a Full Bust Adjustment.
  • Maybe add an inch or 2 in length.

STATS
After my last post I thought it would be interesting to track the "value" of a garment. Although I should mention that a lot of these numbers and amounts a very rough. So expect a lot of "ish"es :).
Fabric1.5ish metres (but there a some scraps)$18.60
Notions
  • bias binding - a metre and a half-ish = $1.05ish
  • Thread - a third-ish of a 100m spool = $0.90ish
$1.95
Time6-ish hours (* $16-ish Australian minimum wage) $96.00
Total
$116.55

Wowzers! When I see those numbers it blows my mind. It hits home about the 'true' cost of making something. It makes me wonder too about how shops make their clothes so cheap.
The time cost is interesting. I really enjoy making things so I don't really consider time as a dollar value when I'm making something.

~Final Comment~
Overall I am pretty pleased with my second (wearable) Sorbetto.

What do you need to add to your wardrobe rotation?
What do you think about the cost of clothes at the shops?

Leave a comment below by clicking on 'Comments'
I'd love to hear from you :)

Like my Facebook Page for updates :)

Until next time,

Wednesday, 26 September 2012

::Show and Tell:: Catch-up Time!

Hello there!

Where have you been? Oh wait! It's not you it's me that's been away for aaages. Well, I've been a bit busy DIY-ing, going on holiday and other such nonsensical things. Here's a quick run-down :)

Moving House
We moved into our house and instantly had to fix a blocked sink drain and leaky toilet. Grrr. Note to home buyers out there. If you're buying a house that is 10 years old or more, check things like drains, taps and toilets. There's other stuff too, but when you get a building and pest done, they don't usually check these things unless you especially request a plumber to come out and inspect too.

Holiday Pale Blue Cotton Seersucker shorts
I went on holiday to Vanuatu to visit my mum and dad recently and I really wanted some simple shorts for the trip.
I had some pale blue cotton seersucker and I thought it would be the ideal fabric to use for shorts. Especially if I was going to be doing some frolicking in the water. Mostly because it would dry quickly. Awesome!
I wanted to them to be super simple so I decided to make them using the pattern I'd used in the past to make the house pants I made earlier this year and my pyjama pants from the Pyjama Party Sewalong this year.


Gardening
When we came back from our trip we went to the shops and bought some seedlings. We kept them in their store pots for a week and they were starting to dry out so I transplanted them into some pots. Here they are about a fortnight ago and they've grown a whole heap since.


Sorbetto
I had planned to have made this before we went on holiday, but after having taken soooo long to complete it I'm kinda glad I didn't push myself to finish it before we left. It would have been a disaster!


Granny Square Throw
I've been working on this a little bit. A granny square throw intended for the Mr's soon to be 3year old nephew.


Craftsy Classes
I've been on a bit of a Craftsy class kick lately. I took the free short rows class and made this.

I've also signed up to "Beginner Serging" and "The Couture Dress".

And that's about it really. That brings you up to date.
Do something that makes you smile :)
Vanessa xoxo

Thursday, 24 May 2012

::Sewing:: Sorbetto Top

I only just realised I hadn't published this post. FAIL. So I thought I'd better tell you aaall about it. :)
Aaages ago I made my second wearable sewing project ever and I think I've done alright for a newbie.

I used the fantastic Colette Patterns Free Sorbetto Pattern download. I cut it a pretty big, but I still like it. I mean come on it's my second wearable sewing project of course I'm going to like it :)

I think the fabric is cotton. Don't know. It's out of my Mr's grandmothers stash. I didn't steal it. She was getting rid of heaps of it - we've come to the conclusion she probably bought it to make curtains, so not the most comfortable fabric to wear, but perfectly alright to have a go at sewing something :)


Things I did differently to the pattern:
~ My front pleat wouldn't sit properly so I stitched it down either side.
~ I sewed the side and shoulder seams with French seams. The fabric was fraying a bit and I had cut a large size so I figured I had the seam allowance to do it.
~ Instead of attaching the bias binding using the traditional method I used a binder foot (blogged about here). I'm all about the gadgets and I bought the binder foot and had never used it before. I loved it. I'm all about gratification of a completed project asap :)

Things I would change next time.
~I think I would cut a smaller size and make it longer.
~I'd move the bust dart too
~I'll have to be more careful when I apply the bias tape. I noticed after I had washed it for the first time that the bias tape was coming away from one of the shoulders.

So I'll have to unpick the tape and resew. Oh well, it was a quick slap together job. But it was fun :)

Until next time, I hope you are sewing something you love,
Vanessa xo