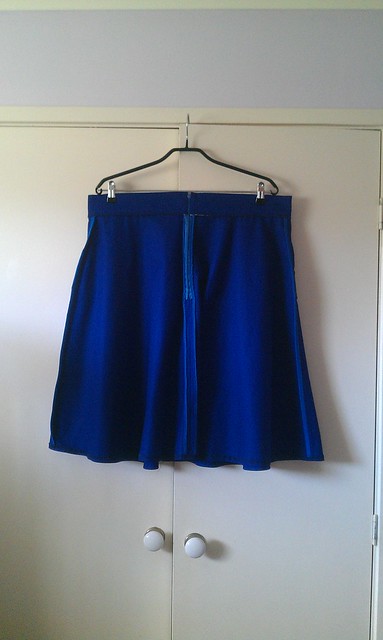
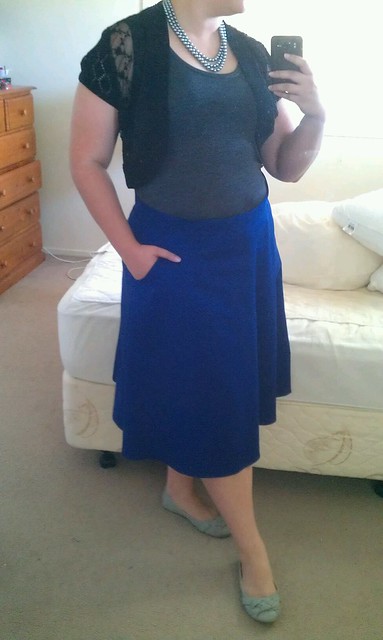
I couldn't for the life of me find the pattern pieces I'd traced and adjusted from last time. I can't remember which view I cut out last time (I checked the post and I didn't mention it. Gah!)
I traced view B pattern and then put it aside as I made this dress. I finally cut out the fabric for this skirt the other day when I was cutting my rayon kimo-no top.
I found that in the last skirt the pockets where a tad bulky so I thought I'd try to make the lining out of some quilting cotton I had in my stash. I drew a 5/8 inch seam allowance either side of the fold line. I folded the pattern at the appropriate SA line and cut out the pocket lining from the quilting cotton and the pocket from the main fabric. I could have done a pocket facing (when the pocket bag is made of a lining fabric, but the bit showing is a small section of fashion fabric), but I'm not that big a fan of them. Mine usually slip out so you can see the pocket facing edge from the outside.
I folded the pattern at the appropriate SA line and cut out the pocket lining from the quilting cotton and the pocket from the main fabric. While I was faffing about with the pockets I got rid of the point in the bottom of the pocket bag by tracing around a container lid and snipping it off.
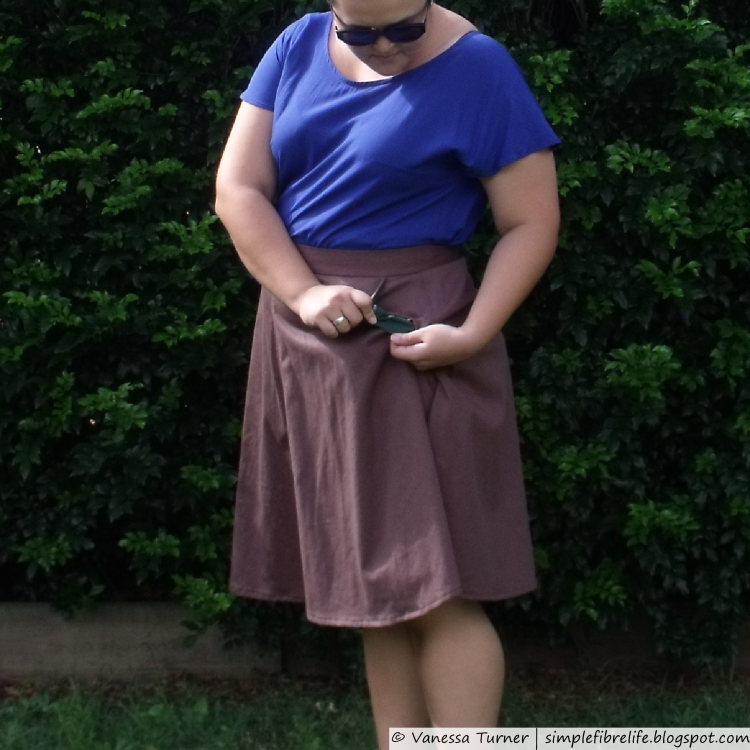 |
| This is my trying to show you the green pocket facing. |

As an experiment I used heavyweight interfacing on half the waistband. I finished the waistband by stitching in the ditch between the waistband and skirt.
I sewed in snap tab at the top of the zipper to hold the skirt up as I zip up. I came across this idea in the Pants Construction Techniques Craftsy class with Sandra Betzina.
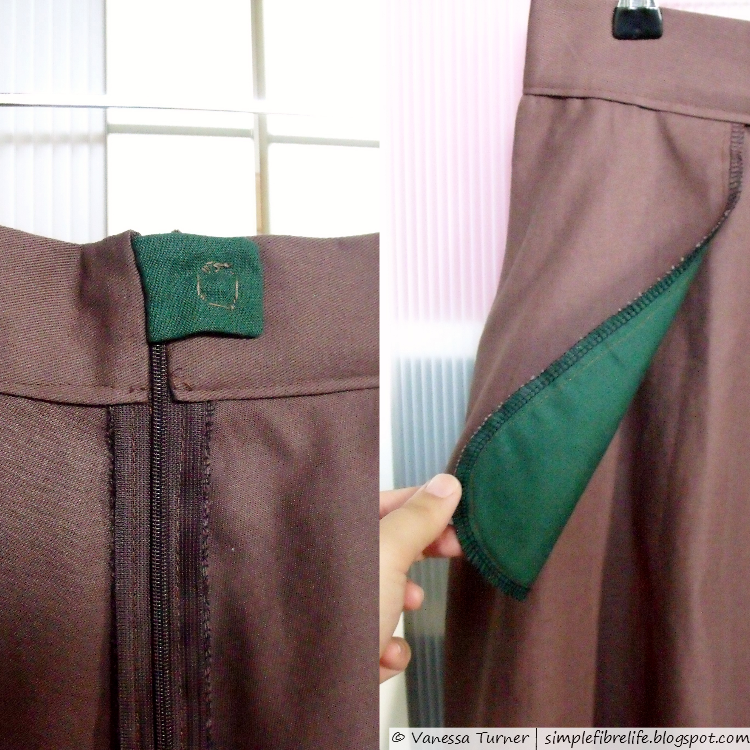
Inspired by this post I trimmed and finished the invisible zipper by sewing pouch the width of the zipper, folding all the raw edges to the inside, slipping the trimmed zipper in the pouch and sewing across the top.
To hem I sewed a line of basting at 1 inch. I then pressed the hem up at this line. To finish I turned raw edges into the crease of the fold.
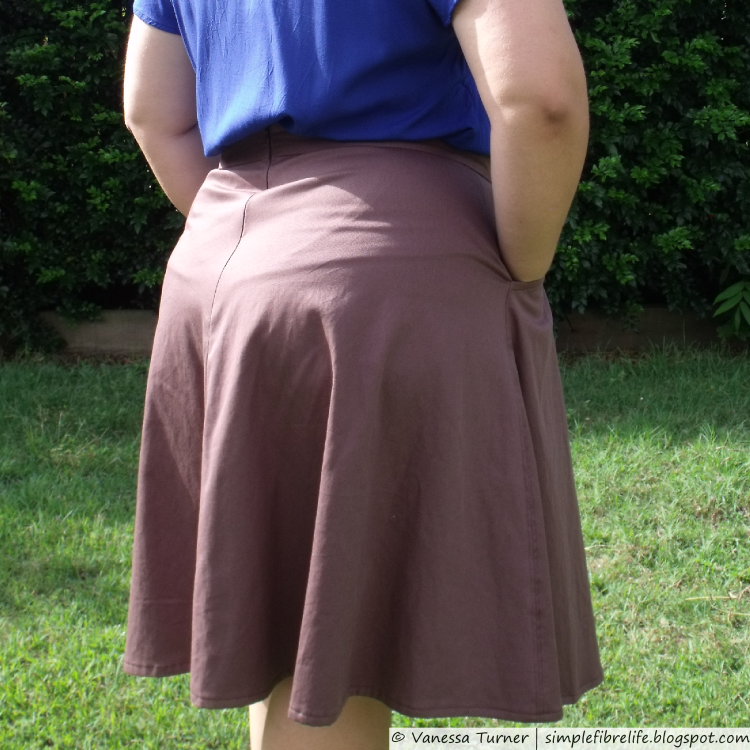
I'm happy with the fit of this skirt. It is very different to the fit of the first Hollyburn I made. The waistband is snugger than I'm used to and sits at my waist, but that was what I was going for. The skirt fabric bunches and pulls a tad above my bum, which means I either need to do a sway back or a full butt adjustment - I'm leaning towards a full butt adjustment.
~Pattern~
Sewaholic Hollyburn-View B
~Changes I made this time~
- Changed the pockets - made it a 2 piece pocket and rounded the pointed bottom
- Snap tab at top of zipper
- Invisible zipper
- The snap tab is fantastic! Makes zipping up a breeze!
- The colour is a great basic without being black.
- The fabric is a bit rough. But I'll see how it goes after a few cycles through the wash.
- The zipper gets a bit stuck at the waistband. I think it's a combination of a bulky waistband and slightly over exuberant stitching at the zipper while finishing the waistband are the culprits.
- There is a bit of pulling in the back of the skirt when I put my hands in my pockets
~Changes for Next Time~
- I might try a full butt adjustment to resolve some of the bunching at the back of the skirt.
- I have sewn the Hollyburn a couple of times in fairly heavy fabric. I'll have to try it in a lighter fabric.
STATS
| Pattern | Sewaholic Hollyburn (view b) - used before - FREE | $0.00 |
| Fabric | 3.0 m brown cotton canvas (can't remember how much it cost, it's pre-blog) | $15.00 ish |
| Notions |
|
$3.50 $0.50 $0.50 |
| Time | 8 hours (* $16-ish Australian minimum wage) | $128.00 |
| Total | $147.50 |
~Final Comment~
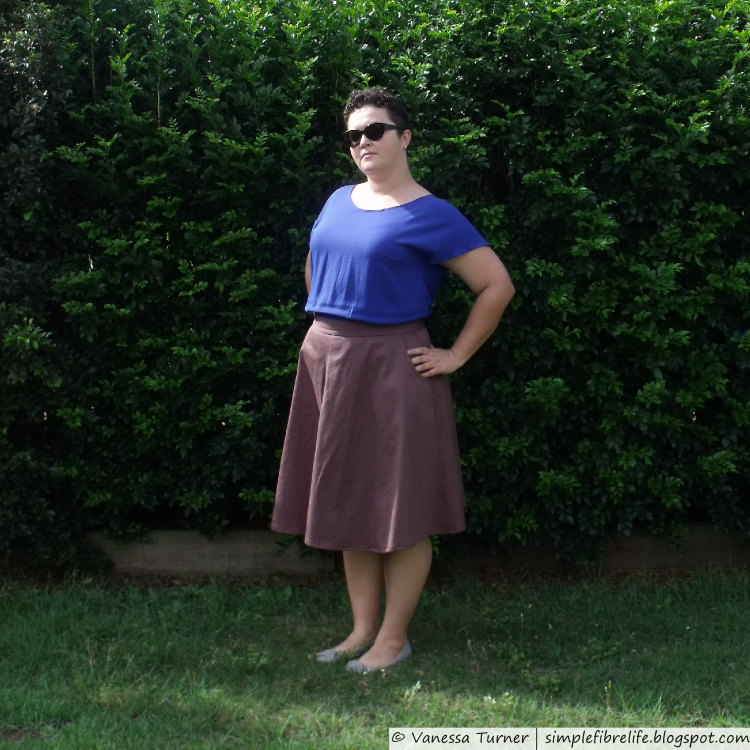
I think that the skirt has a very 70's vibe. I think it's a combination of the shape, length and colour. Overall a pretty good make. It will make a great addition to my wardrobe rotation.
So tell me, have you been meaning to make another of something you've made before? If so, what is it? Leave a comment below :)
Until next time,