Thursday, 27 June 2013

::Sewing:: Pj trousers for Pyjama Party '13

I've been wistfully reading along with Karen's Pyjama Party Tofino Style posts.
I wasn't going to play along even though I'd already bought some lovely flannel to make a pair of pyjama trousers as the ones I made last year get so much wear in winter.

I really wanted to buy Sewaholic's Tofino pattern when it first came out, but couldn't justify it. I really like this version from Suzy Bee Sews with pocket built onto the side panel. POCKETS! You know how I feel about pockets :) The tutorial for how she added pockets is here.

So I thought I'd sit out for this pyjama party and play along at my own pace. But...after seeing all the posts about pyjamas in the blogosphere after the pyjama party launch I couldn't not join in.

So last night I laid out my fabric on a freshly vacuumed carpet and cut out the pattern I used for the last pyjama party. (Note to self: cutting fabric on carpet is dumb!) Snip, snip!

I chain sewed the inner leg seam (there's only one leg seam on each leg. Totes awesome if you need to whip up some pyjama trousers in a jiffy). Zoom, zoom!

I chain overlocked the leg seams.  Brrrm, brrrm.

I did the same for the crotch seam. Zoom, brrrm!

When I went to try them on. I stopped. Which way was the back? I'd overlocked the crotch seam without thinking to mark the back (or front for that matter) in an obvious way. Gah!

I took my pattern out again and compared the shape of the crotch curves and decided which way was the back and stuck a safety pin in the back seam allowance to mark the back. (I'm pretty sure I've made that mistake every single time I've used this pattern. Derp!)
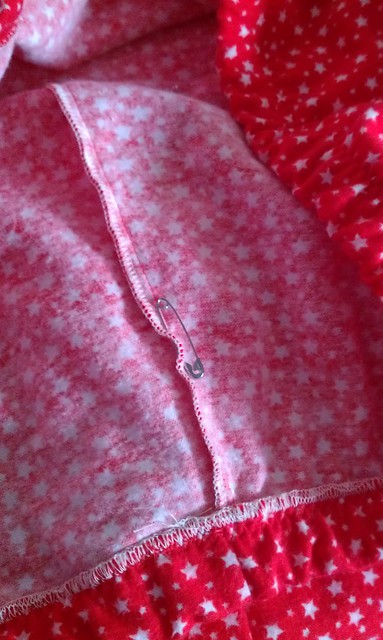
This is the back Vanessa. The Back!
I tried them on and they fit like a dream through the leg. I marked where I wanted the waist top to be folded over and pressed. (To make my pants sit level I needed to remove more from the front than the back. Hmmm interesting. The signs of the need for Full Butt Adjustment/Swayback Adjustment me thinks.)

Woohoo! Halfway there! All I had to do was to elasticise the waist and hem the bottom. It was getting on in the evening and I had to get some sleep.

This morning I was laying in bed pondering about how I was going to attach the elastic in when I remembered this post from Sarah at Sew Squirrel which led me to Melissa's fehr trade post.
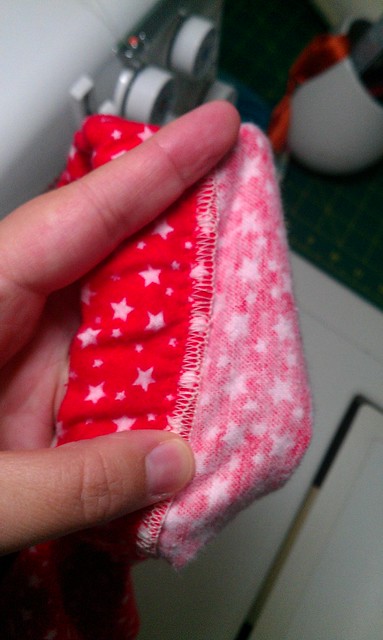
Overlocked and tricot stitched waistband.
Using only the LH needle I overlocked the elastic to the WS of the waist. I aimed the elastic to the marker for the RH needles so that it wouldn't get chopped up by the blade. Then I turned it down on the WS and tricot stitched it down. No twisty elastic for me HAH!

If I were to do this method again I would overlock the waistband to the RS of the waistband then turn in to the wrong side and then turn it under again (does that make sense?) That way the elastic would be completely concealed. It may create a bit of bulk, but with pyjamas, it's probably not that big a deal. (Or maybe flatlocking could help reduce bulk. Hmmm.)

Anyway, I wanted to take pictures in natural light so this morning after I'd attached the waistband I took a couple of piccies. One of the few times when the only full length mirror in the house happens to be the mirrored wardrobe doors in your bedroom :)
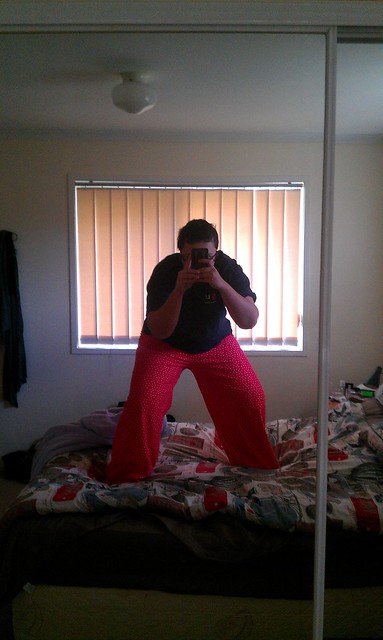
Bounce!
Finally, these evening I hemmed my pyjamas and I'm wearing them RIGHT NOW! And they are lovely and flannely and cozy and lovely. And I'm sooo glad I made them! And that my friends is how you go from 'Nah, I'll sit this one out' to 'Hey, hey! I've made pyjamas too!' in 48 hours :)

So now that I'm finished I'm gonna link my red fabric with white star clad butt up on Karen's Pyjama Party Launch post.

Until next time, I hope your getting involved with things that make you cozy.
Vanessa xoxo

Friday, 21 June 2013

::Sewing:: First Pair of Undies

A long while ago I downloaded Zoe's undies and vest pattern. I bought her a cup of coffee for the privilege of using her undies pattern.

I bought some jersey and I wanted to make something NOW.
So I printed the pattern out and stuck it together (I did the Colette Laurel dress pattern at the same time. I haven't done anything with that yet but its ready to go when I am!) I cut out the fabric and sewed it up. I used my sewing machine, even though I have an overlocker. I thought for my first go I'd be better off not involving a cutting blade just yet.

I  didn't want to sew the elastic to the leg holes then sew the side seams. I wanted a smoother finish than the end bits of elastic poking into the inside. So I sewed the side seams then attached the elastic.


I tried them on and learnt a lot. So what did I learn?

Lesson 1: inserting elastic into a stretchy leg whole is interesting (read: fiddly as s###). 
I sewed the elastic flush with the raw edge using a zig-zag stitch then turned it under to the inside and sewed it with the tricot stitch.

Looking at some RTW undies it looks like they sew the elastic on, then sew the side seams then flatten out the elastic edges by stitching them flat to the inside. I'll have to remember that for next time.

Lesson 2: fabric and direction of stretch are very important
I read Rachel's post  which made me think of the direction of the stretch. That is why the undies seemed very low rise.
I also think that next time I cut out fabric for undies I'll have to take the method of attaching the elastic into considerate. I think I probably lost a fair amount of fabric using the stitch turn stitch method on this trail pair of undies.

Lesson 3: you have to make your elastic work for its keep
I made my lengths of elastic too long so they weren't keeping the fabric snug.

Lesson 4: I like a full coverage
Namely over my derrière and therefore/also sides that that come lower over the upper leg region. I think I'm aiming for a mid rise boyleg/granny pant.

That was my short foray into underwear sewing. All in all not a raging success but still a bit of fun and lots learnt. I'll try again one day. But not any time too soon.


Cheers,
Vanessa xoxo

Thursday, 6 June 2013

::Sewing:: McCalls 5591 for my Mama

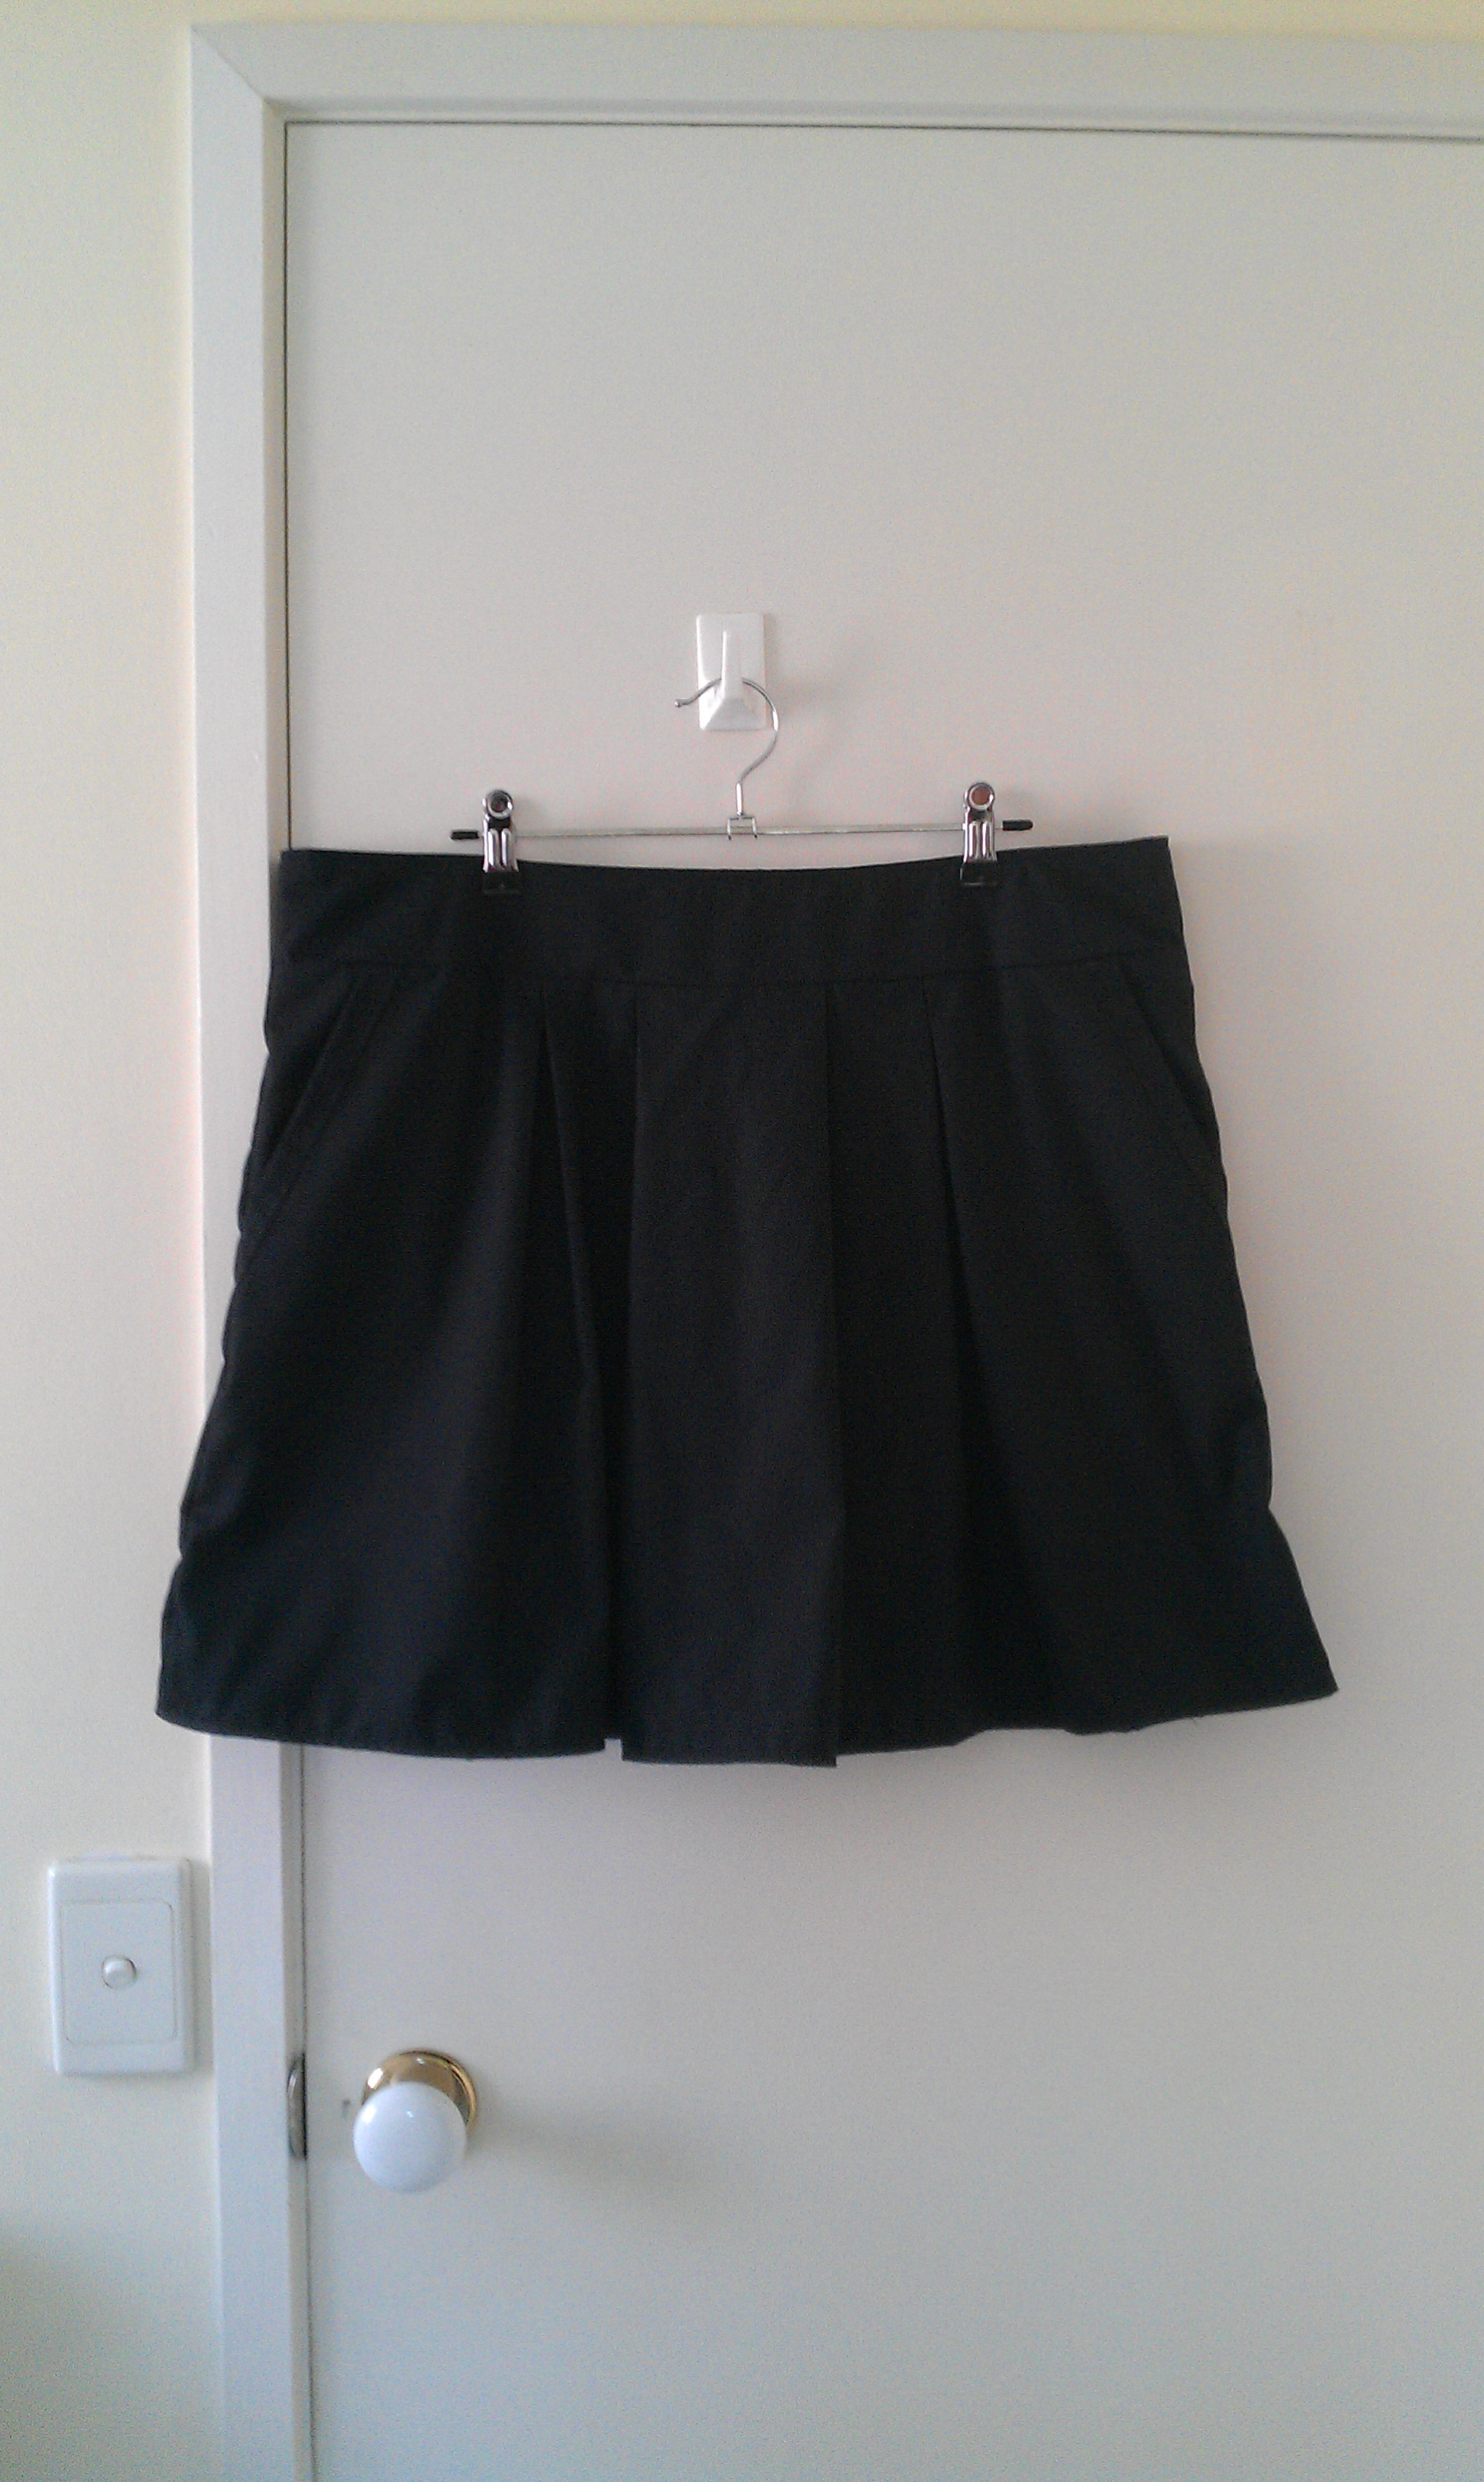
I have a black skirt that I just adore. ADORE! I’ve had it for years and years and I’m starting to see the effects of years of weekly wear take it’s toll. :(  She is my BBS (Best Black Skirt) and I think it she finally gave up the ghost I would be truly lost and dazed.

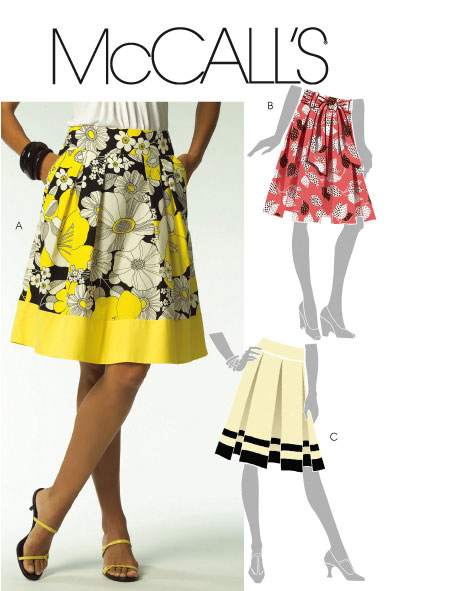
In my travels I came across the pattern McCalls 5591. It looked similar to my BBS with the bonus of having pockets to boot!

At the beginning of the year with the added motivation of my Sewlution pledge I started on a skirt. I made it up almost to the end when I realised it just wasn’t going to work. My ample derriere made the skirt sit strangely. I’ve come to realise Me and side zippers are bestester friends than me and back zippers. That and pleats in the back didn't work so well.

I think there was probably a dire need for a titch of grading and perhaps a Full Butt Adjustment (although, how the heck do you do a full butt adjustment on a pleated skirt :S) and the fact the skirt was made out of cotton poplin probably didn't help either.

So the skirt that was meant to be my new BBS sat sadly in my sewing space for some time... Until my mum was in town visiting me and she spotted it. The conversation that followed went something along the lines of...
Mum: “What’s this?”
Me: “Oh just a skirt I was making that didn’t work out. Try it on if you like.”
Mum: “Oh. It fits alright.”
Me: “Would you wear a skirt like that?”
Mum: “Yeah.”
Me: “Well then I’ll finish it and give it to you.”
Mum: "Ok, but can you....."
And thus followed a couple of adjustments she wanted me to make, like put the zipper in the back and not make the hem too big.

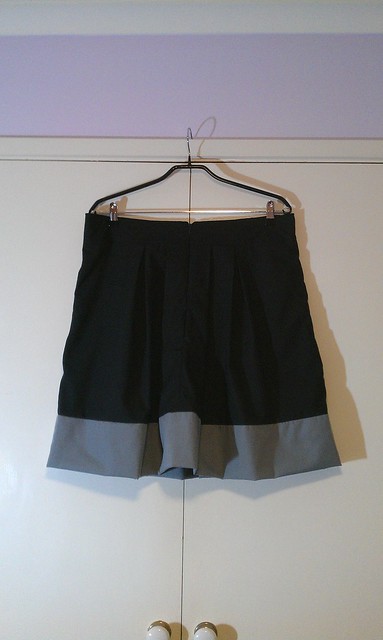
That was back in early February. I chugged along slowly on finishing the skirt, but then mothers day was around the corner and dad was going to be in town a bit before so I could give it to him to take back to mum. All the stars aligned and I had to get the skirt done so mum could have it for mother’s day. I finished the skirt not including the bottom band as mum had said that she didn’t mind it being that short. But after finishing and hemming it I thought it was a bit too short....especially considering it was for my mother!


So I decided that I would use some grey fabric I had on hand to add a band to the bottom; as it did in the pattern anyway. At least the skirt could still be a neutral that could be worn with a variety of tops.

The back seam did some creepy wrinkle thing that made it slightly shorter at the back, but other than that the skirt was good to go.

That my friends is the tale of how my mother got herself a black and grey skirt sewn by me. She wore it on Mothers day. I don't have any piccies of it on her, oh well. you win some you lose some.

This skirt is going in the Sewlution Tally so booyah! I will try my hand at making another black skirt to replace/supplement my current black skirt fave but I've got other things on my radar at the moment. All will be revealed..... :)

Until next time, I hope you're finding some successes in your not so successes,
Vanessa xo