Showing posts with label Free Pattern. Show all posts

Thursday, 11 December 2014

::Sewing::Free Pattern Alert! - StyleArc Ann T-Top


The other day, as I was perusing Stitches Magazine (an Australian sewing mag) I came across an advertisement for StyleArc.They are giving away an Ann T-Top when you sign up for their newsletter. If you're interested go here and sign up so you can get a copy too.

But do it quick, it only lasts until the end of the year!


I've never used a StyleArc pattern before so I downloaded it to see what they're like. I haven't used it yet, but I'm looking forward to trying it out.

I also got their Barb's Stretch Pant as part of Threads Magazine promo a few months back on the last day of the promo! Lucky!

This is not a sponsored post. I just love me a free pattern and sharing the free pattern goodness.

Have you used StyleArc patterns before?
Did you like it?
What do you think about the free patterns indie pattern companies put out? 
Are they generous or just another marketing tool? 
Tell me in the comments :)


Until next time,

Let's connect online :)
Instagram Icon Facebook Icon Pinterest Icon Twitter Icon

Wednesday, 13 August 2014

::Crochet::FO:: Pink and Grey Pippy Slippers

Recently I've worn my Brown Pippy Slippers in the company of others and have received lovely comments about how comfy they look.

Side-note: I can't believe I've had these slipper for two years.


I'm not often a selfless maker, but when it comes to my nearest and dearest my selfish making defenses are compromised. (I'm a sucker, I know)
So when my sister put in an order for some slippers in hot pink and grey, of course I said yes; but they would have to be a made of what is in my stash, which meant they were going to be a dusty pink and grey.


These seemed to come together pretty quickly. I might have something to do with making them both at the same time each segment at a time. So I did the goes of both, then the foot of both, then the pink heel and then the grey heel bits. They took me about a week on and off.

I do get a sore wrist from crocheting because I hold the hook like a pencil and flick my wrist to YO, but that's only if I go hard for more than an hour at a time. I find crocheting pretty mellow compared to knitting, because you're only working with one active stitch on the hook.

I made a few changes which I've made note of over on Ravelry.
Side-note: If you're on Ravelry say Hi :)

I crocheted the back seam instead of sewing it because that's how I roll :) and because when you're all snuggly and warm on the couch who can be arsed to get up and find a darning needle.


~Numbers~
I forgot to record how much time it took me to make these puppies, but I'm estimating about a 8 hours, but it was probably more.

I'm just estimating how much the yarn was worth because I probably didn't even use a whole ball and they from my stash anyway.

PatternPippy Slippers from Meet Me at Makes - found hereFREE
WoolIn Stash~$3.50
Notions NA $0.00
Time8 hours (* $16-ish Australian minimum wage) $128.00
Total
$131.50

Not cheap for house slippers, but it was still fun to revisit this pattern and do some crochet again.

~Final Comment~
These are pretty cute slippers. I like the colour combo, thinking about it know though I should have put the dark colour at the pressure points of the foot (toe and heel) because they'll probably get dirtiest.
I hope my sis likes them, uses them and appreciates them :)

Question time:
 
Do you crochet?
Do you begrudge making for others?  
What was the last thing you made for someone else?
Leave your answer in the comments :)

Until next time,


Let's connect

Wednesday, 16 April 2014

::Sewing::FO:: Kimo-No Sorbetto Cobalt Rayon Top


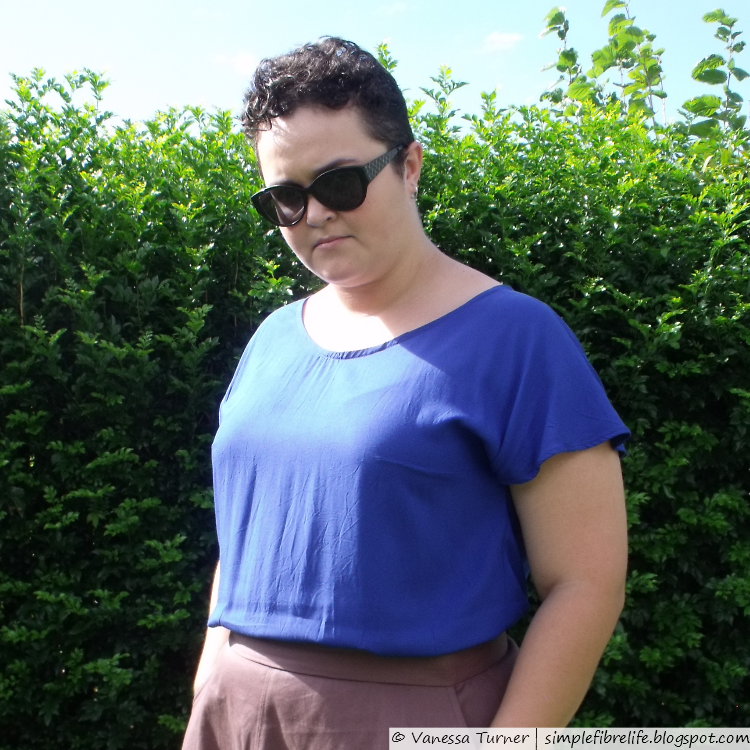
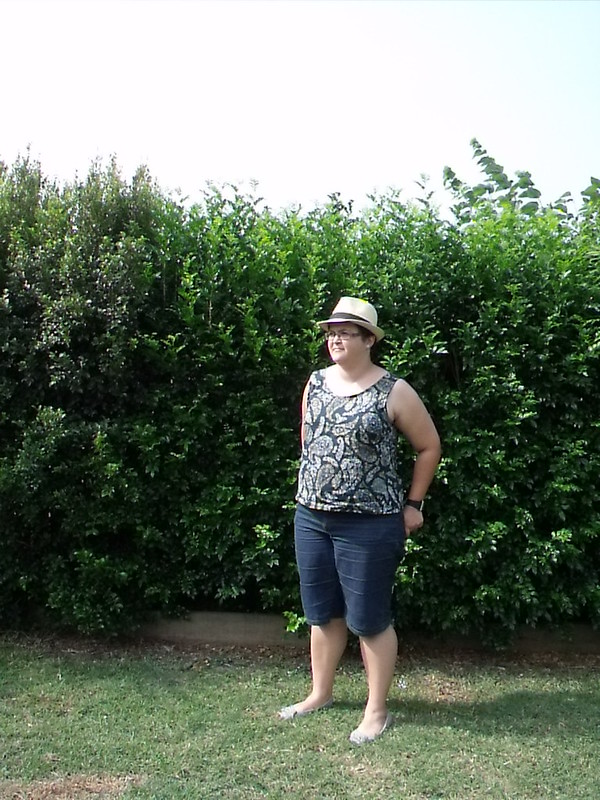
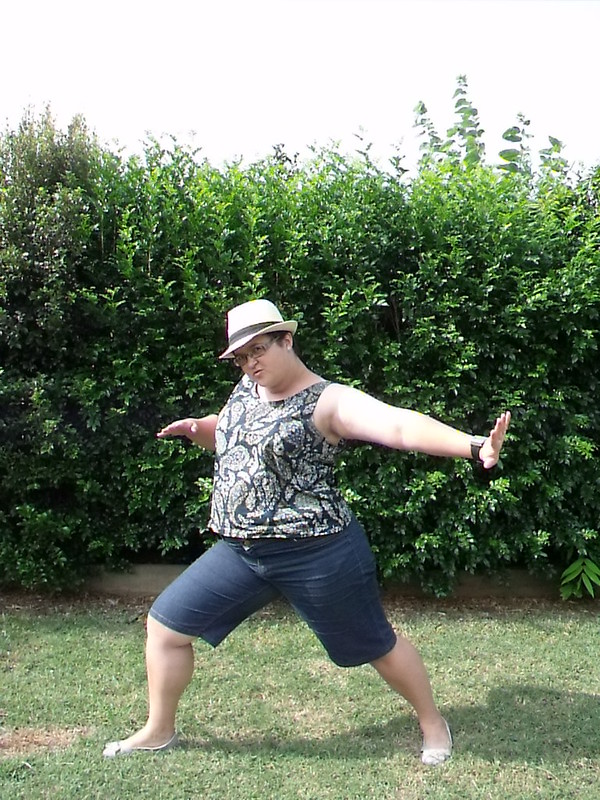
I don't know what is happening with my face here.
Please excuse the 'bitchy face'
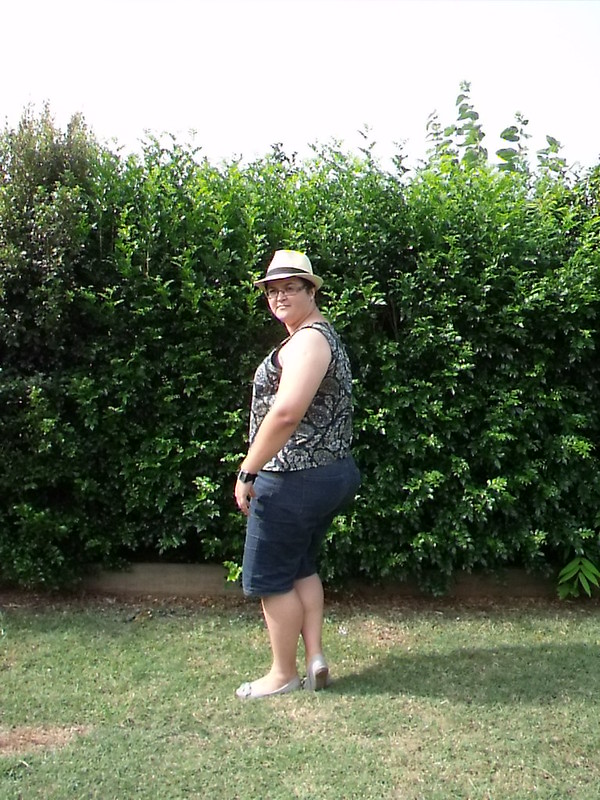
This blue rayon has been calling to me since I bought in September last year. I've been a little afraid to play with it because it felt slippery and slinky and I thought I would be a bugger to sew.
Last week I was playing with my fabric (please tell me I'm not the only one who takes fabric out of my stash; pets it; admires it and folds it all back into the stash) and inspiration struck. I think this fabric would work fabulously in a kimono tee. I looked to Miss P's amazing pashmina refashions for inspiration.

Took out my Colette Sorbetto pattern and traced out the size 18, added 2 inches in length, raised the back neckline by 2 inches and drafted on some kimono sleeves. I took photos of my process because I was going to share how I added my kimono sleeves with you, but I won't because I stuffed that up a bit.

A little trick I thought up as I was added length was to trace the pattern, mark the added length at the bottom then slide the pattern down to the marking and trace the new hem. This trip probably wouldn't work in all cases (like adding length to a circle skirt) but it worked fine here.


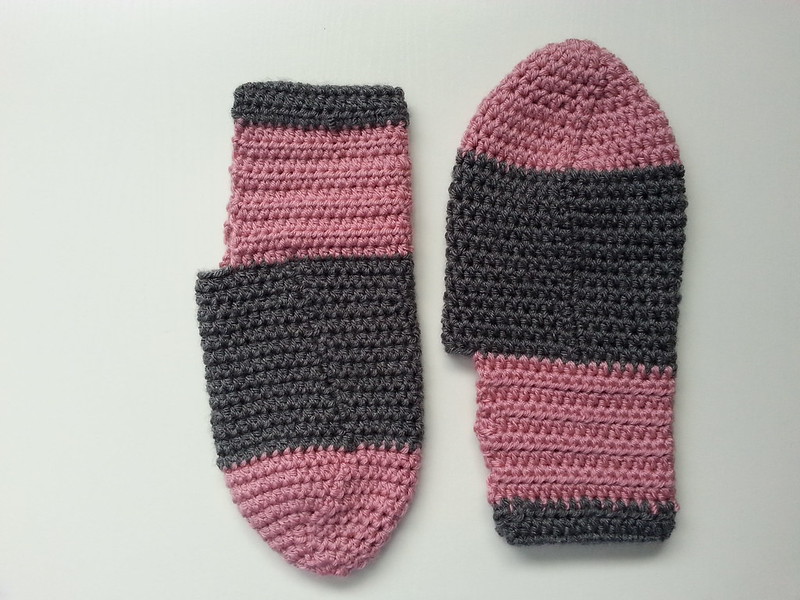
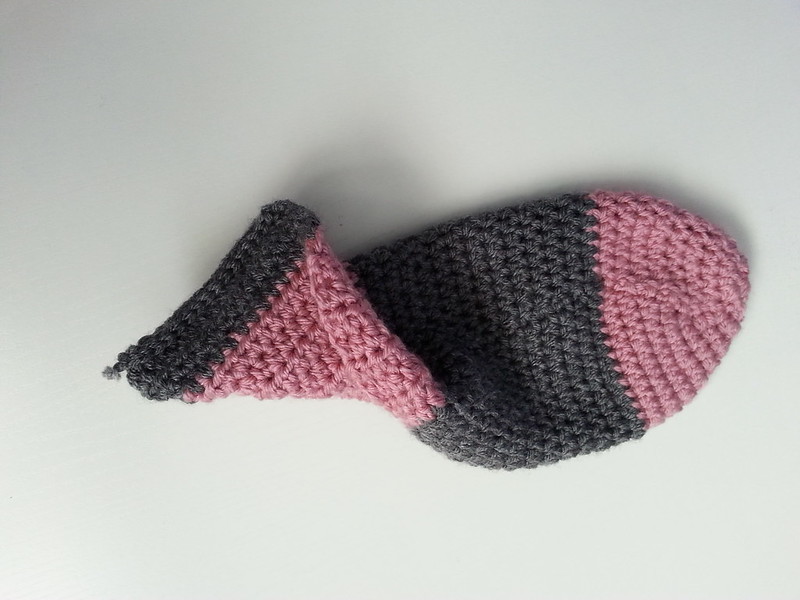
I cut out the fabric using a rotary cutter and cutting mat which I thought would be safer than scissors with this slinky slippery fabric. A few hours later I had a 'ding' moment and thought I may have drafted kimono too narrow. My suspicions were confirmed when I basted the top together. The sleeves where far too snug and distorted the neckline.

I unpicked the side seams. I resigned to the fact that this wasn't going to be a kimono tee and made it a cap sleeve top by cutting from the outer edge of the shoulder seam to the underarm (just above the bust dart on the front) removing the lower portion of the sleeve. Thinking about it now I should have cut the sleeves with a curve so the cap sleeve was less pointy at the shoulder seam.

Construction wise this top had a bit of back and forth about it.
The first bit of sewing I did was to stay stich the neckline.
I sewed the bust darts and then sewed and overlocked (serged) the shoulder seams.
After baste fitting the side seams; ripping them out and removing the lower portion of the kimono sleeves I overlocked  all along the side and sleeve edges.
The side seams where then sewn.
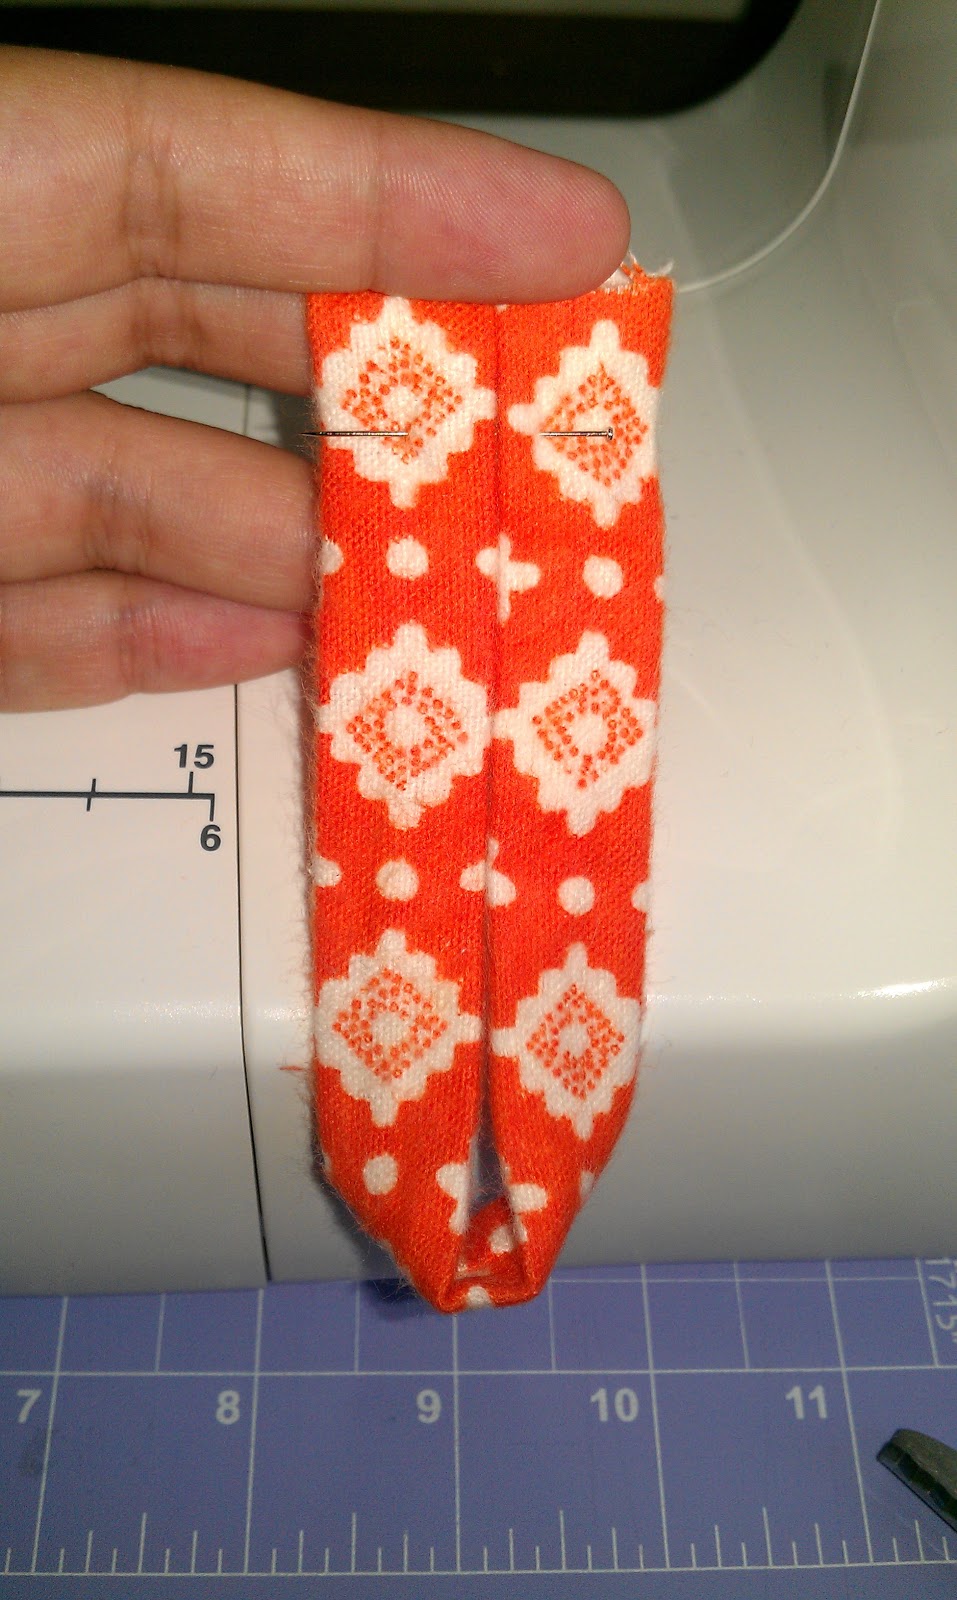
I did a double turn hem for the sleeves.
I overlocked the hem, then unpicked it because I didn't want bulk in the hem.
The neckline and hem where faced with bias tape.


I've avoided rayon because it's a bit slippery and I thought it was synthetic. But as it turns out it’s a natural fibre that has very intense processing (which I learnt from Steph C). In the end it wasn't that hard to tame the rayon.

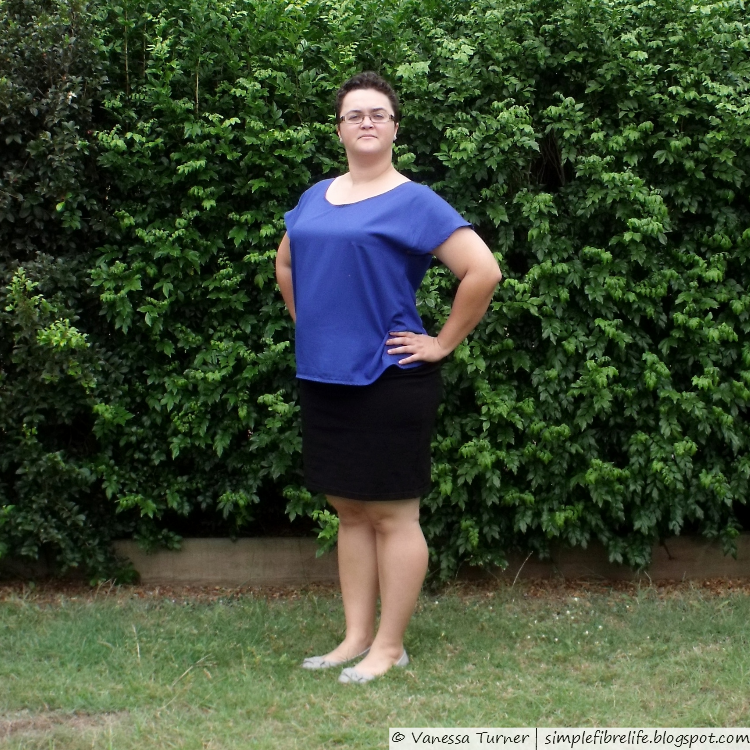
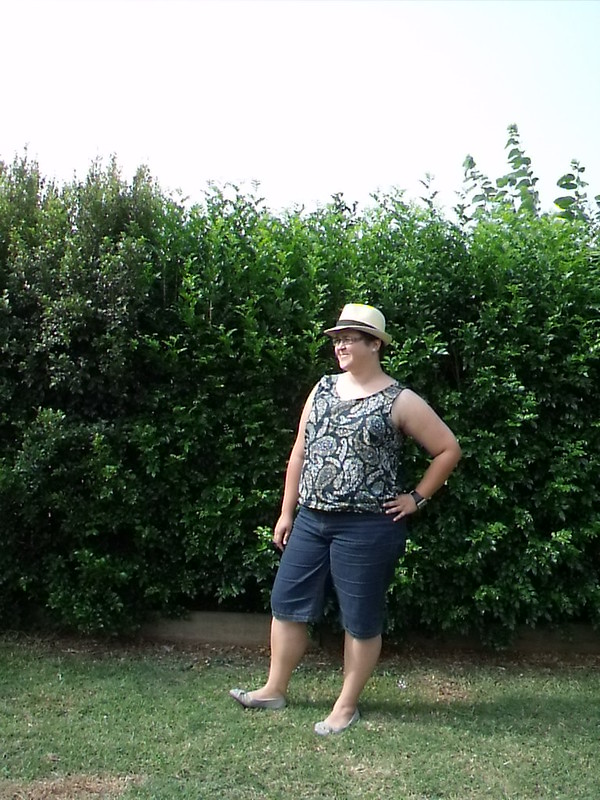
I'm surprised with how much I like the sleeves on this top. It's a happy accident. I like the fit although I could probably be a bit snugger. The neckline is wider than what I'm used to and find myself fussing with it to make sure I keep my modesty and my bra straps covered. Thinking about it now, maybe bra strap carriers are the answer.

~Pattern~
Colette Patterns Sorbetto - Hacked

~Changes I made this time~
  • Back neckline raised
  • Added length
  • Added kimono sleeves, which I then had to adjust into a cap sleeve
~What I Like~
  • The fabric colour and drape
  • I like the length
  • The cap sleeves turned out better than I thought they would
~What I Don't Like~
  • The neckline is a bit wide and the front neckline sometimes droops a little too low for comfort
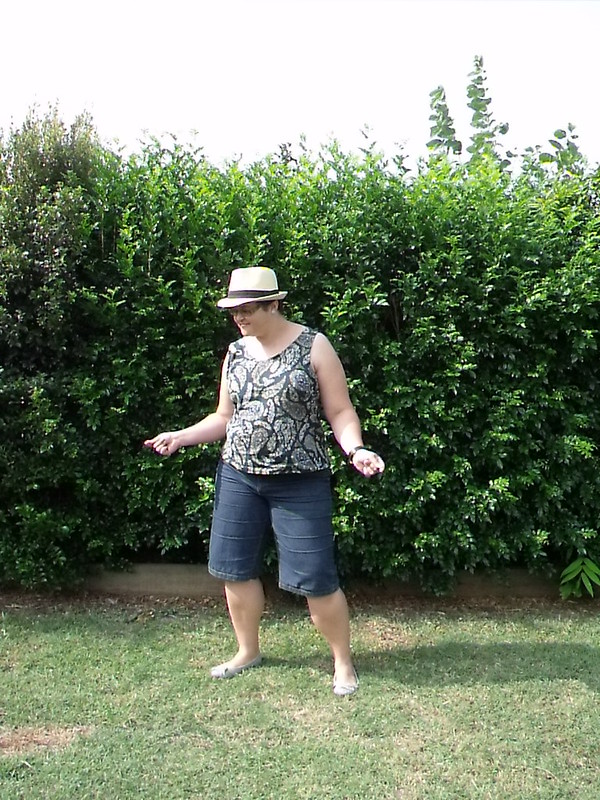
  • The sleeve hems are a bit bulky and alter the drape
  • The top has a lot of ease
~Changes for Next Time~
  • Try tracing a size 14 next time and from under the grading out to a size 18 from the waist to hip
  • Make the neckline narrower (although if I trace a size 14 at the top it might not need it)
  • Finish all openings with bias tape as facing
  • If I'm going to have another go at making a kimono top I must remember to shift the lower part of the sleeve down a 2 inches and rotate the bust dart into a French dart so it doesn't get messed up in the kimono sleeve.
STATS
PatternColette Patterns - Sorbetto (FREE)$0.00
Fabric 1.5m cobalt blue rayon (spotlight) $6.29/m$9.45
Notions
  • Thread
  • Bias Tape
$2.00
$1.50
Time6 hours (* $16-ish Australian minimum wage) $96.00
Total
$108.95

Kind of expensive for a basic top, however, the materials were cheap, considering the lessons I learnt and the fact there was a lot of unpicking I'm totally cool with that.

~Final Comment~
I really like this top and I can see myself wearing it a lot. Like, A LOT.


Have you been able to 'save' a project that was going a bit wrong? What was it?
I'd live to hear about it, leave me a comment. :)


Until next time,


Lets connect

Saturday, 15 February 2014

::Sewing::FO:: Navy Paisley Sorbetto

"You're a pretty hedge......"
"Oh hey!"
"No, I wasn't just talking to the hedge. I'm just standing..."
"Well, this is awkward"
"Hey, let's dance!"
"You're not dancing..."
"Alright, I'll make you dance with my kung fu moves!"
"Why am I wearing a hat? I'll give you a clue.
It starts with B and ends with ad-hair-day"
I've worn my tawny Sorbetto (mentioned in this post) nearly to death. So it's about time that I make another Sorbetto to put into my wardrobe rotation (I never wear this one).

I cut the fabric for this out in front of the TV as a break when I was making my Navy S2444 dress. I've had the fabric in my stash for over 12 months (I know because I showed to you here). It's a cotton Japanese Tana Lawn.

I sewed this over the past week in 3 x 2 hour-ish sessions. The part that took the longest was binding the armholes and neckline.

As this top is a navy bluey colour I'm going to count it as a Sewcialists Blue February make. Oh Yeah!

~Changes I made this time~

  • I raised the back neckline. I found the shoulders on the tawny one I made slip and slide all over the place so I thought raising the back neckline would fix that.


~What I Like~

  • I really like the colour and print of this fabric. The main navy colour is part of my colour palette.
  • I like that its a light and airy fabric. Something really important for warm Brisbane weather.
  • I like the raised back neckline, as it does stop the shoulders slipping around.

~What I Don't Like~

  • The armholes gape a bit so my bra peaks out sometimes.
  • The front neckline gapes a bit too, but that's probably got something to do with the quick and dirty neckline binding I did - Progress not perfection ;)
  • It's a bit shorter than the tops I tend to be wearing these days, but looking at the pics it looks ok.
  • I prefer sleeves to cover up my "cuddly" and pastey white upper arms.

~Changes for Next Time~

  • I think some of the armhole and neckline gaping is because the top halve of the garment is too big. To overcome this I should make it in a smaller size and do a Full Bust Adjustment.
  • Maybe add an inch or 2 in length.

STATS
After my last post I thought it would be interesting to track the "value" of a garment. Although I should mention that a lot of these numbers and amounts a very rough. So expect a lot of "ish"es :).
Fabric1.5ish metres (but there a some scraps)$18.60
Notions
  • bias binding - a metre and a half-ish = $1.05ish
  • Thread - a third-ish of a 100m spool = $0.90ish
$1.95
Time6-ish hours (* $16-ish Australian minimum wage) $96.00
Total
$116.55

Wowzers! When I see those numbers it blows my mind. It hits home about the 'true' cost of making something. It makes me wonder too about how shops make their clothes so cheap.
The time cost is interesting. I really enjoy making things so I don't really consider time as a dollar value when I'm making something.

~Final Comment~
Overall I am pretty pleased with my second (wearable) Sorbetto.

What do you need to add to your wardrobe rotation?
What do you think about the cost of clothes at the shops?

Leave a comment below by clicking on 'Comments'
I'd love to hear from you :)

Like my Facebook Page for updates :)

Until next time,

Thursday, 24 May 2012

::Sewing:: Sorbetto Top

I only just realised I hadn't published this post. FAIL. So I thought I'd better tell you aaall about it. :)
Aaages ago I made my second wearable sewing project ever and I think I've done alright for a newbie.

I used the fantastic Colette Patterns Free Sorbetto Pattern download. I cut it a pretty big, but I still like it. I mean come on it's my second wearable sewing project of course I'm going to like it :)

I think the fabric is cotton. Don't know. It's out of my Mr's grandmothers stash. I didn't steal it. She was getting rid of heaps of it - we've come to the conclusion she probably bought it to make curtains, so not the most comfortable fabric to wear, but perfectly alright to have a go at sewing something :)


Things I did differently to the pattern:
~ My front pleat wouldn't sit properly so I stitched it down either side.
~ I sewed the side and shoulder seams with French seams. The fabric was fraying a bit and I had cut a large size so I figured I had the seam allowance to do it.
~ Instead of attaching the bias binding using the traditional method I used a binder foot (blogged about here). I'm all about the gadgets and I bought the binder foot and had never used it before. I loved it. I'm all about gratification of a completed project asap :)

Things I would change next time.
~I think I would cut a smaller size and make it longer.
~I'd move the bust dart too
~I'll have to be more careful when I apply the bias tape. I noticed after I had washed it for the first time that the bias tape was coming away from one of the shoulders.

So I'll have to unpick the tape and resew. Oh well, it was a quick slap together job. But it was fun :)

Until next time, I hope you are sewing something you love,
Vanessa xo

Saturday, 28 April 2012

Pyjama Party Sewalong - FO: Orange Pyjama Pants

Yay my Pyjamas are done! You can read about me putting them together here.
Here's a couple of quick action shots of me wearing them.


They are sooo comfy, I like the loose fit, the long length and the not too tightness of the waist elastic (I detest it when trousers ride up to my waist as I go about my business)

Also, as per request from Karen, I'm still in the midst of reading Sherlock Holmes: The Complete Novels and Stories - Volume II.

I really enjoy this read. I really feel sad when I finish a book I really enjoy, so when I find one I really like I savour it and take as long as possible to finish it. Another book I'm slowly making my way through is Roald Dahl: Collected Short Stories. I really enjoy the interesting twists in these fantastic bite-sized stories. Just fantastic.

To finish I'd just like to say a big 'Thank You' to Karen of Did You Make That. This is such a fantastic idea for a Pyjama Part Sewalong and I really enjoyed it.

I hope you're relishing what you're reading at the moment.
V xo

Pyjama Party Sewalong - Elastic Casing, Hemming, and Done!


When I last left you all I needed to do was sew the elastic casing and hem my pyjamas.
My plan was to do this during the week. In fact we even had a public holiday in the middle of this week, but alas, as it sometimes does, life got in the way and I lost my sewing mojo.

So in order to make sure I was on time with the Pyjama Party Sewalong I quickly sewed the last few bits this afternoon.

First off I with inspiration from the Pyjama Party Sewalong hostess Karen, I sewed a hanging loop for the back of my pyjamas.

2 inch strip of fabric
folded RST
sewn a 3/8 inch seam
pinked the fabric fairly close to the stitch line
turned the fabric tube RSO
pressed and it's ready to install

The (not) fun part of measuring and pinning the elastic casing and trouser hems came after that. While I was measuring, pinning and pressing I thought I may as well do it for both the waistband and trouser hems at the same time, it saved me having to go back and do the other.
waistband had 1/2 inch turned under
the waistband was 1 1/2 inches wide to
accommodate the 1 inch wide elastic
while pinning the waistband I inserted
the hanging loop I had made earlier
I just folded a 2 inch hem on the
trouser legs, as I had already
overlocked the edges

Now I was ready to sew! Woo hoo!
for the waistband I sewed along the bottom of the casing,
making sure I was catching the folded under edge
for the waistband I also made sure to leave
an opening to insert the elastic
the trouser hems were nice and easy; I just sewed and made sure the
bottom of the hem ran along the edge of the throat plate

I was pretty pumped to insert the elastic, it meant I was an little bit away from being done. Oooh Yeah!
to make sure the elastic didn't get lost in the casing I safety pinned one end to the inside near the opening I had left. I inserted the other end into my trusty (and sometimes frustrating) Clover Easy Loop Turner.
the elastic al ready to be threaded through
the waistband elastic casing

I threaded the elastic through, making sure not to twist it as I was moving it through the casing. Once the elastic had been threaded through the casing I safety pinned the two ends together and tried them on to see if there was too much slack in the elastic. There was a little so I readjusted my safety pinning to make the elastic a little shorter and that did the trick. Not too tight, so as to cut of circulation, but not too loose that I'd be worried my trousers would drop at any moment.
the elastic after I had fitted my trousers
 When I was happy with the elastic sizing I just zig-zag stitched the overlapped ends of the elastic back and forth a couple of times to secure the elastic.
the elastic ends all fastened together and
ready to keep my pyjama trousers from
falling down :)
All I needed to do was stitch the opening to the elastic casing closed and I was all done. I set the stitch a bit longer. I thought it would make it easer for in future if I needed to readjust the elastic (or something).
the waistband elastic casing opening
stitched closed
Aaand then they were done! Oooh yeah! Sooooo great! In fact I'm wearing them now because there are sooooooooo comfortable.
Here are my jammies, done and done!
the inside and the hanging loop
the hanging loop in action -
what a brilliant idea!

And that's all she wrote! (well that's all I've written about my pyjama trousers anyway)
Hope you are enjoying the fruits of your labour!
V xo