Hey there!
I attended a wedding mid April (What do you mean it's mid May!) and I made a dress, as I mentioned in my ambitions post. In true procrastinator style I didn't start making this dress until a couple of weeks before the wedding.
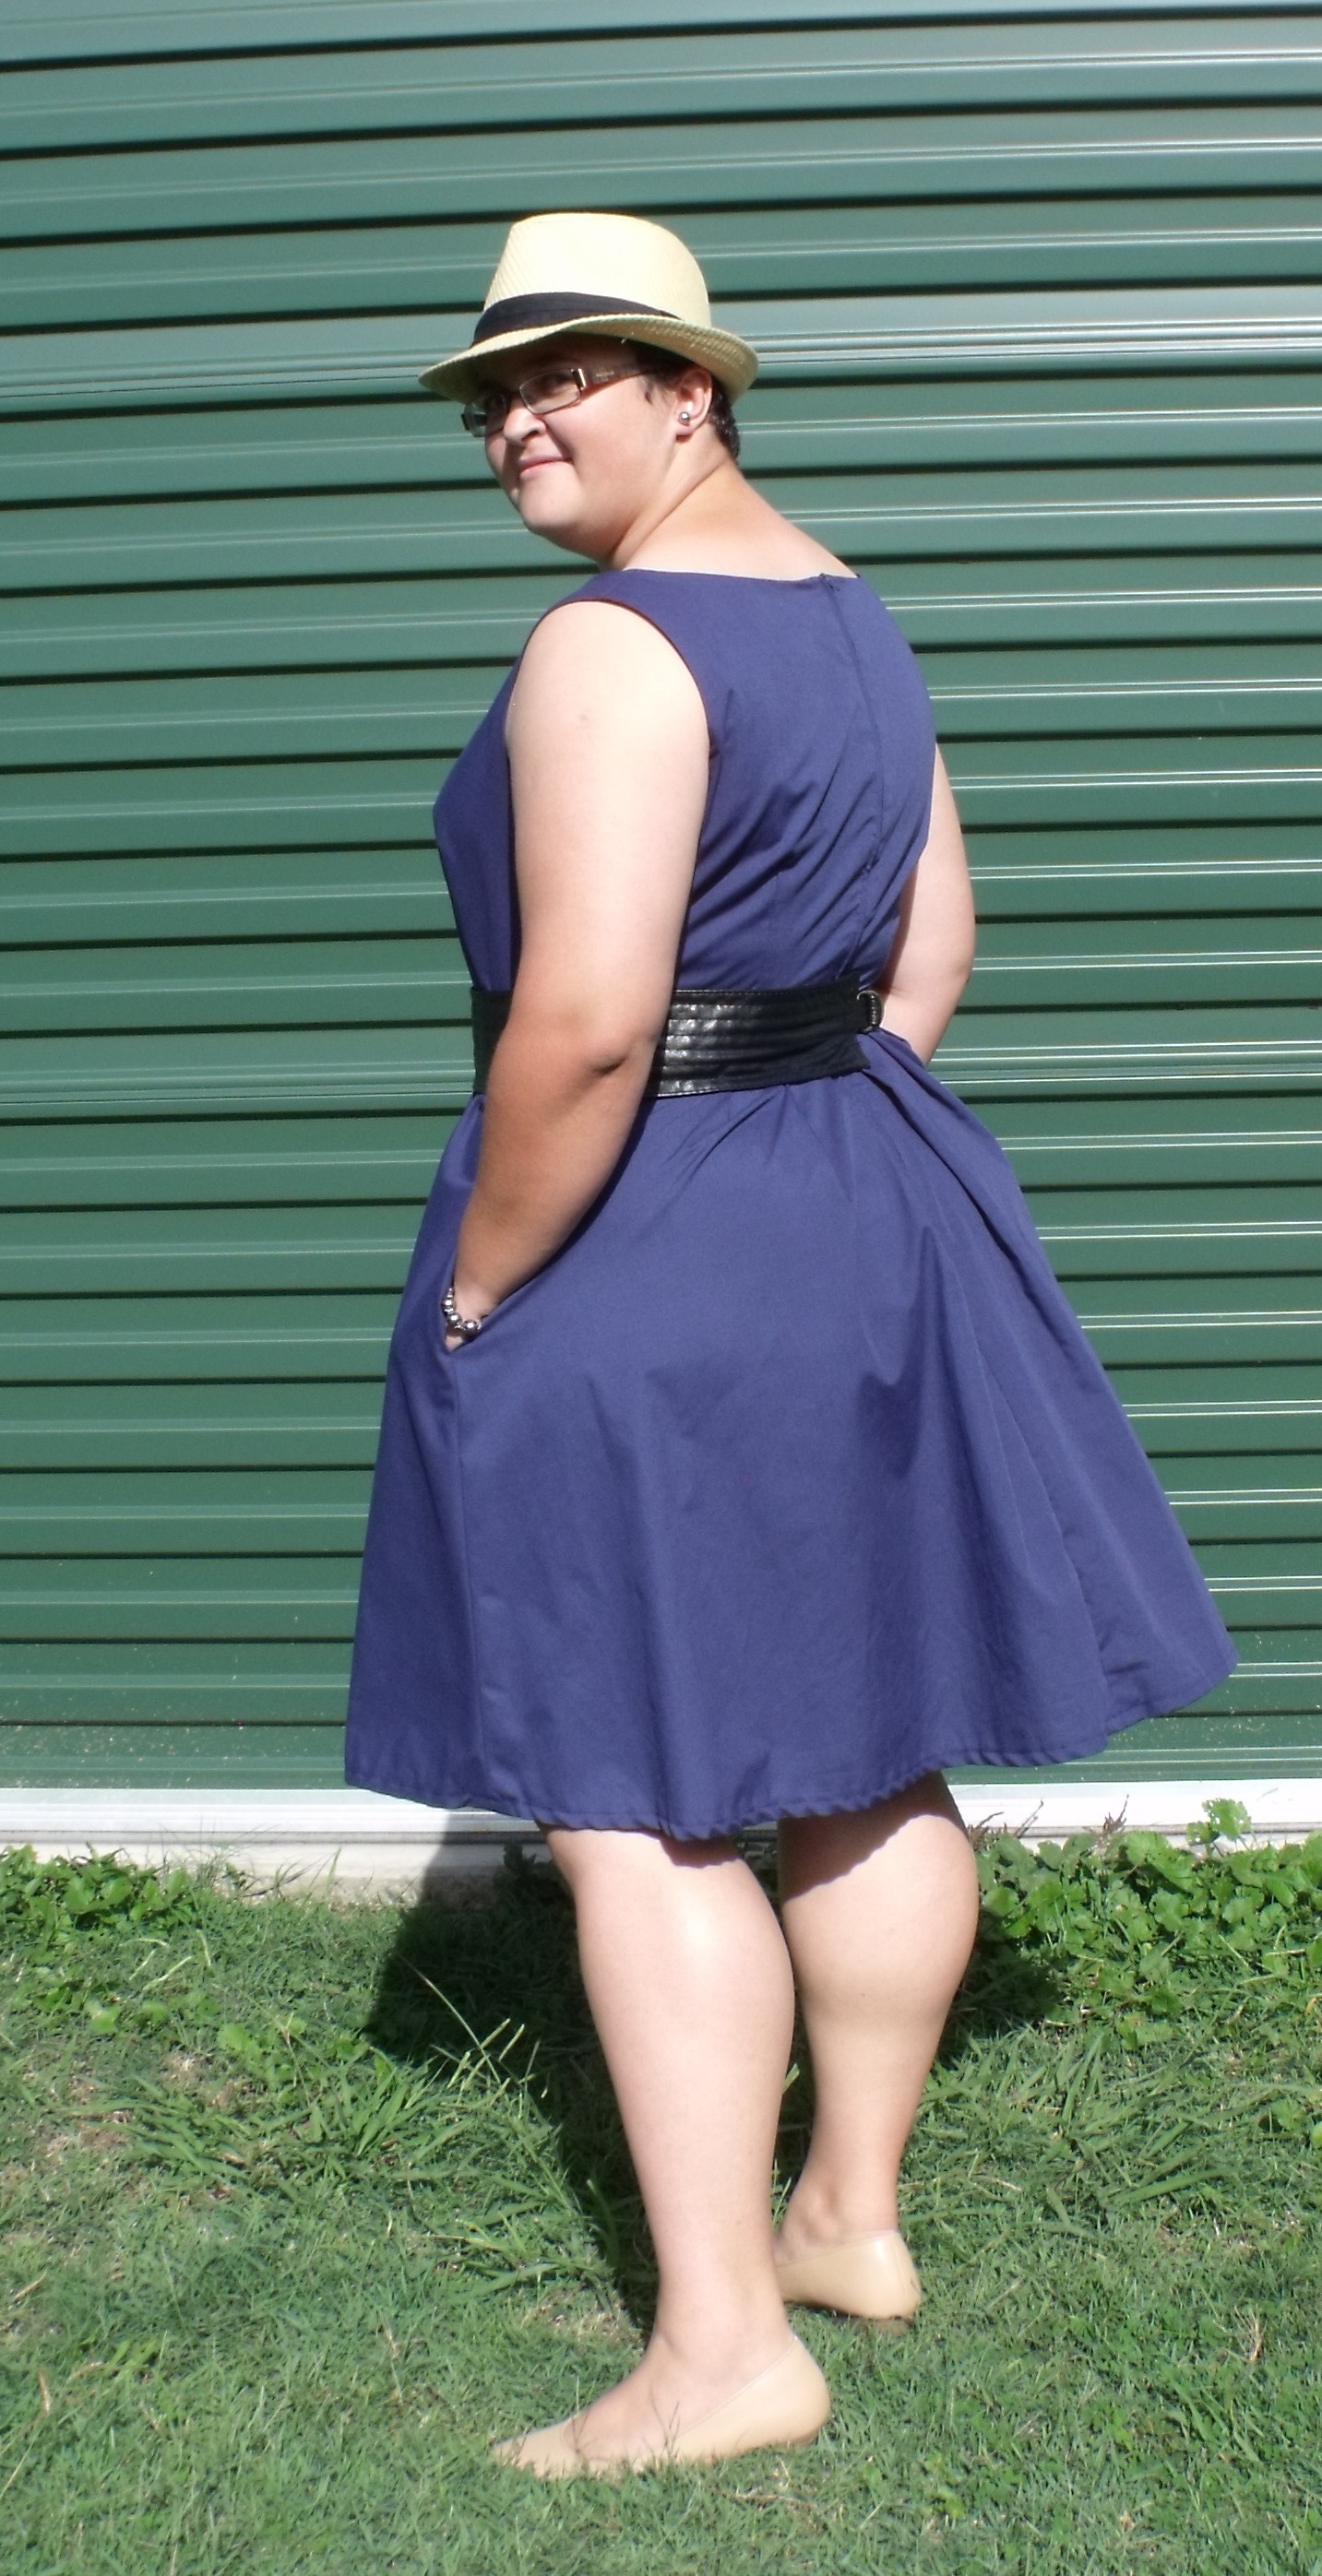
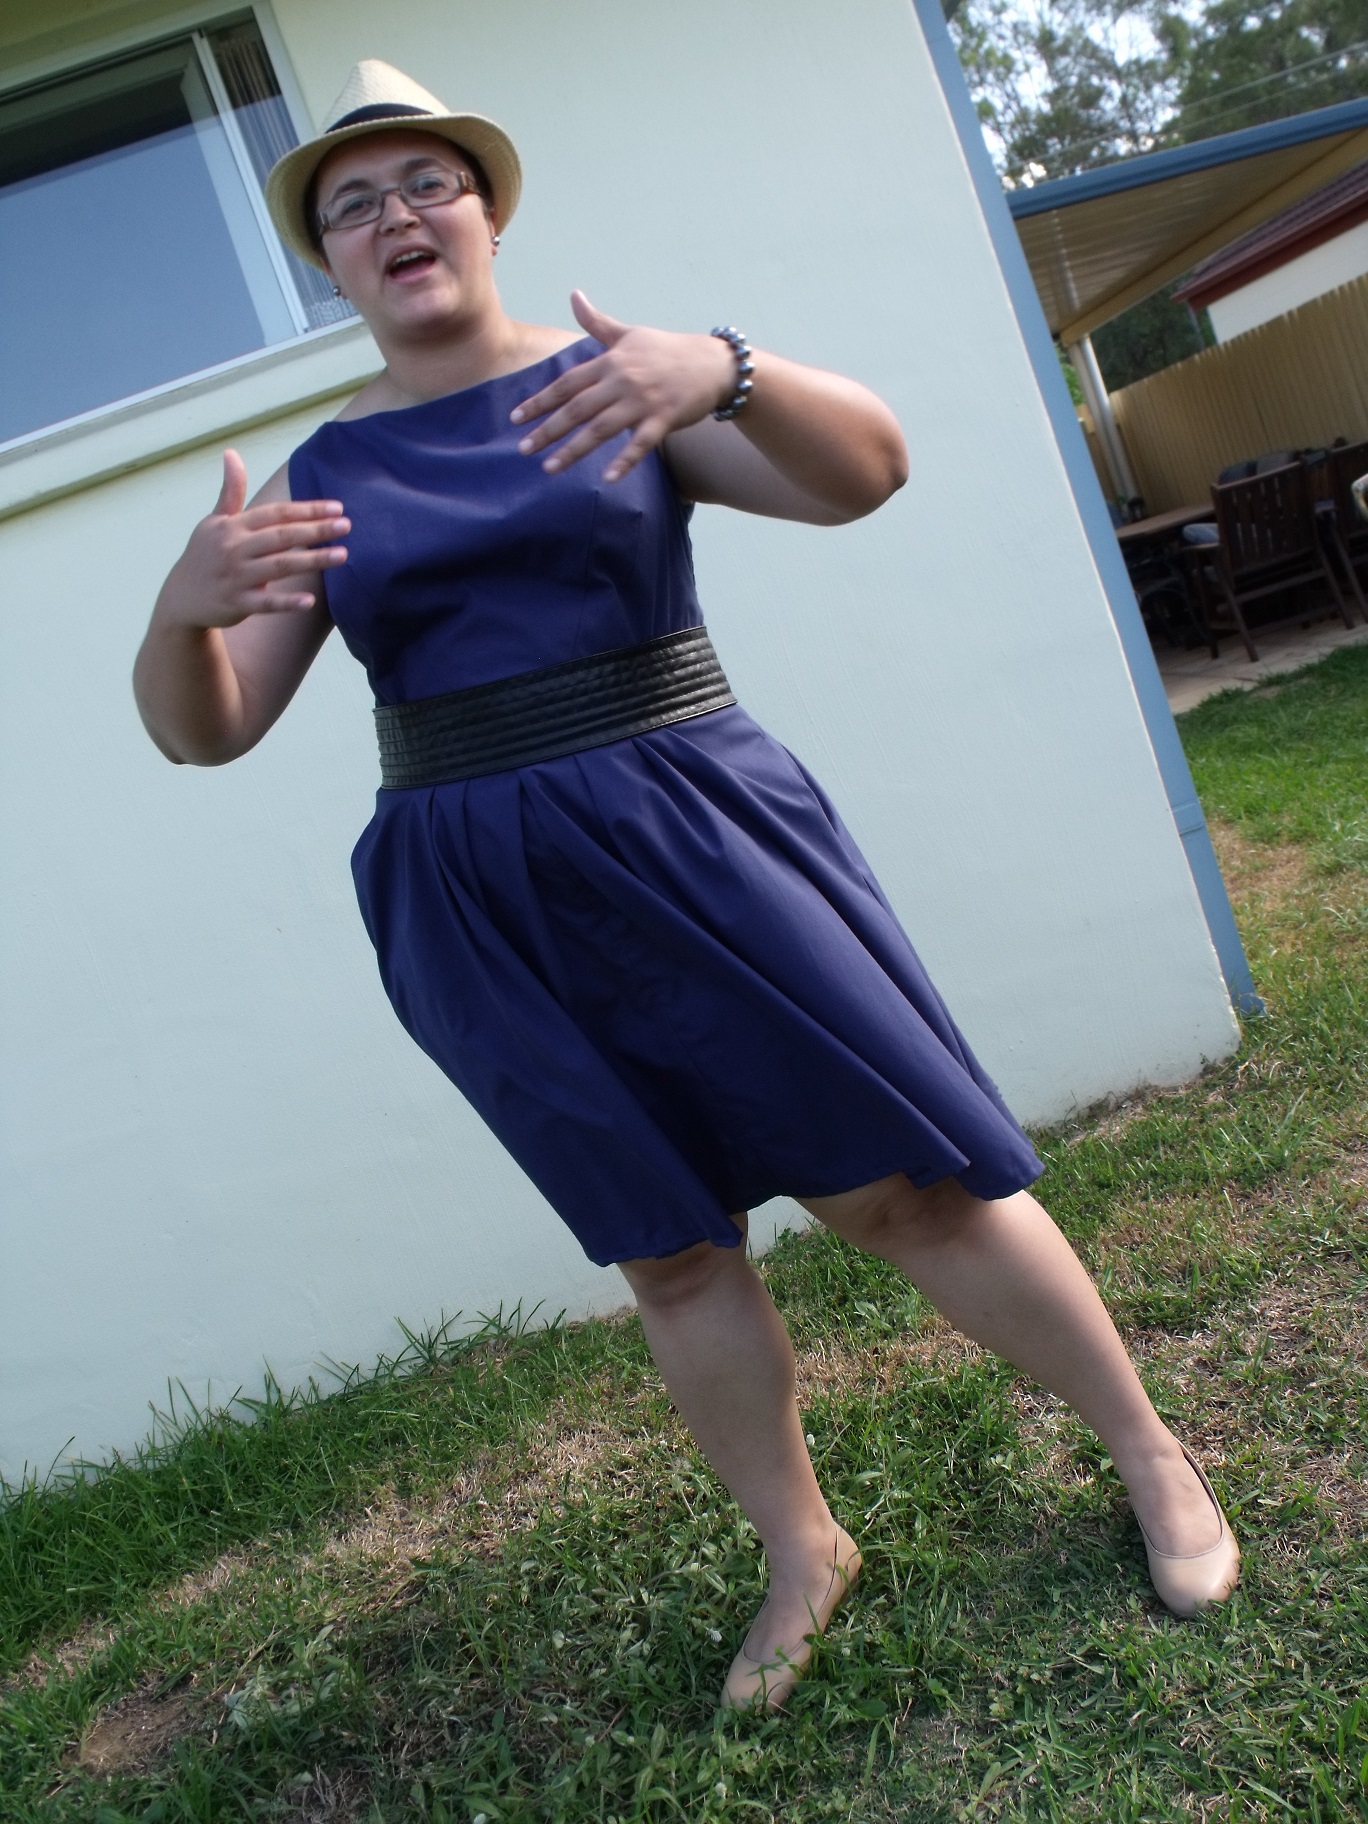
Of course on the day I forgot to take blog pictures of me in the dress but totally forgot so had to duck out into the garden the next day for a few quick pics.
This is another S2444, but instead of pleating the skirt (I just could not be bothered mucking around with it aaand I didn't have enough fabric anyway) I added a gathered skirt instead.
I've been wanting to make a dress with spots on a black background for some time. I don't know where the idea came from, maybe it's all the spotty goodness that happens on the sewing blogasphere.
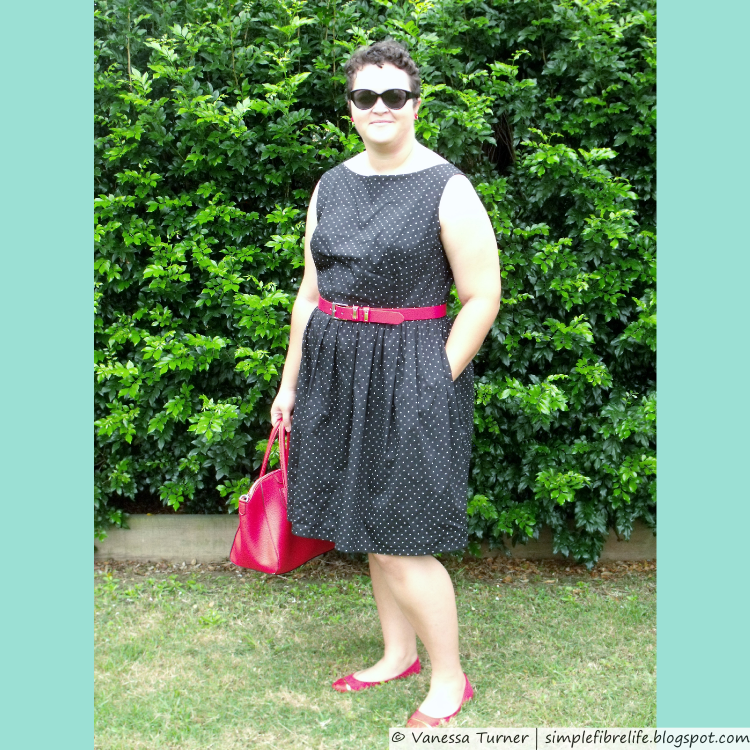
The fabric is pretty great, it has a nice hand and I think the spots are a great way to break up the black. I think I could wear this dress to an event schmancy event. It's from the spots and stripes range from Spotlight. The lining fabric I used is some pure black cotton lawn also from spotlight. I bought 5 metres at $4.99 per metre but got a 20% discount by using a voucher (that they were handing out at the door :-O. So essentially I got a metre free. Woop woop!

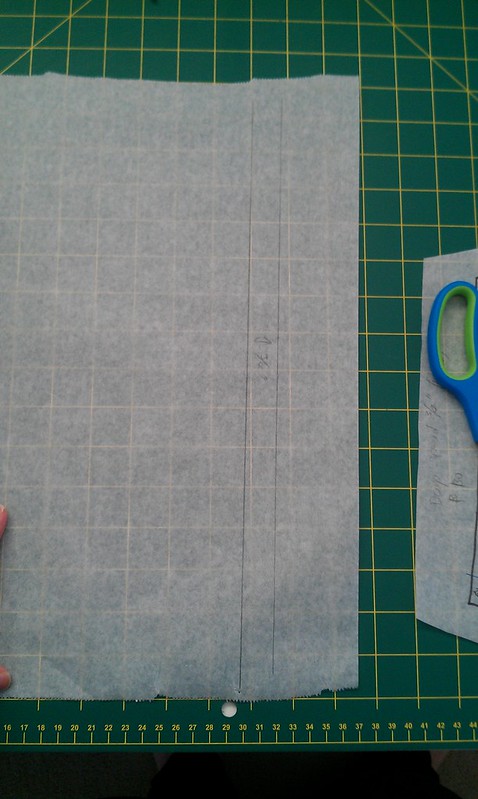
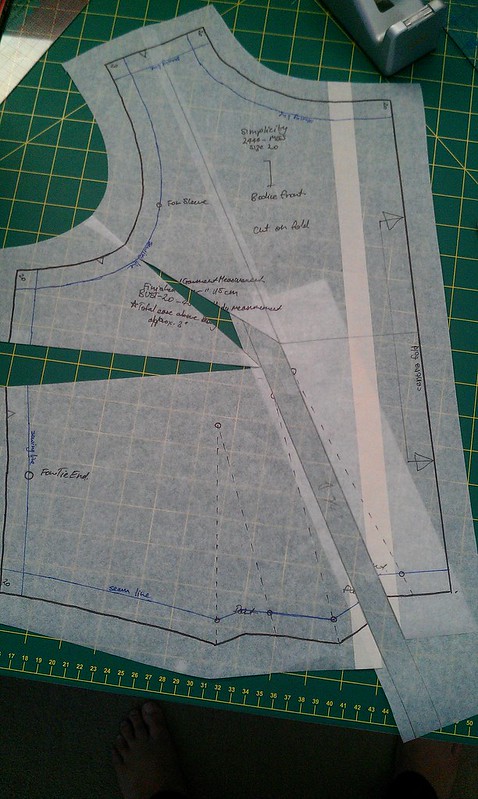
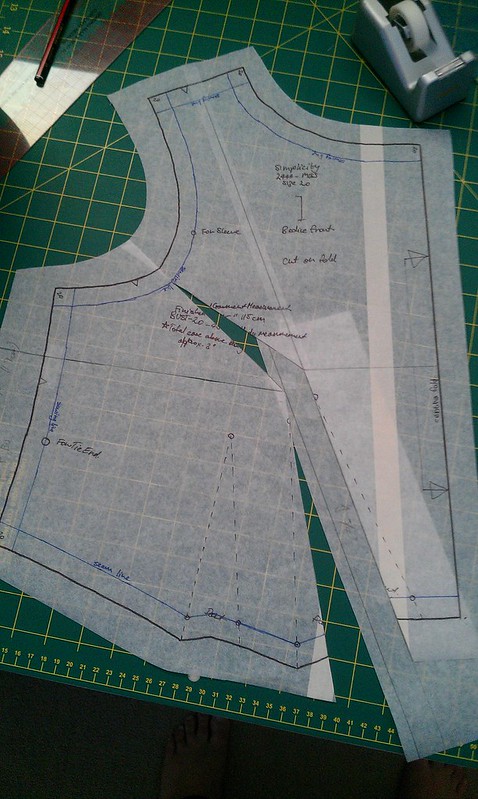
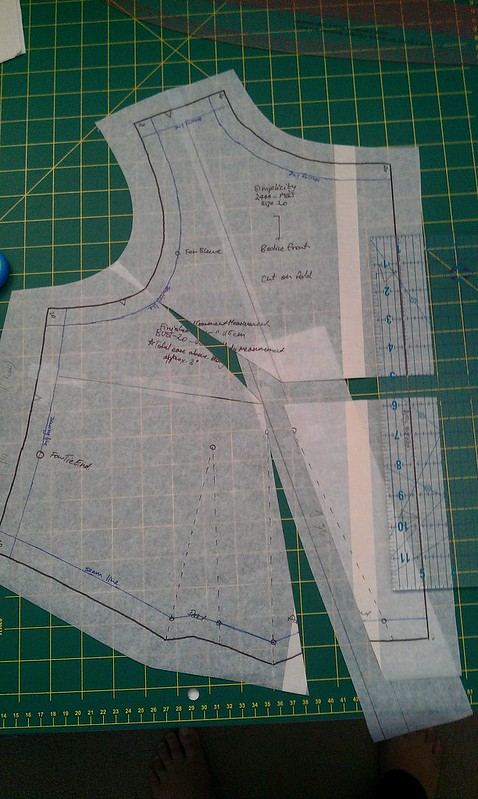
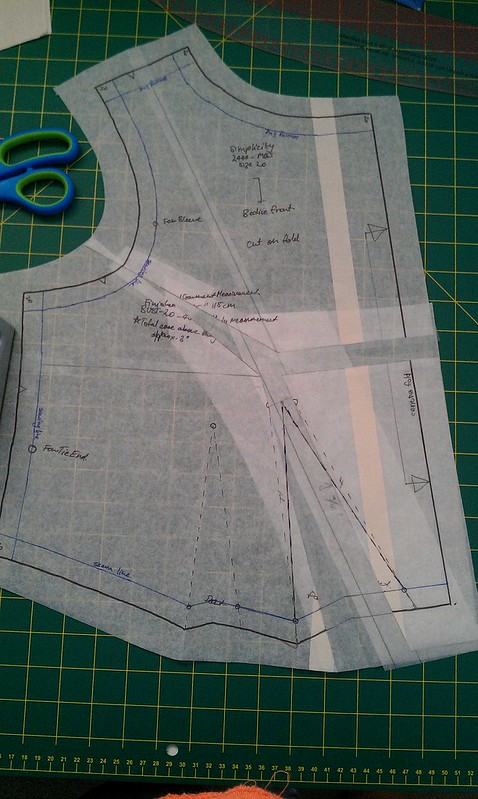
After having made this dress before I made the bodice up just as I did before, lining and all. I was going to add sleeves, but I haven't fitted that pattern piece yet. I cut the sleeves out anyway in hope that they would fit (I totes knew they wouldn't, but I thought I'd try my luck). I cut them so they ended at the shorten/lengthen line instead of at the 3/4 quarter line. I eased in one sleeve and basted up the bodice side and sleeve, but the sleeves where just slim for my biceps :( , but I liked the length :) So that was a no go on the sleeves… this time.
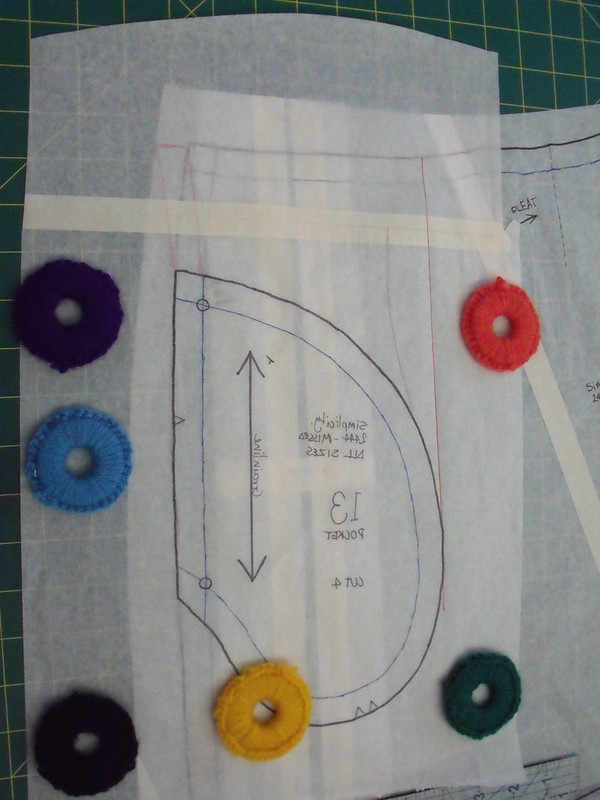
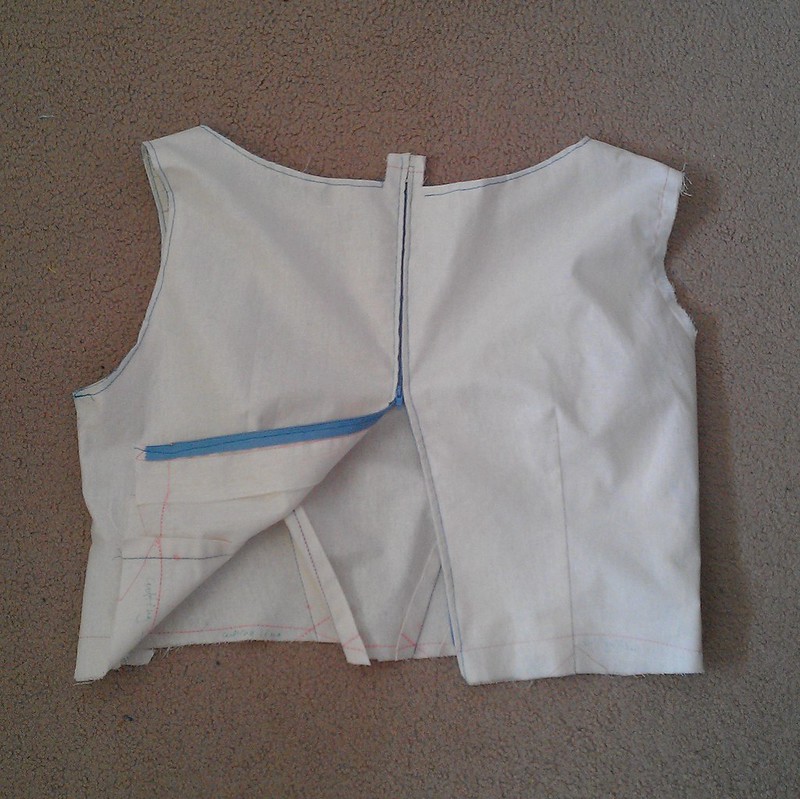
Luckily though I was able to salvage the fabric but cutting out a pair of pocket pieces from the fabric. I was going to make the pocket linings out of the lining fabric, but when I went to sew them together I realised that the lining fabric would be too flimsy for pockets.
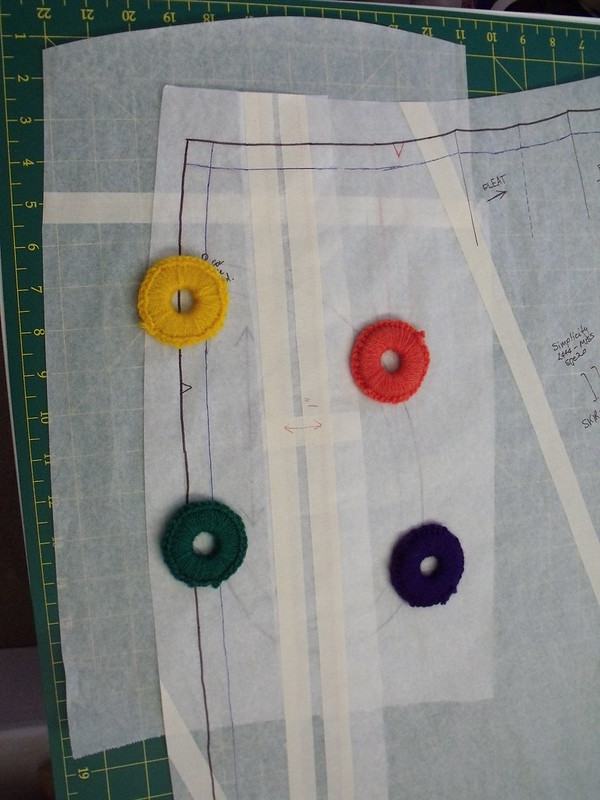
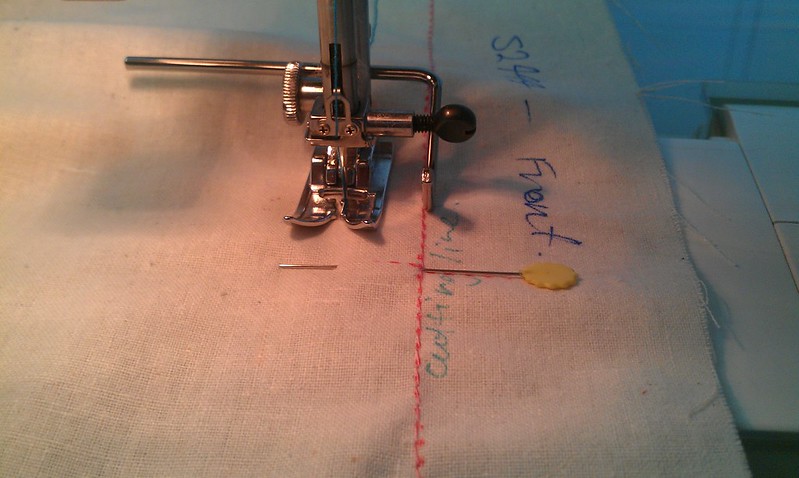
Putting the pockets in with a gathered skirt posed a challenge and I had to have a bit of a think before I did it. The skirt was made up of 3 skirt panels, 1 front and 2 back to allow for a centre zip. I sewed the pockets to the skirt side seams, leaving a 1 inch gap at the top. Then I sewed the skirt side seams and pocket together. Sewing the top 1 inch of the skirt side seams together meant that I could sew the 3 lines of gathering stitches along the top of all 3 skirt panels. Gathering the skirt was a pain in the arse and my gathers weren't perfect, but I just had to sigh and say "progress, not perfection" and keep going.
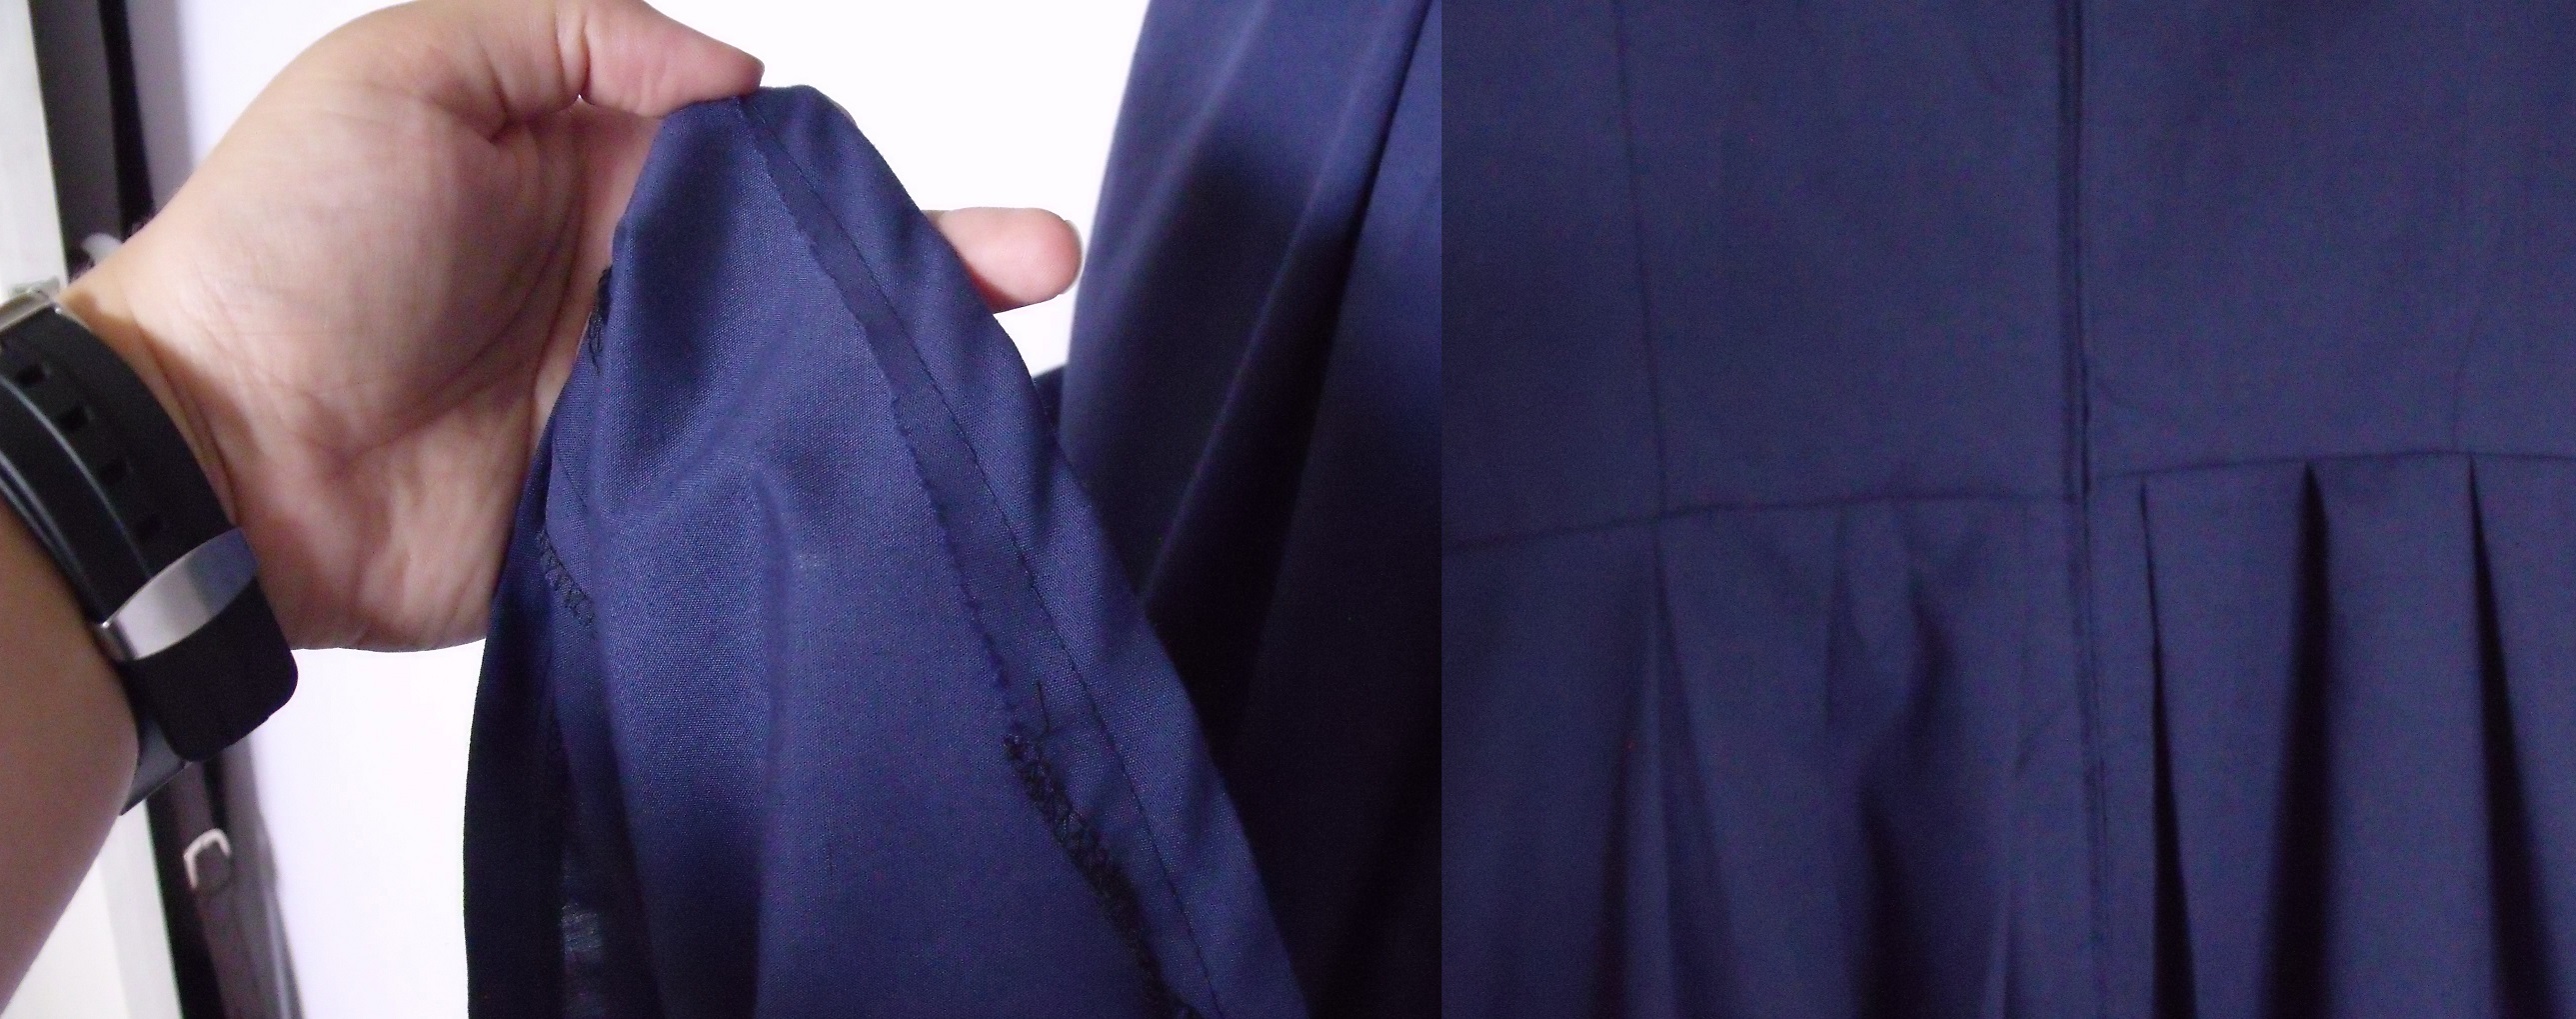
To finish off it was a matter of attaching the skirt to the bodice, inserting the zipper; hand stitching the bodice lining to the zipper and waist seam allowance; and hemming. The zipper puckered a bit, which probably could have been avoided if I had used some stabiliser. I would like to find some fusible web for puckering zips.

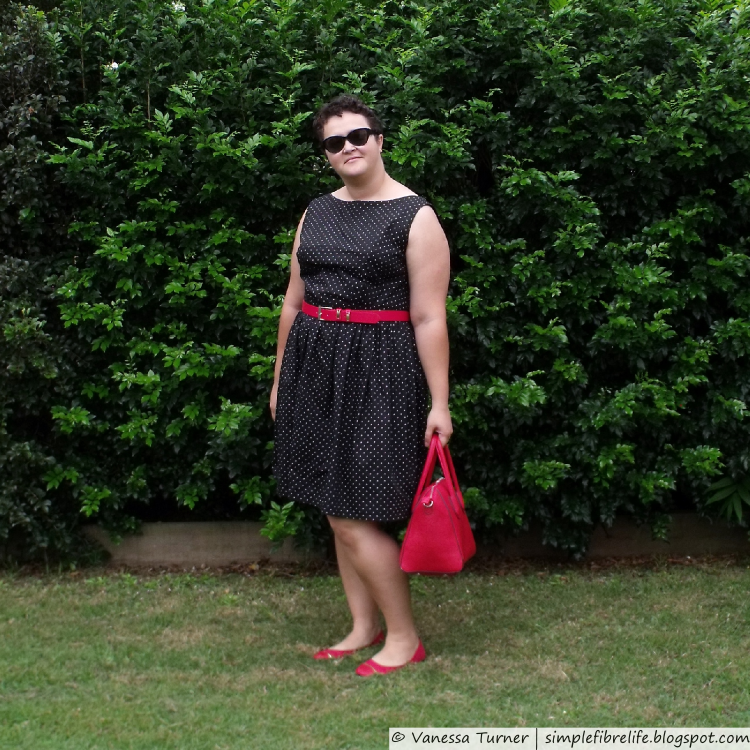
Once I finished my dress I wasn't sure about how I was going to accessorise. I was totally going to default to my usual black, but then I thought red might be a nice change. So, the day before I went out and bought red shoes, belt and bag.
I'm so glad that I went with red, they really pop against the black.
The front neckline on this dress gapes, I'm able to pinch about 2 inches out of the front neckline; but the back seems fine. The bodice lining makes it a bit of bitch to iron. I probably didn't need to line the bodice on this dress because it is a cotton and breathes ok. So next time I'll have to think about fibre content of the fashion fabric before I add a lining. The pockets being attached at the waistline make it hard to iron the skirt properly at the side seams, but I can live with that.
~Pattern~
Simplicity 2444 - Bodice
Self drafted (kinda) gathered skirt
~Changes I made this time~
~Final Comment~
I'm really happy with this dress. Even though gathering was a pain I really like the gathered skirt. I like how the red accessories I wore with this dress popped. This is a great dress that I can wear to any occasion. I've already worn it to a few other social gatherings and I'm really happy with it and want to make more. With a few tweaks this bodice would devinately be a great TNT (tried and true) pattern.
Do you make things based on ideas you have first or do you make something based on the materials you have?
I'd really like to hear from you, leave a comment below :)
Until next time,

I attended a wedding mid April (What do you mean it's mid May!) and I made a dress, as I mentioned in my ambitions post. In true procrastinator style I didn't start making this dress until a couple of weeks before the wedding.
Of course on the day I forgot to take blog pictures of me in the dress but totally forgot so had to duck out into the garden the next day for a few quick pics.
This is another S2444, but instead of pleating the skirt (I just could not be bothered mucking around with it aaand I didn't have enough fabric anyway) I added a gathered skirt instead.
I've been wanting to make a dress with spots on a black background for some time. I don't know where the idea came from, maybe it's all the spotty goodness that happens on the sewing blogasphere.
The fabric is pretty great, it has a nice hand and I think the spots are a great way to break up the black. I think I could wear this dress to an event schmancy event. It's from the spots and stripes range from Spotlight. The lining fabric I used is some pure black cotton lawn also from spotlight. I bought 5 metres at $4.99 per metre but got a 20% discount by using a voucher (that they were handing out at the door :-O. So essentially I got a metre free. Woop woop!
After having made this dress before I made the bodice up just as I did before, lining and all. I was going to add sleeves, but I haven't fitted that pattern piece yet. I cut the sleeves out anyway in hope that they would fit (I totes knew they wouldn't, but I thought I'd try my luck). I cut them so they ended at the shorten/lengthen line instead of at the 3/4 quarter line. I eased in one sleeve and basted up the bodice side and sleeve, but the sleeves where just slim for my biceps :( , but I liked the length :) So that was a no go on the sleeves… this time.
Luckily though I was able to salvage the fabric but cutting out a pair of pocket pieces from the fabric. I was going to make the pocket linings out of the lining fabric, but when I went to sew them together I realised that the lining fabric would be too flimsy for pockets.
Putting the pockets in with a gathered skirt posed a challenge and I had to have a bit of a think before I did it. The skirt was made up of 3 skirt panels, 1 front and 2 back to allow for a centre zip. I sewed the pockets to the skirt side seams, leaving a 1 inch gap at the top. Then I sewed the skirt side seams and pocket together. Sewing the top 1 inch of the skirt side seams together meant that I could sew the 3 lines of gathering stitches along the top of all 3 skirt panels. Gathering the skirt was a pain in the arse and my gathers weren't perfect, but I just had to sigh and say "progress, not perfection" and keep going.
To finish off it was a matter of attaching the skirt to the bodice, inserting the zipper; hand stitching the bodice lining to the zipper and waist seam allowance; and hemming. The zipper puckered a bit, which probably could have been avoided if I had used some stabiliser. I would like to find some fusible web for puckering zips.
Once I finished my dress I wasn't sure about how I was going to accessorise. I was totally going to default to my usual black, but then I thought red might be a nice change. So, the day before I went out and bought red shoes, belt and bag.
I'm so glad that I went with red, they really pop against the black.
The front neckline on this dress gapes, I'm able to pinch about 2 inches out of the front neckline; but the back seems fine. The bodice lining makes it a bit of bitch to iron. I probably didn't need to line the bodice on this dress because it is a cotton and breathes ok. So next time I'll have to think about fibre content of the fashion fabric before I add a lining. The pockets being attached at the waistline make it hard to iron the skirt properly at the side seams, but I can live with that.
~Pattern~
Simplicity 2444 - Bodice
Self drafted (kinda) gathered skirt
~Changes I made this time~
- Lined bodice - like last dress
- Pockets extended to waist seam - like last dress
- Gathered skirt instead of pleated skirt
- Fabric
- Gathered skirt
- Pockets!!!
- Neckline gapes a bit
- Zipper wrinkled when it went in
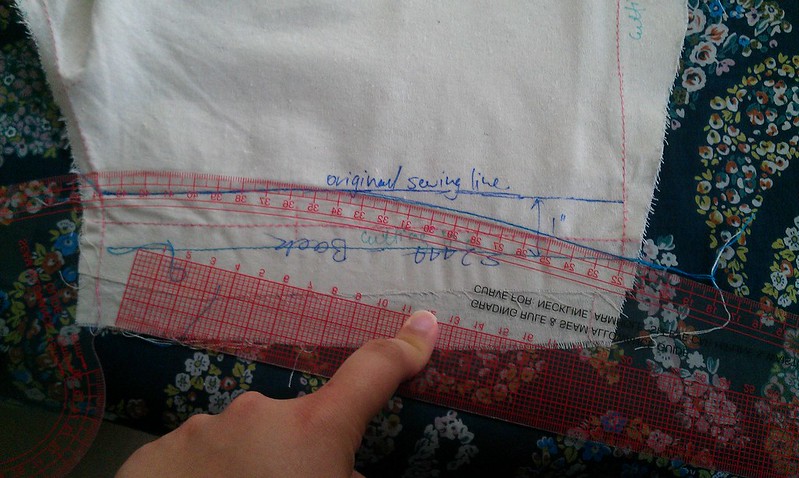
- Pinch out about 2 inches from the neckline (1 inch on the pattern neckline and rotate it out to one of the bust darts)
- Try fitting the sleeves on this dress
| Pattern | Simplicity 2444 - I've used it before - Free | $0.00 |
| Fabric |
Spotlight
Spots and Stripes100% cotton 2.5 m @ 9.99/m
Black lawn
100% cotton 1.5 m @ about $4/m | ~$25.00 ~$6.00 |
| Notions | Thread had it on hand - Free | $0.00 |
| Time | 8 hours (* $16-ish Australian minimum wage) | $128.00 |
| Total | ~$159.00 |
~Final Comment~
I'm really happy with this dress. Even though gathering was a pain I really like the gathered skirt. I like how the red accessories I wore with this dress popped. This is a great dress that I can wear to any occasion. I've already worn it to a few other social gatherings and I'm really happy with it and want to make more. With a few tweaks this bodice would devinately be a great TNT (tried and true) pattern.
Do you make things based on ideas you have first or do you make something based on the materials you have?
I'd really like to hear from you, leave a comment below :)
Until next time,