Wednesday 27 February 2013

::Show and Tell:: Get Mapped!

I did :)


It started with this post from Tanit-isis Sews.
Then Claire from Sew, Incidental posted this.

Read this post from Another Sewing Scientist and get mapped!

Until next time, get on board this bandwagon and get mapped!
Vanessa Turner

Tuesday 19 February 2013

::Sewing::Top Tip:: Folding Sewing Patterns

Lately I've been cutting out sewing patterns and then carefully folding them up and putting them back in the envelope so they are ready to go when I am.

I like cutting my pattern pieces out using a paper-only rotary cutter and a self-healing mat. It's a quick and precise way of cutting them out.

While doing this I've come up with a nifty 'new-to-me' technique of folding patterns so that they fit nicely back in the envelope. I'm probably late to the party on this trick, but I thought I'd share it just in case I help someone else wrangle their patterns back into envelopes.

I was trying to pack my Hollyburn pattern back into the envelope when I realised that the instructions sheet would make a great folding template for the pattern. After all the instructions sheet fits comfortably in the envelope. 

To make sorting through folded pattern pieces easier I try to make sure the pattern piece number is on the front when it is folded. So I usually start by flipping the pattern so the right side of the pattern is facing down. I place the pattern instructions over the pattern piece number.

Folding Pattern Pieces - 1
I prefer to fold the long sides down first to create a long piece. So now the pattern piece will be a width that will fit in the envelope.

Folding Pattern Pieces - 2
Before I move on to folding down the pattern to fit the length of the envelope. I free the instructions sheet from the pattern piece. Then I use it as measure for how long the pattern piece should be. I place the instructions sheet over the pattern number and fold the pattern around it. Then I slip the sheet out the side of the folded pattern.

Folding Pattern Pieces - 3
I end up with a pattern piece folded up to a nice size to fit in it's envelope and because the number is on the front I can easily sort through them when they come out of the envelope.

Hollyburn Skirt Pattern Pieces Cut and Ready to Go


Until next time, I hope you're having a few lightbulb moments of your own,
Vanessa xo

Friday 15 February 2013

::Show and Tell:: I've been shopping again....

Feb Haul 1

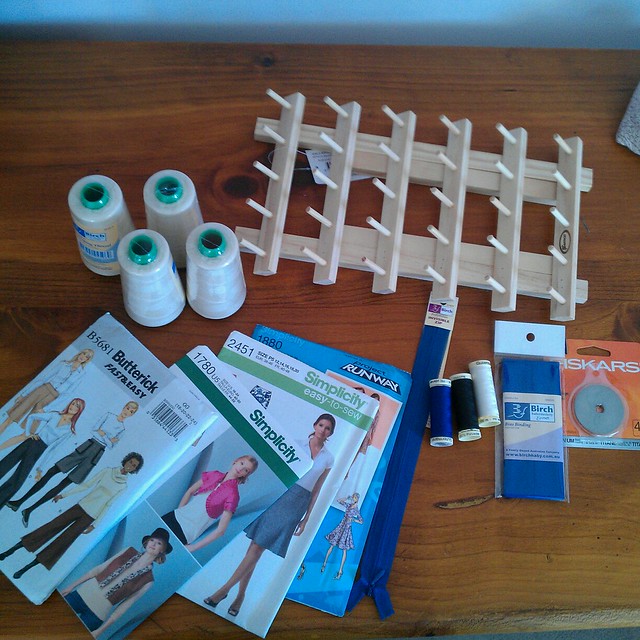
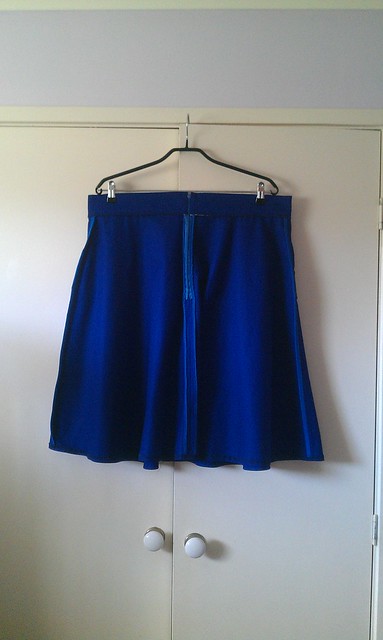
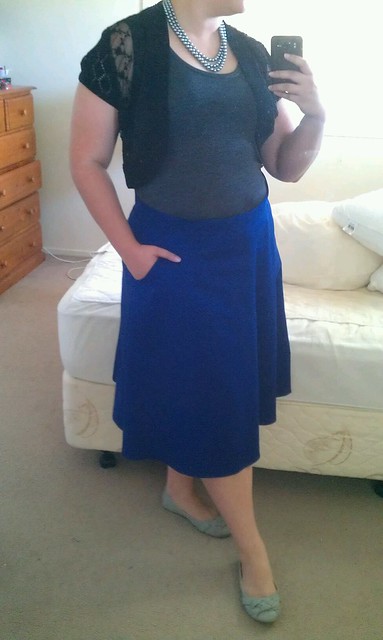
I went to Spotlight on the 2nd Feb to pick up a few bits for my Hollyburn skirt. I was a bit naughty and bought a bit more than what was on my shopping list.


Spotlight Haul (2Feb2013) 1

I didn't intend on buying patterns but there was a 'buy one get one free' deal so I bought a few that I've been eyeing off anyway.

Spotlight Haul (2Feb2013) 2
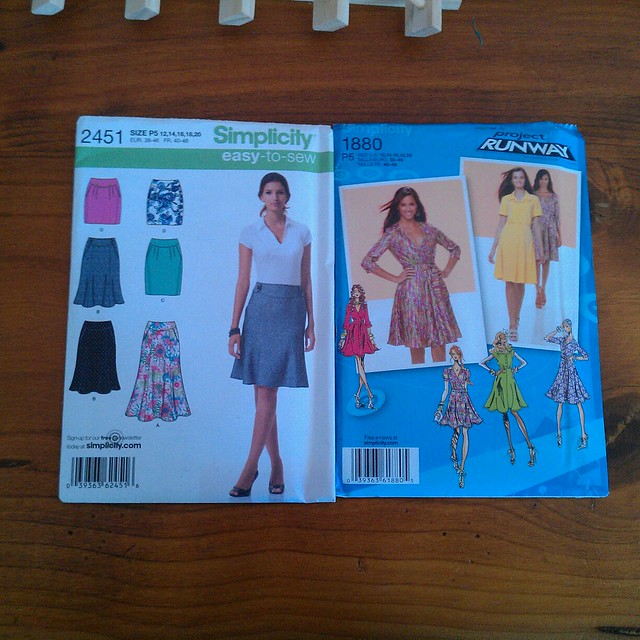
I've seen amazing versions of this Simplicity 2451 skirt about the place - crushing on So, Zo's skirt so hard!
I really want to make a shirtdress and after really enjoying the My Messing's Hollyburn Sewalong I think I'll use Sunni's sewalong for this Simplicity 1880 pattern.

Spotlight Haul (2Feb2013) 3
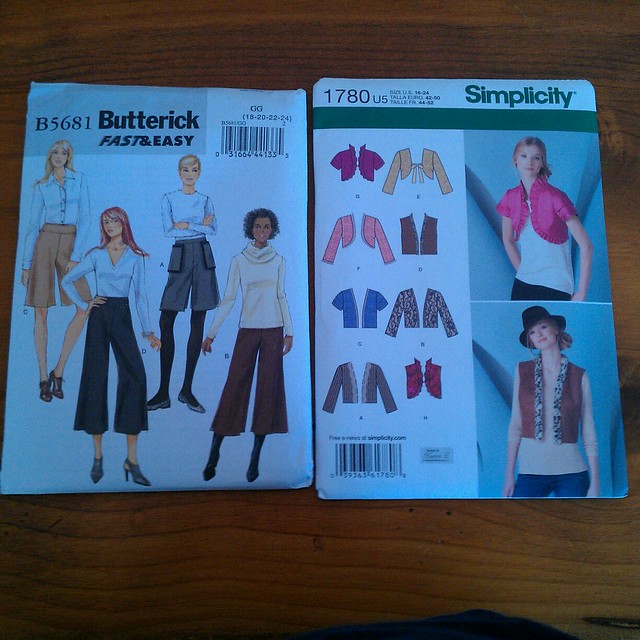
I was introduced to this Butterick 5681 by Scruffy Badger. I'm keen on making some business shorts for wearing to work during Queensland summers. I'd like to make a few sleeved jackets to add to my wardrobe so Simplicity 1780 is going to be my starting point.

Spotlight Haul (2Feb2013) 4
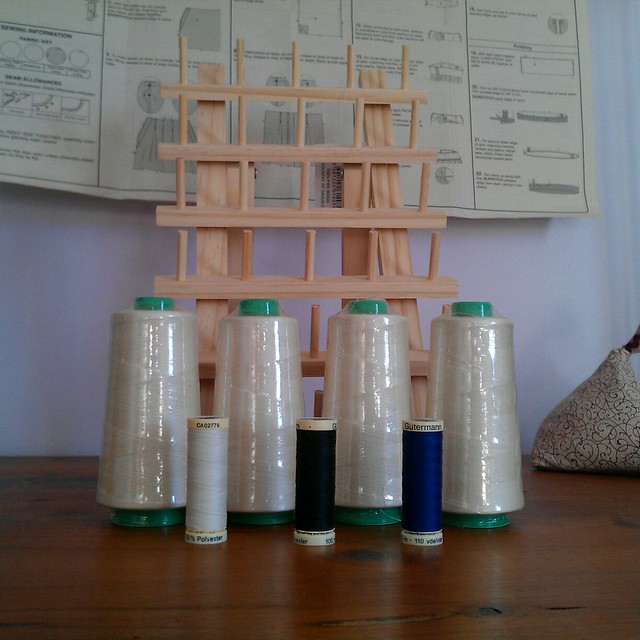
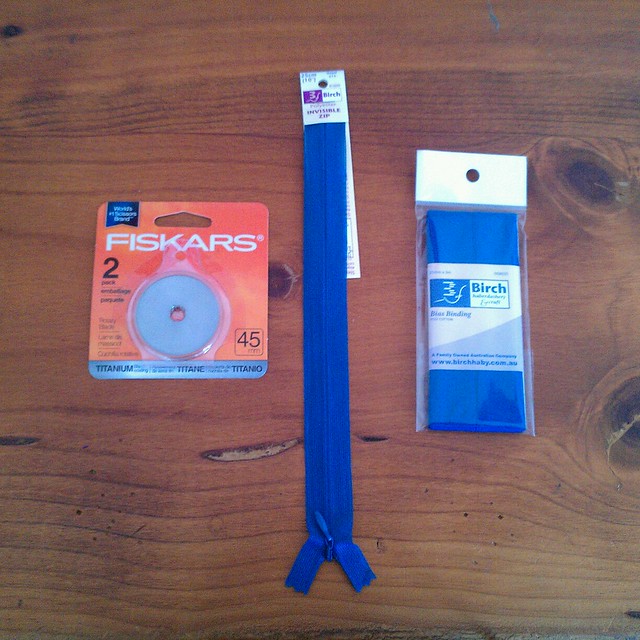
I've had a thread rack on my 'I want' list for awhile and they happened to be on special so I bought one. I'd also wanted some off-white overlocker thread so I picket that up while I was at the shops. I bought some navy blue thread for my skirt and some white and black just coz.

Spotlight Haul (2Feb2013) 5
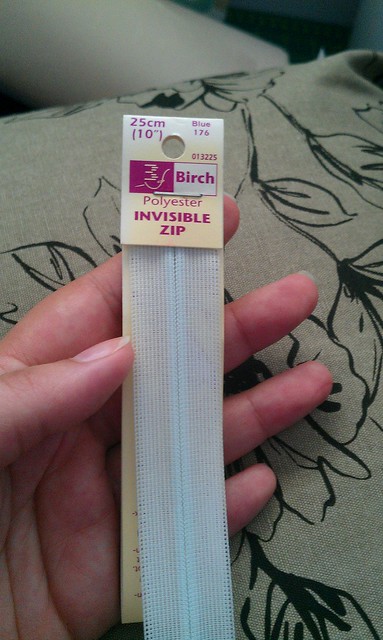
I had trouble using my rotary cutter to cut out my skirt fabric so I bought some blades (however, upon reflection I think it was user error and not a blunt blade - oh well I'll have spares now). I got an invisible zipper and bias binding to finish seams for my Hollyburn skirt.

Feb Haul 2

Then I went again with my mama on 7th Feb. I wasn't going to buy anything, but I went for a browse and I wandered into the pop-up sale section. Dangerous move!

Spotlight Haul (7Feb2013) 1

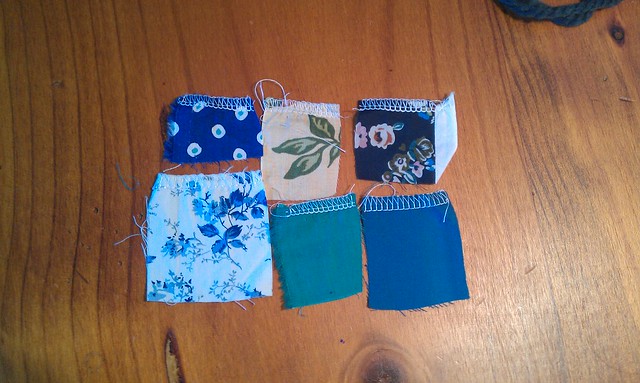
This time I took some fabric swatches so I could buy some thread I'll have some ready to go when I want to sew up these goodies.
Spotlight (7Feb2013) 9 - Swatches
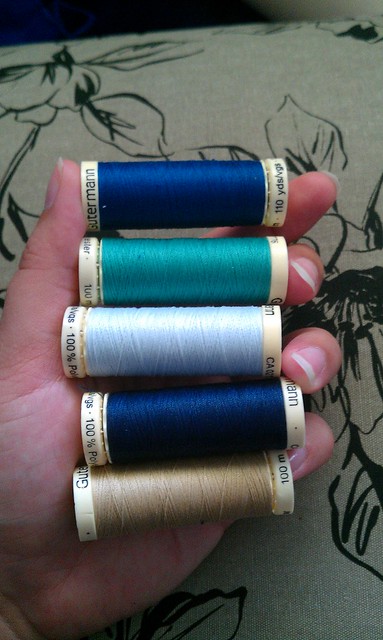
Here are my threads. You don't realise how many colours are our there until you have to try matching thread to fabric. Sigh!
Spotlight Haul (7Feb2013) 2

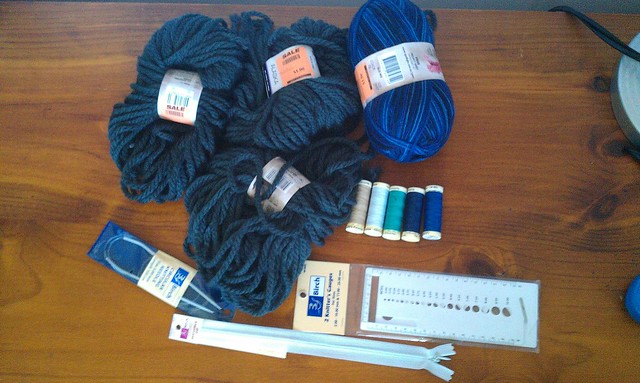
I've got a specific top in mind that I want to make shortly and it requires a 9" zip. But for some reason in Australia we don't have 9" zips as a standard length. So I buy 10" zippers instead.
Spotlight Haul (7Feb2013) 3

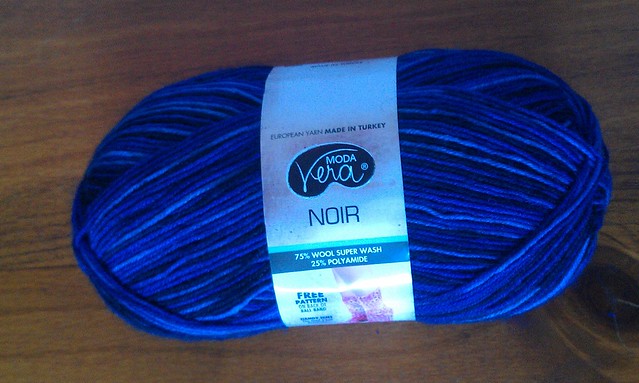
I managed to wonder into the discount section on this trip and was surrounded by sooo much lovely yarn ON SALE. I filled my shopping basket with a bunch of yarn then came to my senses and remembered my large yarn stash at home. So I just picked a few that I wanted. I've really been enjoying knitting lately and I'd like to try my hand at knitting socks. So I bought this yarn as a dip in the pond.
Spotlight Haul (7Feb2013) 4

I want to have a go at knitting these socks two at at time and would need a circular needle to do this using the magic loop method. I haven't got a Knitters gauge and so I picked up one of those too.
Spotlight Haul (7Feb2013) 5

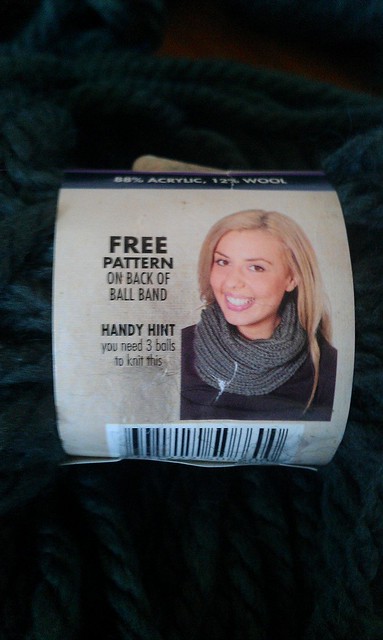
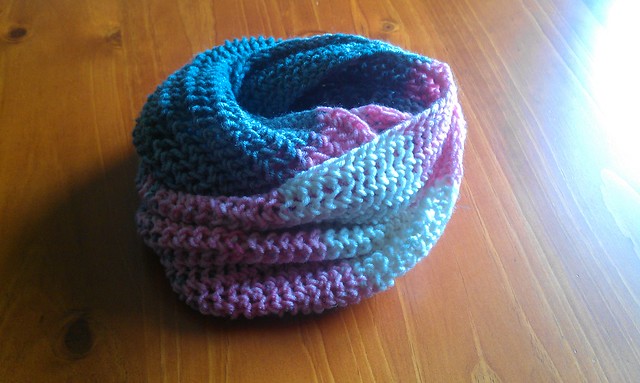
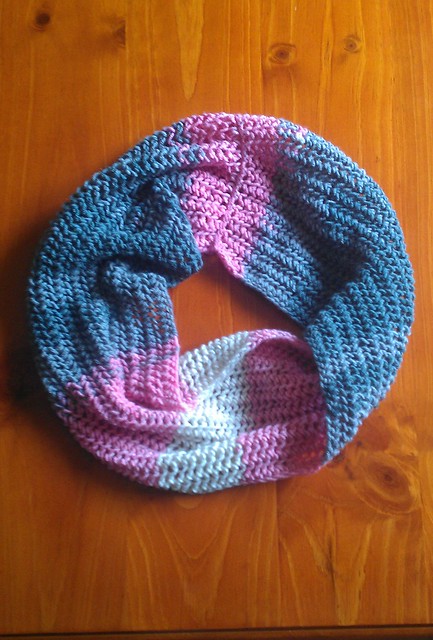
I stumbled upon this yarn and I liked the look of the cowl on the band. So I picked up all 3 balls of yarn needed for $3, $3.00!
Spotlight Haul (7Feb2013) 6 - Alaska Wool Stash

Here's a pic of the cowl.
Spotlight Haul (7Feb2013) 7 - Alaska Wool - Cowl Pattern

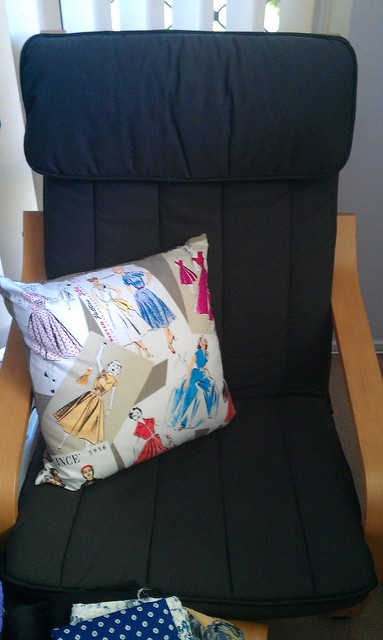
While we were at Spotlight we spotted this cute cushion so mum bought it for me as a belated birthday gift. Totes cute!
Spotlight Haul (7Feb2013) 8 - Sewing Room Pillow

Until next time, I hope you're getting some lovely retail therapy in too.
Vanessa xo

Sunday 10 February 2013

::Sewing::FO:: Hollyburn Done!

I did it! I finished my first wearable garment for 2013! I signed up to participate in My Messing's Hollyburn Sewalong.

When sewing I didn't even look at the instruction sheet that came with the pattern I just looked at Rachel's fantastic instructions!

I was a little slow to get started. I didn't start until after the sewalong posts finished. I sewed most of the skirt last weekend and finished it up in the last few days. I wanted to wear it to a lunch I was having with friends yesterday for my birthday.

I did have a little hiccup. When I went to attach the waistband there was a difference in length between the waistband and the top of the skirt. Half the waistband measured 19 3/4 inches and half the top of the sewn up skirt was 20 3/4 inches.

Half the waistband measurement

Half the top of the sewn skirt
Luckily I had enough fabric to cut another waistband. I simply cut and spread the pattern for the waistband and recut the waistband.


I did make a few changes though...
  • When sewing the waistband down I overlocked the raw edge before sewing it down by topstitching around the bottom of the waistband.
  • I used in invisible zipper instead of a dress zipper 
  • I made a very narrow hem by overlocking the raw edges and then simply turned the fabric up just enough to hide the overlocking and then stitched it down by machine.
Skirt Front
Skirt Back
Now lets take a look on the inside....

Inside skirt front
Inside skirt back

Close up of the inside skirt front
and the different kind of seam finishings.

Things I would change.
  • I'd staystitch the top of the skirt pieces as soon as I cut them. This might stop the top of the skirt from stretching out, which is why I suspect there was a difference in measurement between the waistband and the skirt top. The skirt is a little loose. I should have shortened the top of the skirt top instead of lengthening the waistband.
  •  I'd overlock all the raw seams instead of using a bound seam finish. It would be a lot quicker than bound seams and I want garments that I can throw in the washing machine (on a gentle cycle of course)
  • My mother and I measured the hem to it would sit parallel to the floor, but it looked a little like a mullet hem when it was hanging up because the skirt sits lower at the front when I'm wearing it, but I ended up just hemming it as is. I think next time I'll cut the hem so that it sits parrallel to the floor instead of what I did this time.
And this is how I styled it for a lunch with friends.


Final word...
I love the skirt design. POCKETS! (need I say more) It's a very flattering cut and I love the colour.  I'm not entirely sold on the length, I may shorten it in future. But all in all I'm very pleased this skirt fits in with my S.W.A.P. and is a garment that counts towards my Sewlution pledge.

Until next time I hope you are making headway with your goals too,
Vanessa xo

Friday 1 February 2013

::Knitting:: FO Pink/Grey Purse Stitch Cowl

Crafty Monogamy has paid off. I finished my latest knitting project (mentioned here too) on the weekend. I had some me time last Sunday so I finished it off.  I didn't weave in the ends straight away, but the state of Queensland was having terrible rain storms on the weekend and we lost power on Sunday evening. So to keep myself occupied I wove the ends in by candlelight.


Pink/Grey Purse Stitch Scarf

As I mentioned here, I've had this yarn for years and have been meaning to make something for my sister out of it. I was going to make a scarf, but I only had one ball of yarn and it was a little short. I used a three needle bind-off to join the ends. The join isn't as pretty was I would like, but I'm glad it's done. The join can be hidden by wearing at the back or covering it with the overlap if wearing around the neck doubled over.

Pink/Grey Purse Stitch Scarf

I really like the pink/grey colour combo. When we bought the wool we didn't see the white as it was tucked inside, but I don't mind it. The purse stitch gives the cowl a lovely stretchy airy quality.

Funnily enough I read this post from Kestrel Finds and Makes the day after I finished my cowl. Yep. I'm pretty proud of my skillz! And I finished this project in under a month!

Ravelled here.

Until next time, I hope you're crossing projects off your to make list,
Vanessa xo