I showed my
Navy S2444, but I didn't tell you about the journey from pattern to a finished dress. I thought it would be interesting for people who don't sew much.
There was a lot involved in the making of this dress. I want to make some notes about the process mainly for my own reference, but if other people get some value out of it that's awesome!
I'm going to have to break this up into a few posts, because there is just so much involved. I'm not going to go over every step in detail, but there are some things I will expand on.
Simplicity 2444 Construction Steps
This is a quick and dirty list of steps I took to make S2444
- Traced size 20 to paper
- Transferred seam lines on toile using a tracing will and wax paper
- Sewed toile; inserted a zipper in the centre back of the muslin with the stopper at the neck
- Increased bottom of bodice side seam at waist by 1 inch on both front and back
- FBA - 3/4 inch increase adjustment for a D cup (as per The Complete Photo Guide to Perfect Fitting, p130). I was completely baffled by how to do this over 2 darts. Google searches came up with nothing.
- Rotated side waist seam increase from FBA to waist dart closer to the front
- Raised both dart apexes 1 inch.
- Split dart uptake between the two darts (both darts are now 2.5 inches)
- Added 1 inch to side of skirt patterns
- Adjusted pocket pattern piece so they attached at the waist
- Wrote a quick construction checklist
- Cut dress fabric
- Cut bodice lining fabric
- Staystitched bodice necklines - outter and lining, front and back
- Sewed outter and lining bodices at shoulder seams, pressed, finished seams
- Sewed bodice to lining at neckline, pressed, clipped and finished seams
- Sewed bodice to lining at armholes, pressed, clipped and finished seams
- Turned the bodice right side out - had to pull the back pieces to the front through the shoulder channel
- Sewed the bodice side seams - 1 continuous seam for outter and lining
- Sewed skirt centre front seam, pressed and finished seams
- Basted front and back skirt pleats (the centre front pleats where a nightmare!)
- Basted pleats at the skirt waist seam
- Sewed pockets to skirt front and backs side seams, pressed, finished seams
- Sewed the skirt front and back together at side seams (going around pockets), pressed, finished seams
- Basted pocket tops to skirt waist seam
- Attached bodice outter to skirt waist, pressed, finished seams
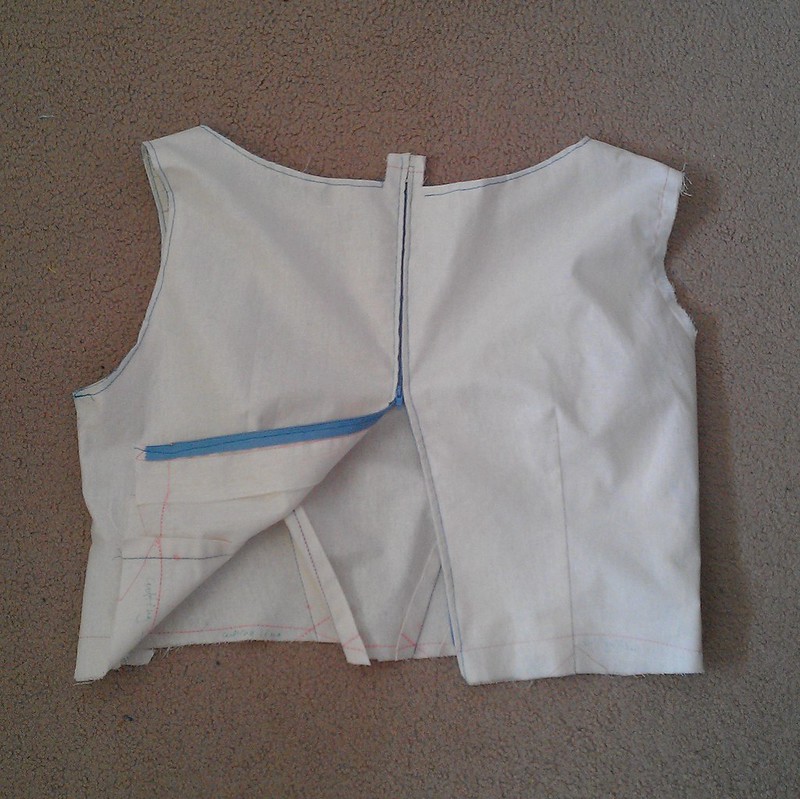
- Basted the back seam where the zipper would go, sewed the lower seam
- Hand basted the zipper in place
- Machine sewed the zipper
- Hand sewed the bodice lining to the waist seam and zipper tape
- Finished the hem edges (or tried to before my overlocker tried to eat the fabric)
- Hemmed the dress
|
I used some of the techniques from
The Couture Dress Craftsy class to make this dress.
I made a toile (a.k.a. Muslin - which is a test garment) using some muslin.
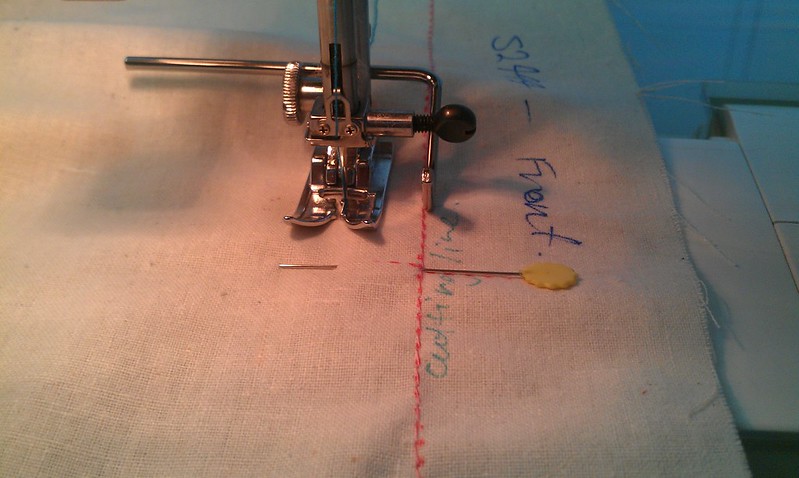
I traced the seam lines onto my toile.
I actually accidentally traced and thread traced the seam lines onto the toile.
To fix this I just used the quilting guide on my sewing machine set to 5/8" and traced the seam lines.
I started by fitting the bodice. I thought this would be the hardest part to fit, but once it was done the rest would go smoother. I picked a size 20 on the pattern and compared my measurements with the pattern. They were pretty close so I thought I'd sew the straight size to see how it was.
I inserted an upside down zipper to make trying it on easy. I nearly sewed it in with the stopper at the waist - lucky I dodged that bullet.
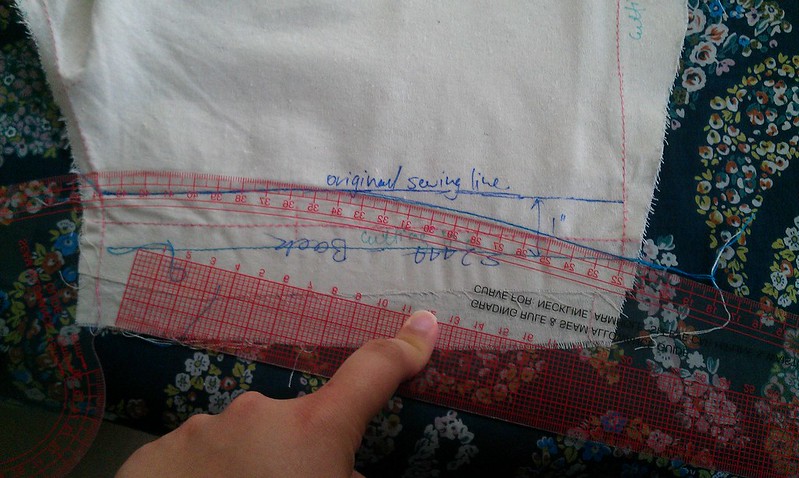
When I sewed it up the waist was too tight. So the first adjustment I made was to increase the waist seam.
From there I made an FBA (full bust adjustment)
 |
| The original front bodice pattern |
 |
| The front bodice pattern with the FBA adjustments |
I did a final muslin and was happy with the fit so I moved on to my fashion fabric and lining fabric.
That's enough for now I think.
Until next time,
Do you like to remember the nitty gritty of something you make?
If so, How do you make notes about it?
Leave a comment below, I'd love to hear from you :)
Until next time,


No comments:
Post a Comment
Thanks for stopping by. I really like reading your comments, so drop me a line by clicking to comment
Please don't comment anonymously though - you can leave your email if you don't have an OpenID.