Friday, 31 January 2014

::Sewing::FO:: Bra Strap Stay Prototype


Okay people. It's about to get all personal around here. I'm going to be talking about bras and stuff so don't tell me you haven't been forewarned!!! :)

I must have really sloped shoulders or something because my bra straps are constantly slipping off my shoulders. ANNOYING! I'm constantly have to readjust my bra straps all the time. I have a bra that has removable straps that I could cross over at the back and that worked a treat except it made the straps a bit tight and they were already as long as they could go. Also, that wasn't really an option for bras that didn't have removable straps.

I got sick of my slipping straps so I thought I'd see if I could come up with a solution. I did a little bit of research about the internet and found a few ideas. Most of the options I found online were for converting a regular bra into a racer-back style bra and were made of plastic. That wasn't quite what I was after. I just wanted a joining strap that would sit halfway up my back. It would have to be removable so I could wash it and use it with other bras and I wanted it to be fairly sturdy and long lasting.

I had a think about it, had a look around at my supplies, had a quick look online for more supplies and came up with a cunning plan. This is what I came up with.


I was going to call it the over-the-shoulder-boulder-holder-strap-wrangler, but I thought that sounded a bit long winded :) So I'm going to call it the Bra Strap Stay (BSS). Essentially it's a length of folded fabric with 2 sets of snaps at either end. Each end of the BSS wraps around the bra straps pulling them to the centre and keeping bra straps taught so they don't slide of shoulders.

Here are my supplies and tools (excluding machine, thread and scissors of course)

I folded the fabric RST and sewed a 3/8' seam along the long edge

I pinked the seam to make the tube easier to turn.

Using my nifty Easy Turn I turned the tube right side out.

I folded each end of the tube inside and stitched the ends closed.

Now it was hammer (and snaps) time.
(Hee hee little things, amuse small minds : P)

The back piece of the snap was worked into
the fabric using my fingers

Using the top of the tool I pressed the
fabric into the centre of the stud back.

The prongs sticking through
the fabric ready for the next step

The cap piece was placed on top and centred so the
prongs of the  stud back sit properly

The tool that came with the studs was then
 popped over the cap and centred so the
 pokey outey bit (very technical here people)
didn't get squished.

I put a press stud at each end of the strip and the matching stud about 2 inches in from each end.

Ta da! All done and ready to wrangle some bra straps.
I've been wearing it for quite some time now and there are a few things I'd do differently. I'd probably make it a little wider and perhaps a little longer. Next time I'd use a fabric that was much 'softer' to the skin. Depending on the fabric, it may need interfacing too.

My skin gets irritated by the little bits where I turned the ends of the tube under and stitched them closed. Next time I'd sew a curve around each short end and turn the tube right side out through a hole on one of the long sides. Perhaps topstitch it as well.

I'll have to make another version and let you know how I go :)

Until next time, I hope you dreaming up some ideas that will make your life easier.
Vanessa xo

Tuesday, 28 January 2014

::Knitting:: Norwegian Purling or Trying to Knit Faster

After releasing my cowl pattern on Ravelry I've gotten a real buzz from the reaction it has received.
I've really enjoyed the experience of sharing something that I have created with the world and being able to see the reaction people have.
So I'm really interested in designing more knitting patterns.
So in order to do that I've got to find ways of knitting faster.
I'm not speed knitter, but I did teach myself how to knit Continental style.
However, I'm not very good at Continental purl stitch.
So I've been looking for alternatives and I think I may have found one.

Norwegian Purl stitch. Check out the vid below.


Do you knit? What do you knit? Which style do you knit in-English, Continental, Other? 
Leave a comment below, I'd love to hear from you :)

Until next time,

Friday, 24 January 2014

::Sewing:: Organising Sewing Patterns

PDF Patterns
I'm a big fan of PDF patterns. Living in Australia and shipping for printed patterns can be a killer (although there are some really great Aussie pattern retailers popping up about the place).

I like the instantaneity of having a pattern at my fingertips as soon as I buy it, after some cutting, gluing and taping of course (speaking of which Miss P's post about this is brilliant). I also like the idea of being able to print the pattern again if I need to. It's also a great medium to allow new indie pattern producers into the market.

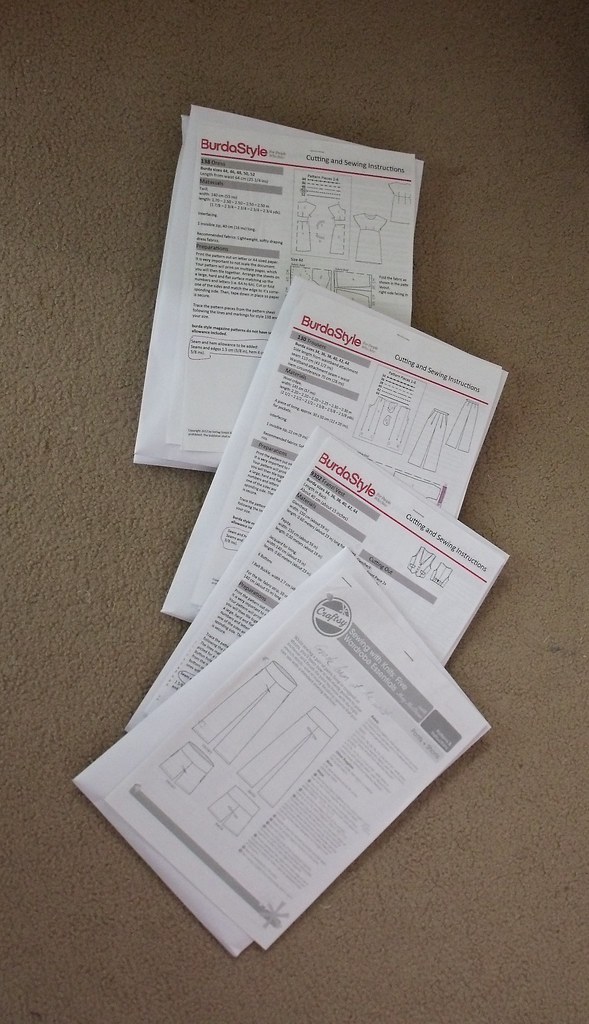
At the moment I have some in a display folders, some being hung from trouser hangers (idea from here) and some just rolled up.
This is a photo take in the middle of organising my patterns.
Originally there were 5 trouser hangers hanging from the cupboard doors.
I've been meaning to get some sort of system for organising my PDF patterns, but it was this post that inspired me to finally get into gear and do something about my pattern situation.

I popped down to my local Officeworks and bought a pack of C4 envelopes. I spent ages trying to decide which envelopes to get. I'm glad I got these ones because they are a nice large size but they still bit into the IKEA Expedit shelf I have in my sewing room.

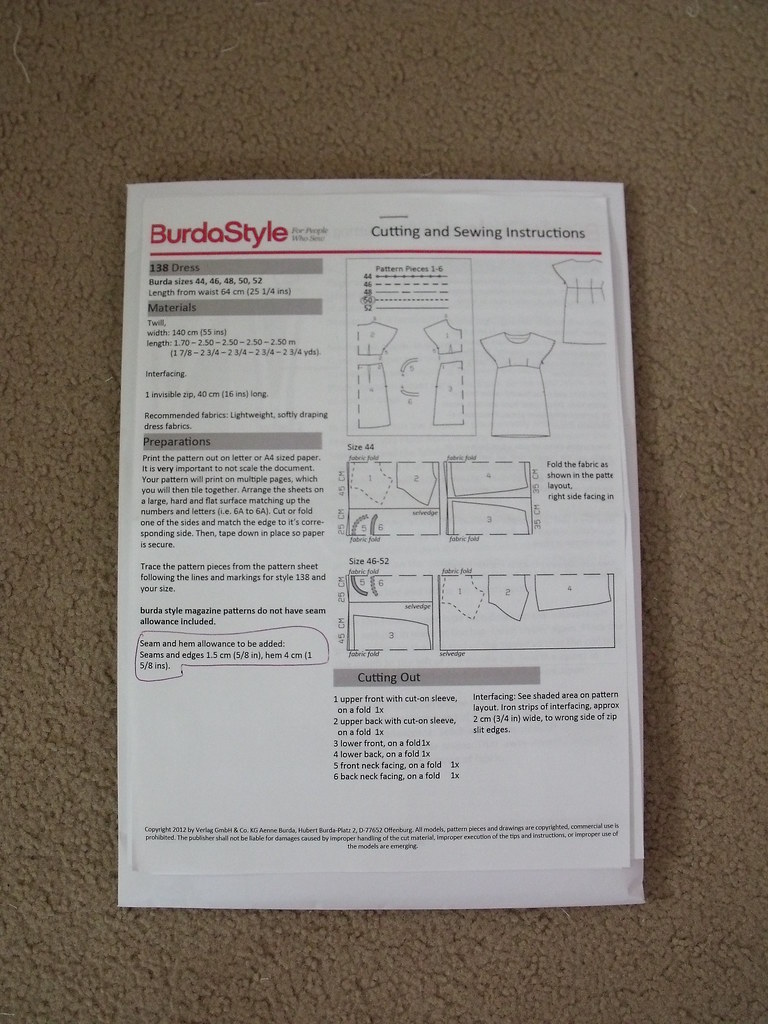
I folded my PDF patterns and shoved them into the envelopes. There was no danger of them coming apart when I folded them because they have masking tape on the joins, as per  Miss P's post :)
Some of the patterns I hadn't cut apart. and they were quite large so I had to cut them into more manageable bits.


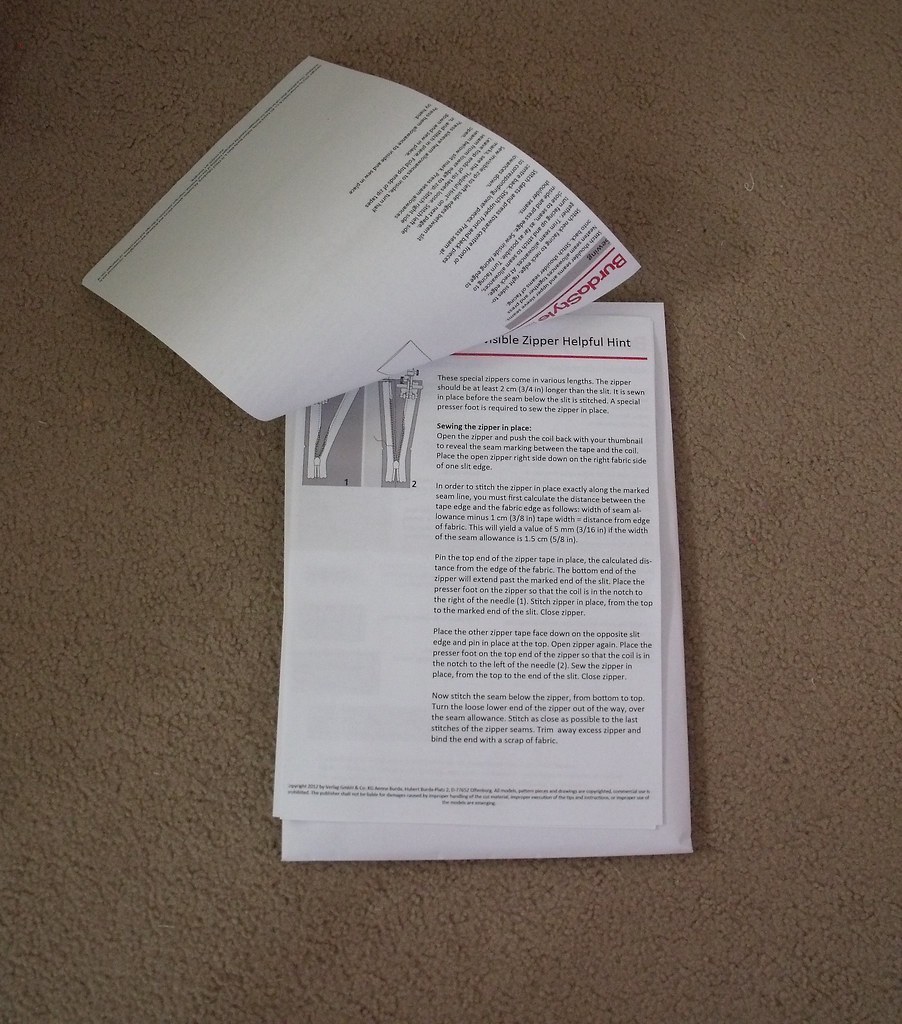
Instead of gluing the covers on like in the post that inspired this wave of organisation. I print the instructions double sided so I just stapled the top of the page to the envelope.


That way I can flip the page to look at the back.

Printed Patterns & Tracings
I'm mostly a pattern tracer. I've had occasions where I was sure I had traced a pattern and adjusted it, but haven't been able to find it. I'm able to find the original pattern - I keep them all together, but with my PDF patterns all over place I'm just never sure where I have put the tracing.
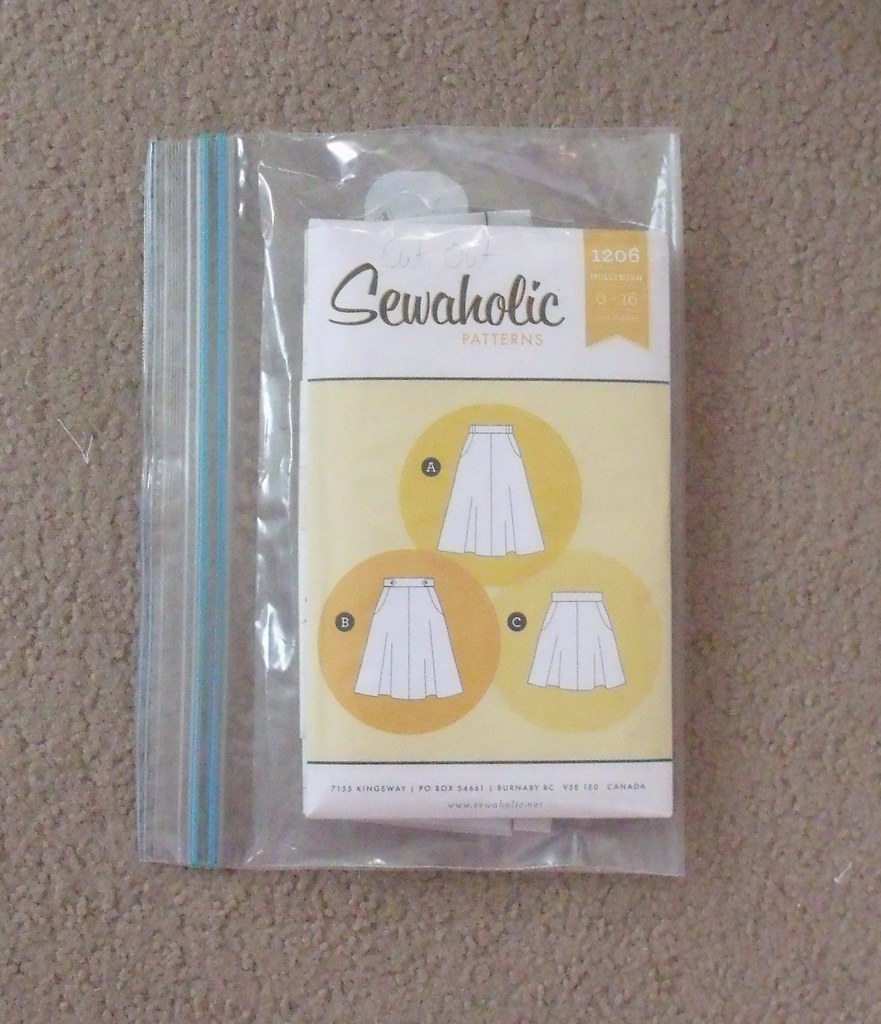
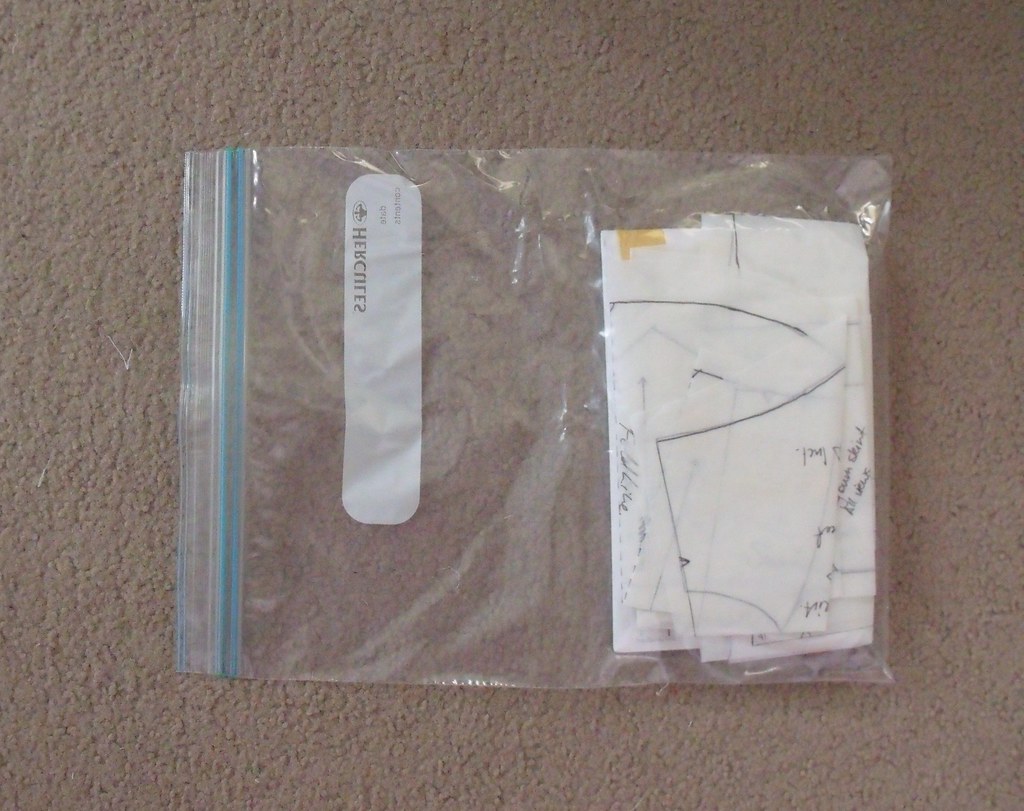
I'm a visual person so I need a way of storing the pattern and the tracings together. The answer is ziplock bags.

I just pop the original pattern in there....


...and put the tracings behind.


I still have to sort through the patterns that I have in my display folder. At least I've sorted out the patterns that were hanging about (boom tiss!).

Are you a fan of PDF patterns? 
Are you a pattern tracer or a pattern cutter? 
How do you store your patterns?
Leave a comment below, I'd love to hear from you :)


Until next time,

Tuesday, 21 January 2014

::Milestone:: 100th post!

I've not really paid much attention to blogiversaries, but I just had to mark this milestone  :)


Thank you to those who read this blog. I'm really glad I can share with you :)
Leave a comment below, I'd love to hear from you :)

Until next time,

Friday, 17 January 2014

::Knitting:: Isabella Riff Cowl

I've been getting my knit on.
You know, practicing my post-apocalyptic skill


I have a goal to use 10 skeins of yarn this year so I thought I'd just go for it and make a cowl using some yarn in my stash. I knitted a swatch and then went for it.

It's a cowl, I made up the pattern as I knit it, the yarn is Moda Vera Isabella. Bam! Name created.
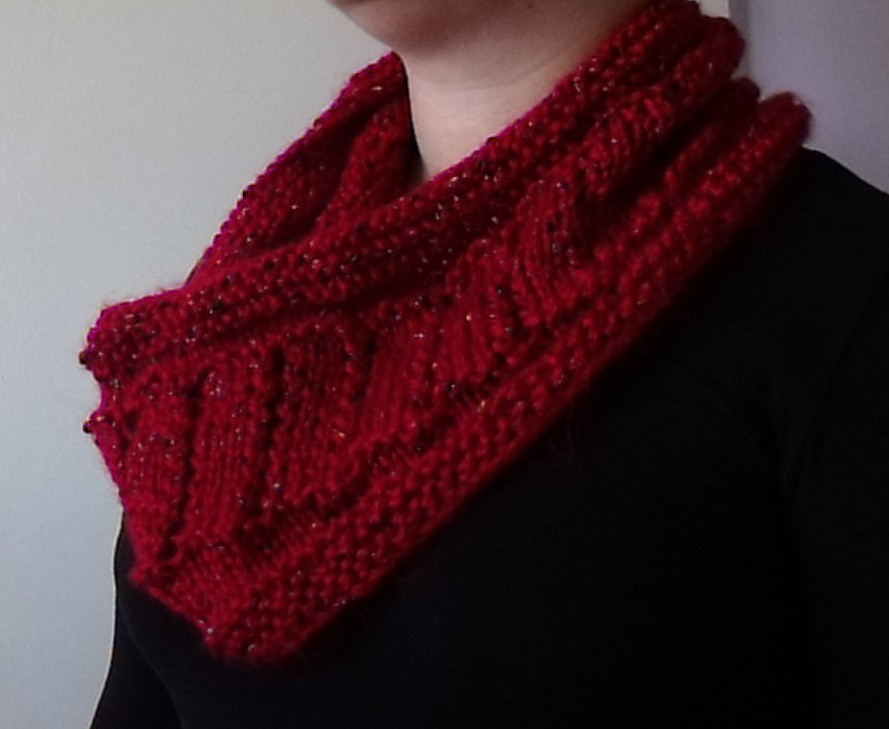
Here is my Isabella Riff Cowl.

It's mainly knit, purl and a dash of YO's (yarn over) and K2tog's (knit to together)
More details and pattern on Ravelry.
Download the free pattern here - that's right I've got a Ravelry Store. BAM!
ETA 20Jan2014: Isabella Riff Pattern is now also available on Craftsy too!


What post-apocalyptic skills do you have?
Leave a comment below, I'd love to hear from you :)


Until next time,

Tuesday, 14 January 2014

::Sewing:: Pattern Bust Adjustment Measurements

On the interwebs there are LOTS of resources on HOW to make bust adjustments to patterns.
But something that I've struggled to find is information on (a) how to determine bust size and (b) how much to overlap/spread the pattern by when making an adjustment.

The other day I came across some really great information about this topic and I thought I'd share it here. Hopefully you'll find it helpful too.

Selecting a Pattern Size

When selecting a pattern size the idea is that you want to make as few adjustments as possible.
So ideally a pattern that closely matches your shape in most respects is the best way to go.

Bust Size


Take chest/high bust measurement (1)
Take full bust measurement (2)
(Great post on body measurements by Miss P)

Subtract the chest/high bust measurement from bust measurement
below is a table found on p15 of The Complete Photo Guide to Perfect Fitting by Sarah Veblen

A cup = 1" (2.5cm) or less
B cup = 1 1/4" to 2" (3.2 to 5.1 cm)
C cup = 2 1/4" to 2" (5.7 to 7.6 cm)
D cup = 3 1/4" to 2" (8.3 to 10.2 cm)
DD cup = 4 1/4" to 2" (10.8 to 12.7 cm)

SBA or FBA pattern Overlap or Spread

When making either small bust adjustments or full bust adjustments below are the amounts to close (remove) or spread (insert) when doing the bust adjustment.
Note: these are only for half a bodice pattern. So the total decrease or increase accross the whole bodice will be twice the amounts given below.

AA cup - close 3/8" (1cm)
A cup - close 1/4" (6mm)
B cup - no change
C cup - spread 3/8" (1 cm)
D cup - spread 3/4" (1.9 cm)
DD cup - spread 1 1/4" (3.2 cm)

Source - p130, The Complete Photo Guide to Perfect Fitting by Sarah Veblen

Is there a question that you haven't found an answer too? What was it? Have/how did you overcome not being able to find information about it on the interwebs?

Until next time, hope you're finding solutions too
V xo

p.s. when I was looking for images I came across this post. Gah! Where was this before!

Friday, 10 January 2014

::Sewing:: 2014 Ambitions

I wasn't going to write a post about ambitions for 2014, but after my last post I think it is important that I set myself some ambitions for this year and make myself accountable by publishing it :)

My strategy for 2014 is similar to what evolved in 2013, because I think it really worked for me.
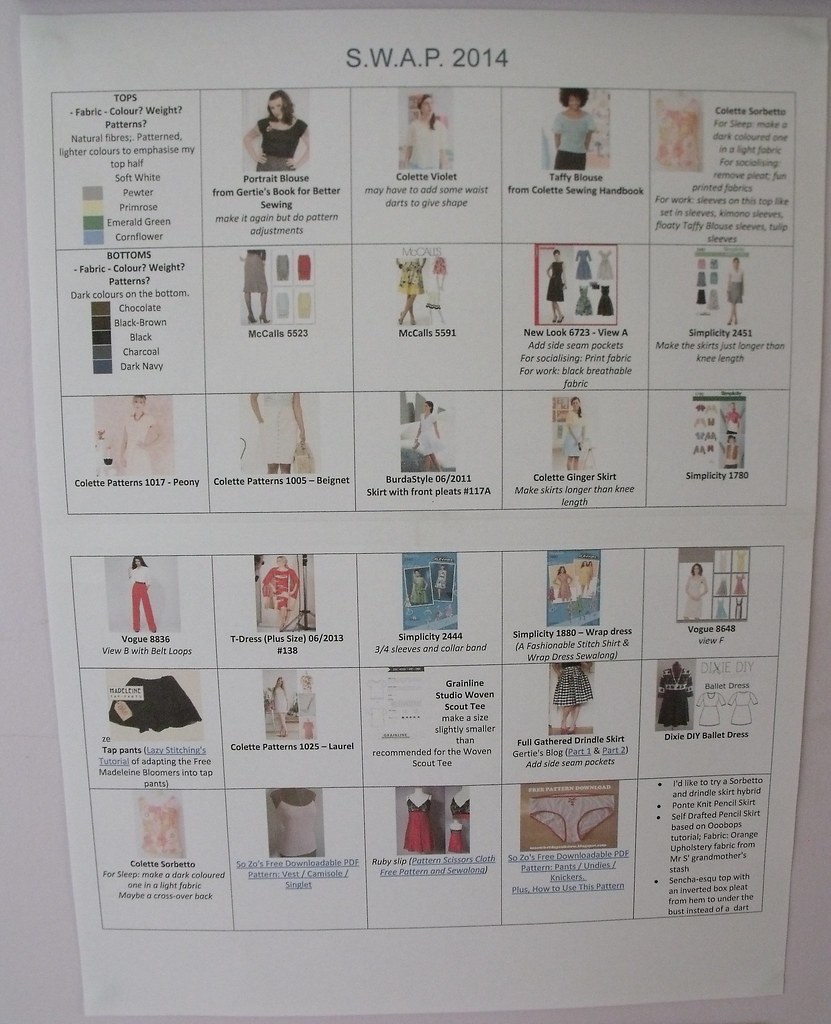
Have target number of garments to sew and have a list of patterns I want to sew from.
However, I'm going to throw a few extra things in the mix.

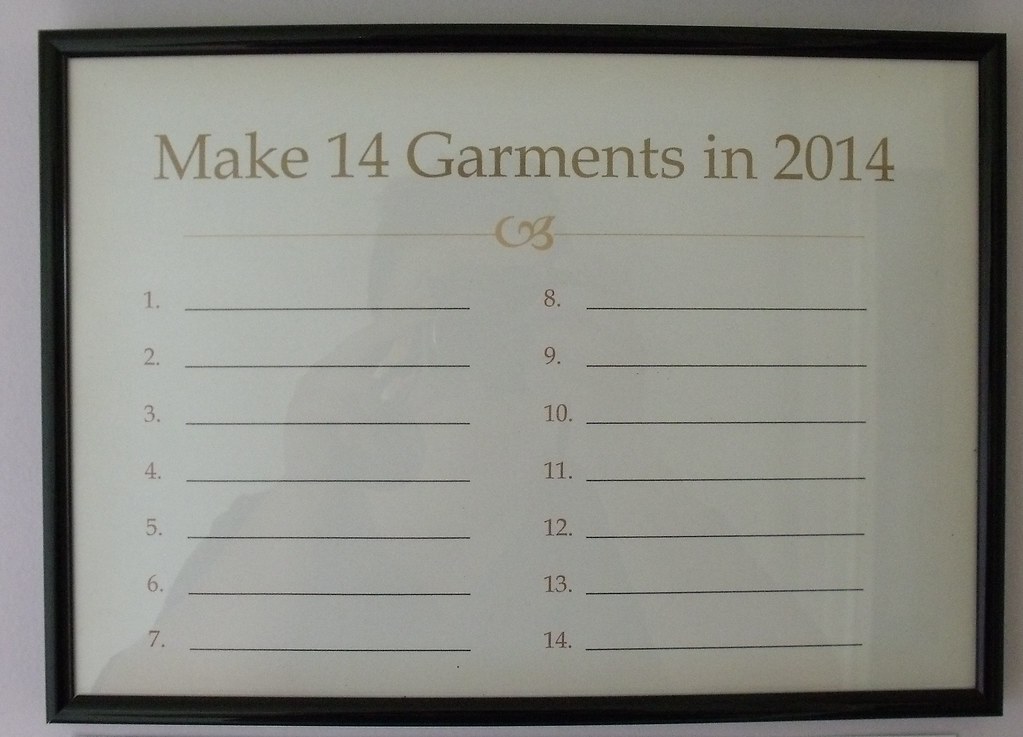
Make 14 garments in 2014
Something that I took away from this post is that I am a person who is motivated by tallying up finished projects. At this stage in my sewing I'm not really worried about a project being perfect, but I do want to make a lot more me-made garments to beef up my wardrobe.
Nothing has been officially announced, but I'm making a Sewlution to make 14 garments in 2014.
I've made a progress tracker (similar to the one I made last year)

Use the patterns I have instead of buying new patterns
Today I updated the pattern stash page of my blog.
It's grown considerably since I set out my S.W.A.P. and Sewlution last year.
At the moment I have 111 patterns at my disposal. That's huge!
Of course I want more patterns, but I DON'T NEED ANYMORE!
Doing a quick tally I've only used 8 patterns so far.
So it's time to knuckle down and sew the patterns I have.

Make repeats of garments I wear frequently/Use patterns again 
There are a few garments I made last year that I keep reaching for and at this rate they will get worn out pretty soon. So it looks like I've got to make some multiples so I don't wear out my me-mades (I may even try my own One Week, One Pattern (OWOP) challenge). By reusing patterns not only am I cutting out the fitting phase of sewing those garments, but it also means I'm getting more value out of my patterns. So win, win, win.

Make special dresses for special occasions
This year I am attending 3 weddings. I'd like to wear a dress I've made to each of them.
They are in late January (that's pretty soon eep!), Mid April and Mid June.

Come to think of it I'd also love to sew a dress for my birthday too. That's in early Feb so I don't know if I'll be able to make 2 fab frocks so close together, but I'll see how I go.

Have everything for a project before I start
This ambition was prompted by the second point of this post and made me think of this post.
So in 2014 after playing with a fitting muslin  I must make sure I've got all the fabric and notions I need for the project before I kick off on the final garment. Nothing worse than getting into the swing of things only to realise that you don't have everything you need.

To sum up I've got 5 sewing ambitions for 2014
  1. Make 14 garments in 2014
  2. Use the patterns I have instead of buying new patterns
  3. Make repeats of garments I wear frequently/Use patterns again
  4. Make special dresses for special occasions
  5. Have everything for a project before I start

By all of these ambitions combined hopefully 2014 will be an even more productive year than 2013.

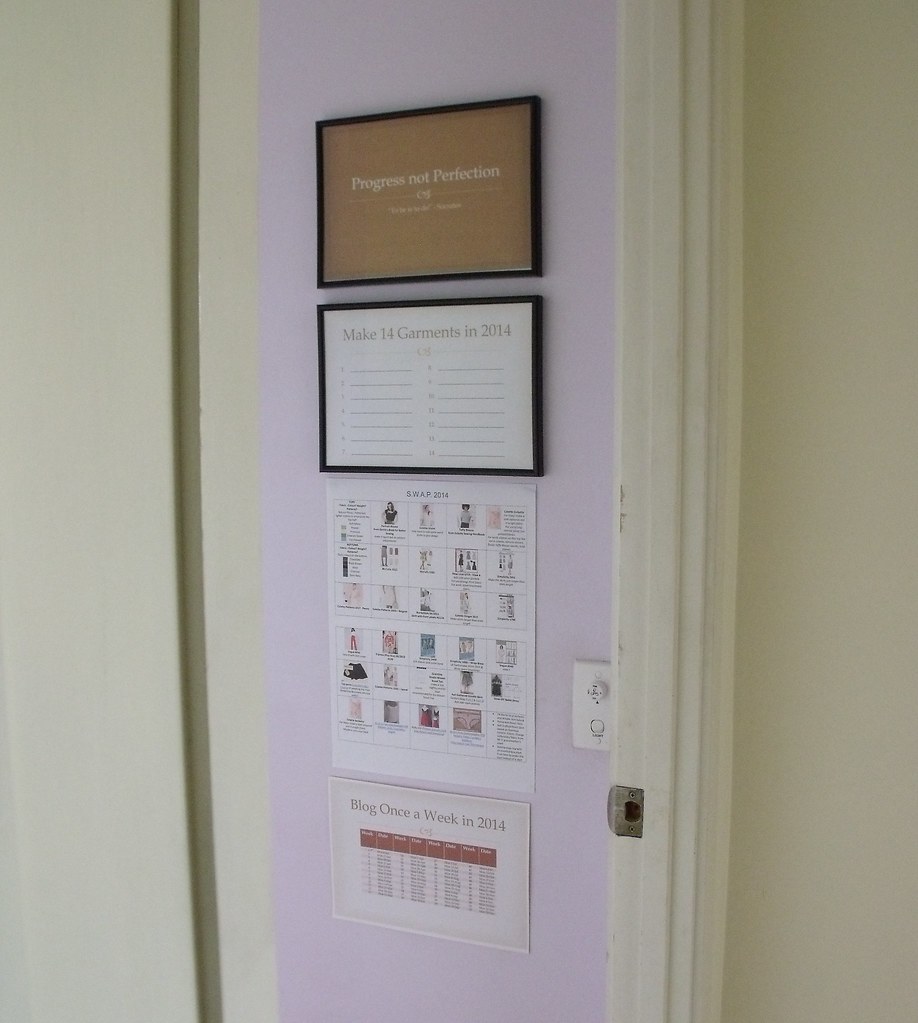
To spur me along I've created an ambition wall. This is the first wall I see when I walk into my studio and hopefully by having these in my line of site I'll be kept motivated to keep on track.

Ambition wall - the first thing I see when I walk into my studio
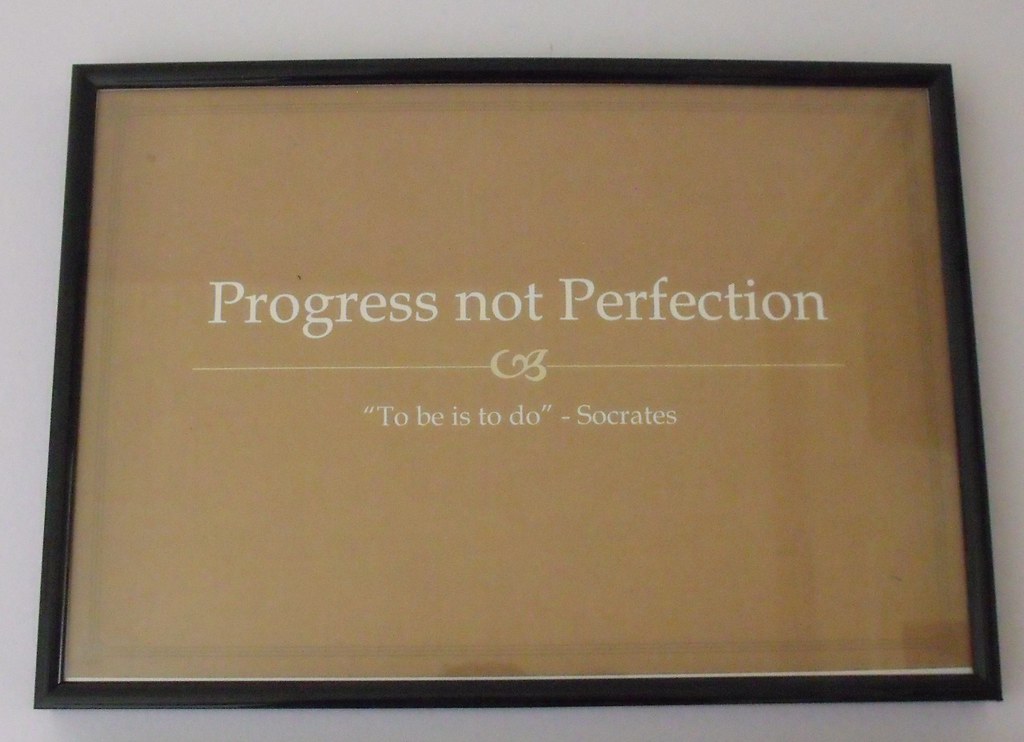
My motto for 2014
Tracker for how many garments I sew in 2014
My S.W.A.P. list for 2014
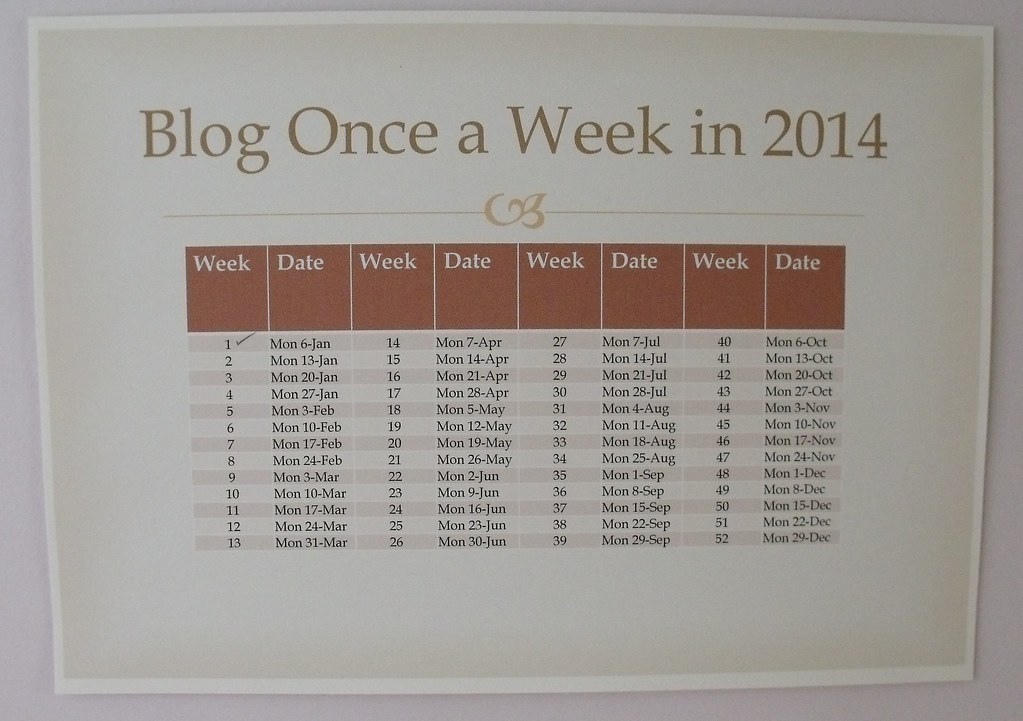
I want to blog at least once a week in 2014 so I've also made a blogging tracker sheet. I can put a tick next for each time I post. This sort of links to the idea that I am a person motivated by a tally because I'm hoping to make at least 52 posts in 2014.
Blogging tracker sheet for 2014

Something else I took from this post is its important to remember the bigger purpose of a target/goal/ambition. Even if I don't accomplish all these ambitions I'll still be taking steps towards sewing more and using more patterns I already have in my stash (ties in the 'fear of failure' concept in this post).

Do you think having plans/goals/ambitions work? Do you have any ambitions for 2014? What are they?
Leave a comment below, I'd love to hear from you :)

Until next time,

Tuesday, 7 January 2014

::Sewing:: Reflection on 2013 S.W.A.P and Sewlution Part 2

As I was writing a post about my ambitions for 2014 I realised that it was morphing into a follow on from the post I wrote reviewing 2013. That post was more of a review of the results of 2013 and not about my headspace when it came to my ambitions for 2013 and how things panned out.

My idea about what my 2013 S.W.A.P. has changed. Initially I thought that I would sew an entire wardrobe in one year. Bahahahaha! :D I was never going to complete my S.W.A.P. in one year.
I do think however, that it was an important tool for me in my sewing journey in 2013.

It acted as a 'map' for my sewing to make sure that I make things that suite my colouringbody shape and lifestyle. Therefore, I hope, lower the chance of me making clothes that I'd not finish or not wear.

I kicked off my 2013 S.W.A.P. before I committed to Sewlution 2013 and it ended up that they worked really well together. When I was thinking about what to sew next for my Sewlution I just looked at my S.W.A.P. to find the next project to sew. This meant there was some flexibility in my sewing because the S.W.A.P. wasn't strictly a queue of projects. It is a 'bunch' of things that I want to make and so I'd pick a S.W.A.P. project that appealed to me most at the time.

I think this worked really well and after reviewing 2013 I think I was far more productive than I would have been if I had not had a S.W.A.P. or a Sewlution.

[source]
It's like the 2013 S.W.A.P. is my master plan and the Sewlution was a milestone in my journey from getting from point A (and entirely RTW wardrobe) to point B (a mostly me-made wardrobe).

What inspires you? Do you strive for quantity, quality or the journey? Or is it something else entirely that compels you?
I'd love to hear from you, leave a comment below :)

Until next time,

Sunday, 5 January 2014

::5 Things:: Things that make me go wow!

Here are some things rocking my world these days....
I'm loving this idea from Miss Crayola Creepy. 
Using stickers to label fabric yardage and price.
I think I'd also include the date, composition of the fabric, whether it's been pre-washed, care instructions and ideas of how to use the fabric, maybe also where I bought it.
So simple, yet so effective.
If you don't like like the idea of a sticker on you fabric you can always just pin a card to your fabric instead (like these).

I stumbled upon this
Especially this idea for a beach bag.
Not that I go to the beach - ever!

Leila at threedresses.org brought my attention to this pattern when she posted about it here.
I've added it to my patterns wish list.
View C is the same shape as one of my favourite garments.

Sewing for Small People Sew-along
This idea from Leah is fantastic.
But even more amazing is the list of free little people projects that she put together.
She did a stellar job and there are so many options

Red Parka Techno Tuesday Tutorials
I've been making a few changes to my blog and the Techno Tuesday Tutorials from Red Parka have been invaluable when making those changes.
There is also a fantastic tutorial from Miss P about how to add a signature to your blogger blog posts.

What is making you go "wow" these days?
Leave a comment below, I'd love to hear from you :)


Until next time,

Wednesday, 1 January 2014

::Ponderings:: 2014 the year of...

...progress not perfection.

In the middle of 2013 I was in a personal development session when I heard the phrase 'paralysis by analysis'. I had never heard this phrase before and it struck a chord with me.

It resonated with me because that is exactly what I do. I over analyse things and don't get my hands dirty until I've over-thought things, by which time my enthusiasm is gone.

I'm a perfectionist and have this mindset of  'it had to be perfect otherwise don't do it'.

Recently I was watching a Craftsy class (How to Teach It) when the instructor, Gwen Bortner, said the phrase "progress not perfection". This struck me too. This is exactly what I should be doing.

This ties in with something else I came across recently. While watching this TED talk I the following phrase came up:
“To be is to do”—Socrates.

There are a few things bouncing around in my head that I want to do but am too..... scared of failure to do them. I think some of that comes from comparing myself to others too much.

My personal motto for 2014 is going to be...

Get it! Get it! See what I did there? :-)

Have you had something resonate with you recently? 
Do you have a motto for 2014?

Until next time,
V xo